I made this card for the Perfect Paper Crafting - Brand Ambassador blog hop which goes through April 4th. You can find more details here.
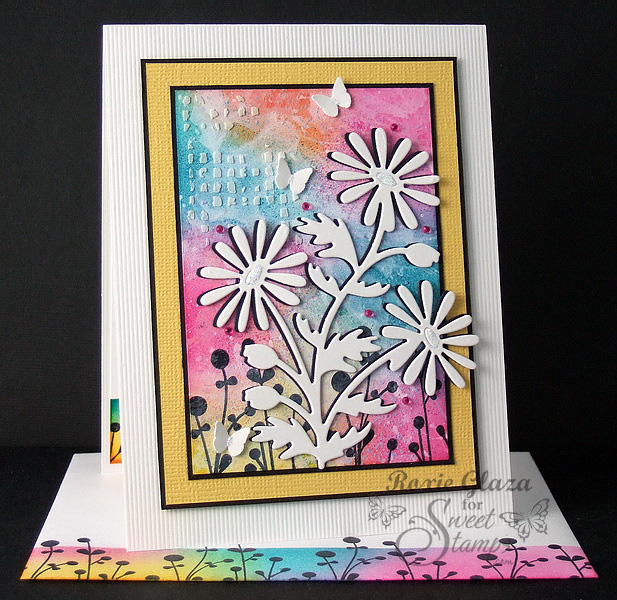
The background was created by sponging on distress inks then acrylic paint. I then used the Perfect Airbrush to spritz on marker ink. Next I did a white color wash by slightly diluting white acrylic ink on the tip of my frosting knife and blowing it off with the airbrush. It it resulted in large puddles I placed the airbrush nozzle directly over the puddle and squeezed to spread it out. Once dry the molding paste was applied in the upper left corner and the black flower images were stamped. It's a fun way to spend about 20 minutes.
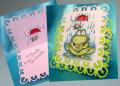
The borders were created using a craft knife, the 1/16" and 1/4" Perfect Layers Mini and the Perfect Cutting Mat to cut on. I get perfect results using these tools and like all Perfect Paper Crafting tools, they are so easy to use!
I cut the die in black and white and offset the white over black to add interest.
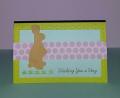
The envelope and insert were masked off 7/8" from the bottom and sponged with ink; darker for the insert and use only what's left in the sponge for the envelope. The round flower image was stamped so it's a little beyond the top edge of the ink.
Supplies:
Ink: Ranger Distress Inks - Peacock Blue, Picked Raspberry, Mustard Seed, Memento - Tuxedo Black
Acrylic Paint: Ranger -Adirondack- Cool Peri, White
Image: SweetStamps - ArtsyFarty - Foliage #1
Dies and Punches: Die-namites - Daisy Bunch, Martha Stewart - butterflies
Plastic stencil: The Crafters Workshop
Paper: Ranger - yellow, The Paper Company - black, DMD Inc. white mini groove, plain white
Other: Golden Gel Mediums - light molding paste, Aleene's tacky glue for attaching flowers and butterflies, self sticking Forever in Time gems, foam tape to pop up the image panel, Stickles for white flower centers and butterfly bodies