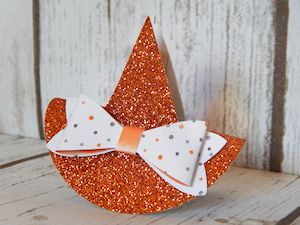
Witch Hat Clip
by Kelly Acheson
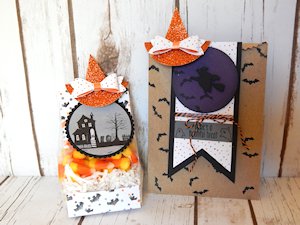
Make a cute clip to adorn a Halloween treat bag. Thanks to Janet Baker, who shared this project at Founder's Circle in St. George, Utah.
Supplies
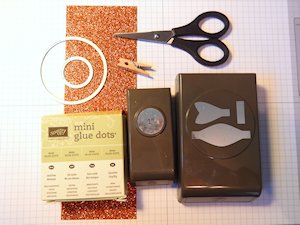
- Cardstock (Stampin’ Up!® Pumpkin Pie Glimmer Paper used here)
- Paper trimmer or scissors
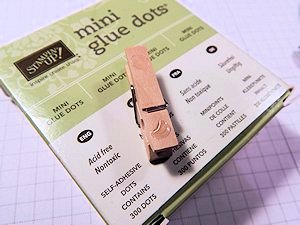
- Adhesive (Mini Glue Dots used here)
- Other supplies as needed to complete the project (Stampin’ Up! supplies used here: Bow Builder Punch, Layering Circles Framelits Dies, Mini Glue Dots, Mini Clothes Pins)
Step-by-Step
-
Step 1
Die cut a donut from cardstock using circle dies that are approximately 2 1/2" and 1".
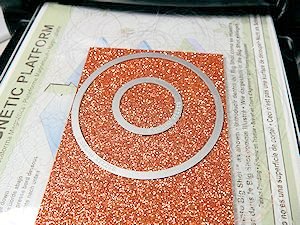
-
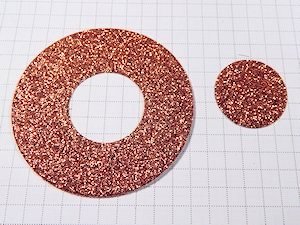
Discard the center circle – only the frame is needed.
-
Step 2
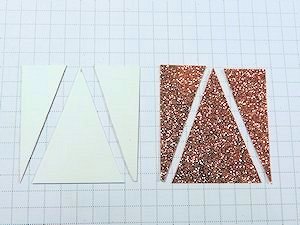
Cut two 1 7/8" x 1 1/2" rectangles from the same cardstock.
Add a pencil mark to the center of the back of the rectangles on the 1 1/2" edge.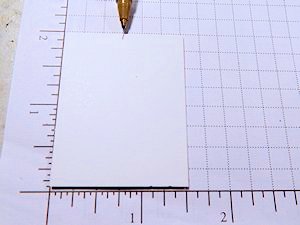
-
Step 3
Cut from each bottom corner to the center mark, making a triangle.
-
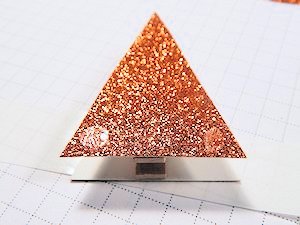
Step 4
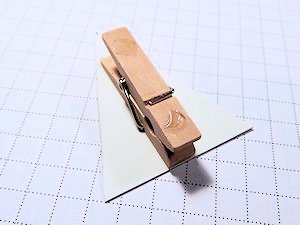
Apply mini glue dots to both sides of the mini clothespin.
-
Step 5
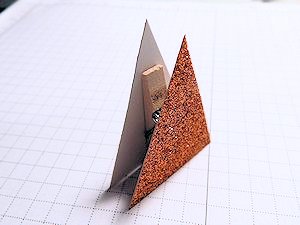
Attach a paper triangle to the mini clothespin, positioning the binding end of the clothespin on the flat edge.
-
Repeat with the other piece.
-
Step 6
Apply a mini glue dot to the bottom corner of each triangle.
-
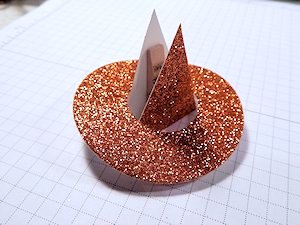
Step 7
Add the paper donut shape by placing the pointy triangles through the center hole.
-
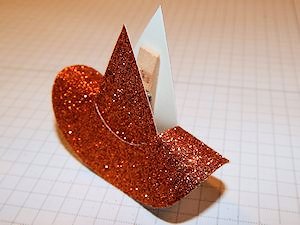
Step 8
Press the front and back of the donut shape down onto the mini glue dots located on the bottom of the triangles.
-
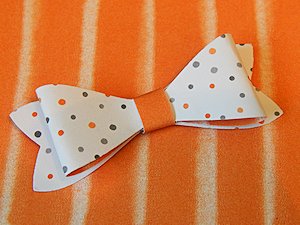
Step 9
Make a bow (Bow Builder Punch used here) and adhere it to the hat with mini glue dots.
-
Step 10
Complete the project.
-
Use it to embellish a Halloween treat!
Video!
Your Turn
You've seen the tutorial, now you try it! We've got a section of the gallery set aside for Witch Hat Clip. Try this technique, then upload your artwork to the gallery. Show us your creations!
***Please note - Internet Explorer/Edge is not a supported browser, and will not allow you to see the videos. Please use Chrome, Firefox or Safari to view our tutorial videos.

Questions and Comments
We'd love to get your feedback or questions. Leave your comment below.
The mini clothespins are on the Stampin'Up! Clearance Rack for $2.20 for 24 clothespins. Good time to stock up!
Thanks for sharing.
Susie
wondering about the gold binder clips how did you adhere them and where did you get them?
Page 1 of 1 pages