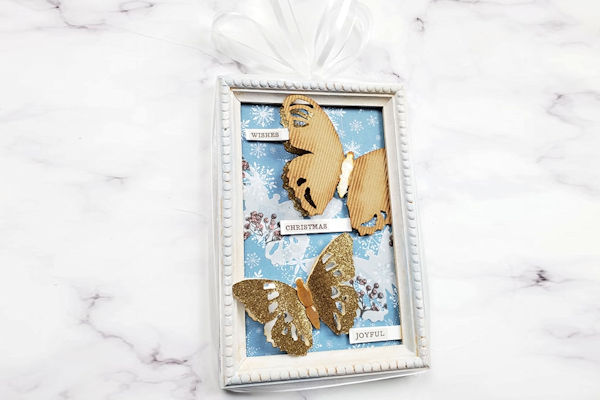
Winter Frame
by Ana Reese
Fill a frame with wintry die cuts for a pretty holiday decoration.
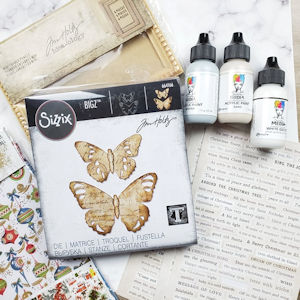
Supplies
- Cardstock for background (Worn Wallpaper used here)
- Small paint brush
- White gesso (Gesso by D. Wakley used here)
- Acrylic paints (Sand, Mineral by D. Wakley used here)
- Ink blending tool
- Heat tool
- Dies (Tim Holtz Tattered Butterfly used here)
- Mini frame (Mini frames by Tim Holtz used here)
- Adhesives (Scrapbook and Nuvo runners, Art Glitter Glue, Nuvo precise glue used here)
- Inks (Nuvo Black Hybrid, and Distress ink Vintage Photo used here)
- Stamps (Tim Holtz Yuletide Gatherings used here)
- Christmas sentiments (Tim Holtz Christmas Clippings used here)
- Mica flakes (Ranger Mica Flakes used here)
- White sheer ribbon
- Other supplies as needed to complete the project (used here: Nuvo Glaze, foam tape, Neenah 110# Solar White Cover, Grey cardstock by FSJ, Neenah Vellum paper, scissors, Gold glitter Cardstock, Corrugated paper by FSJ, Die Cutting Machine)
Step-by-Step
-
Step 1
Paint a wood frame using white gesso. Once it dries, add some accents with light beige acrylic paint. When that dries, add more accents with the light blue acrylic paint. (Gesso and Sand/ Mineral paint by D. Wakley used here.)
-
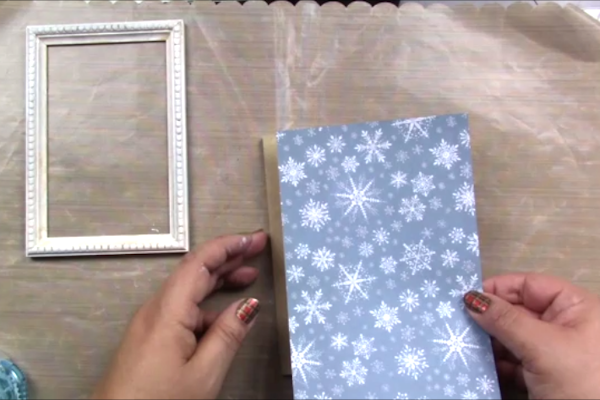
Step 2
Adhere the background paper to the frame back using double-sided tape. (Worn Wallpaper and Scrapbook roller tape used here.)
-
Step 3
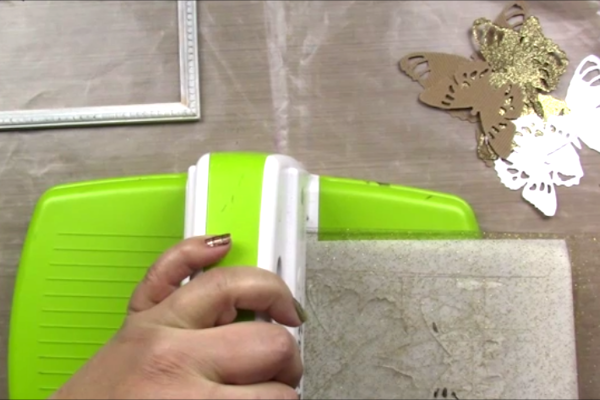
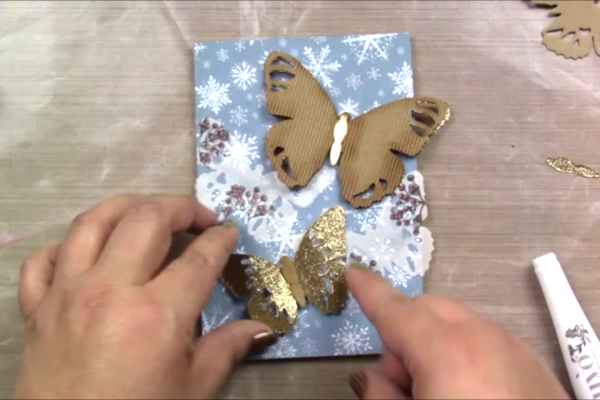
Die cut sets of shapes in small and large sizes.
White, glitter gold and corrugated cardstocks and vellum paper were used to cut the butterflies for the sample. -
Step 4
Arrange the die cuts to fill the framed area.
Our sample uses 2 sets of butterflies, the largest set in the top right corner and the small set in the bottom left corner. Two small vellum butterflies are placed in the middle of the frame.
TIP:
When layering die cuts, add dimension by curling the pieces that will be on top using a marker or thick pencil. -
Step 5
Ink edges using brown ink for a vintage look.
-
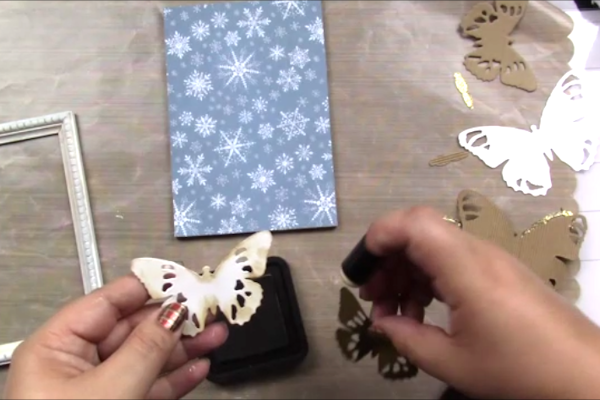
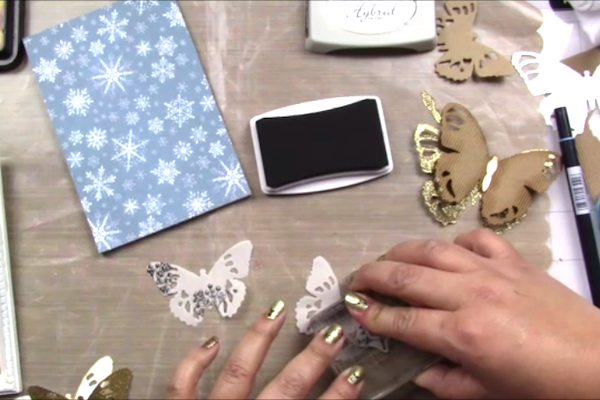
Step 6
Stamp onto the vellum butterflies with hybrid black ink.
-
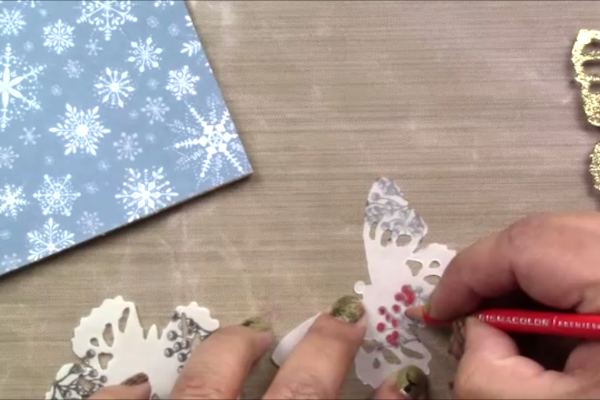
Step 7
Use a colored pencil or alcohol marker to color the image from the back side of the vellum.
-
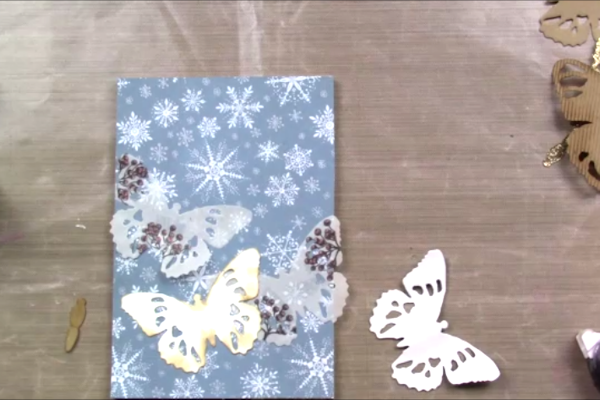
Step 8
Adhere both vellum die cuts toward the center of the frame, and adhere one of the larger die cuts in each corner.
-
Step 9
Layer additional die cuts with foam tape.
-
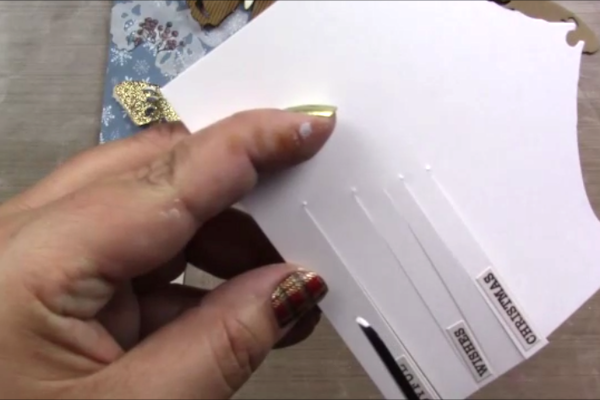
Step 10
Add small sentiments to thin strips of white cardstock, leaving a small portion on one side to tuck under the die cuts.
-
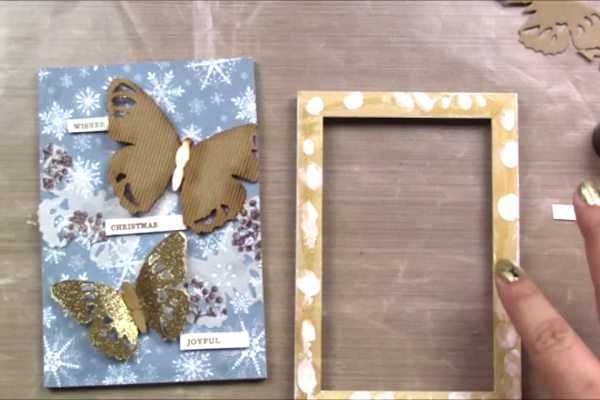
Step 11
Attach sentiments using foam tape.
-
Step 12
Adhere frame to bottom panel using a strong liquid glue.
-
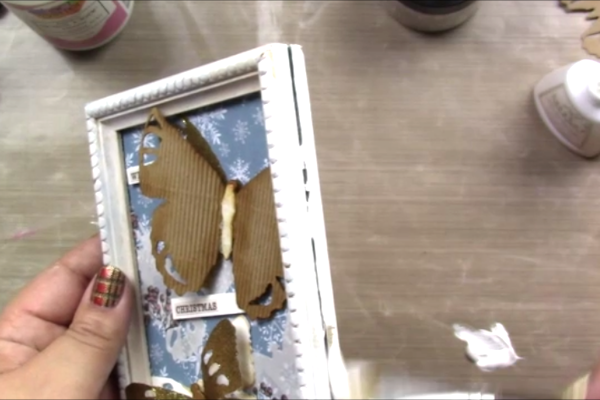
Step 13
Embellish the framed pieces as desired (mica flakes and clear glaze used here)
-
Step 14
Paint the bottom panel using white gesso.
NOTE:
Don’t worry about any gap in between frame and panel since there will be a ribbon covering it in the next step. -
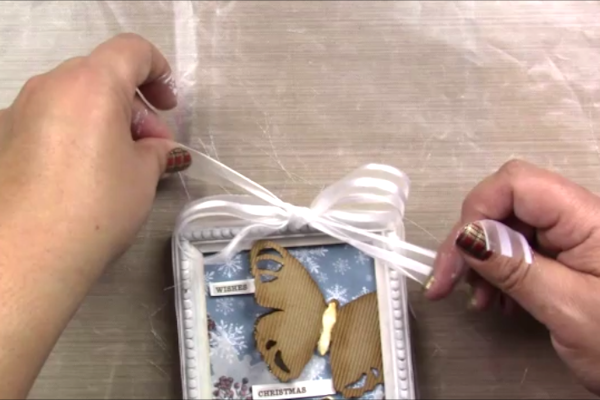
Step 15
Wrap a sheer white ribbon around the frame and create a bow on top with a knot above it to be able to hang the frame.
-
Step 16
Your Christmas frame is now finished.


Video!
Your Turn
You've seen the tutorial, now you try it! We've got a section of the gallery set aside for Winter Frame. Try this technique, then upload your artwork to the gallery. Show us your creations!
***Please note - Internet Explorer/Edge is not a supported browser, and will not allow you to see the videos. Please use Chrome, Firefox or Safari to view our tutorial videos.

Questions and Comments
We'd love to get your feedback or questions. Leave your comment below.
Page 1 of 1 pages