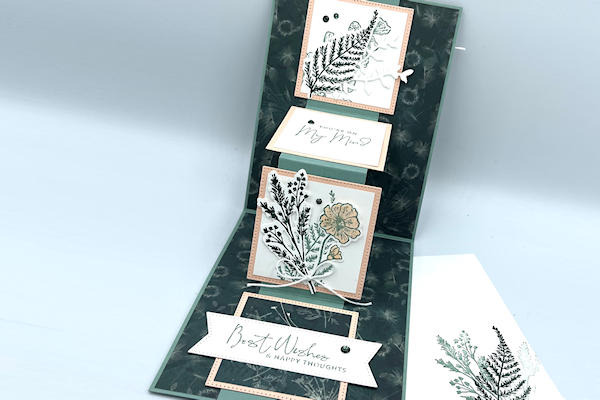
W Fold Card
by Mary Deatherage
Make a unique card with a folded feature.
Supplies
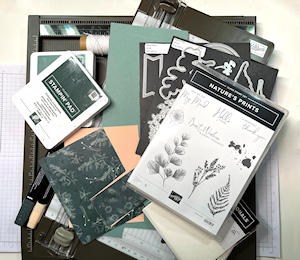
- Cardstock (Stampin' Up!® Soft Succulent, Petal Pink, Basic White cardstock used here)
- Patterned papers (SU Pretty Prints DSP used here)
- 2 1/8" and 2 3/8” square dies (SU Stylish Shapes Die used here)
- Die cutting machine
- Paper trimmer
- Score tool
- Bone folder
- Liquid glue
- Stampin’ Dimensionals
- Other supplies as needed to complete the project (SU products used here: Natural Prints die set, Stylish Shapes 1 3/4” wide circle die, Stampin’ Blends in Dark Petal Pink to color the flower image and Dark Evening Evergreen to color the rhinestones; SU! Evening Evergreen Ink; SU! Soft Succulent Ink, Rhinestone Basic Jewels, White Baker’s Twine, Nature’s Prints Bundle and Pretty Prints DSP)
Step-by-Step
-
Step 1
Prepare the card panels:
Cardstock in base color:
4 1/4” x 11” - for card base
1 3/4” x 11” – for “W” mechanism
Cardstock for mats:
4” x 5 1/4” (mat for card front)
2 3/8” squares (4)
Other cardstock pieces required:
2 1/8” squares (4)
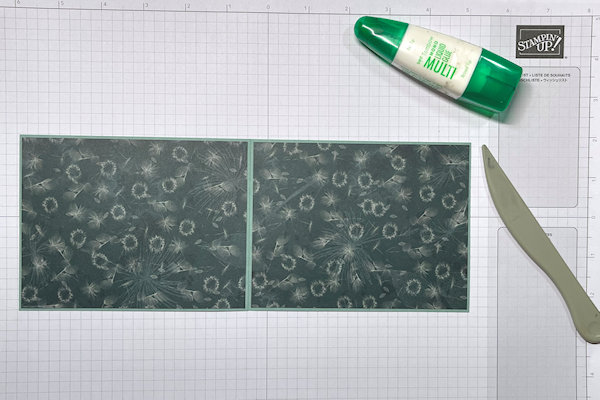
Patterned paper for layering:
3 7/8” x 5 1/8” (card front)
4 1/8” x 5 3/8” (2 for inside card base panels)
Other pieces as needed for embellishments, sentiments, etc. -
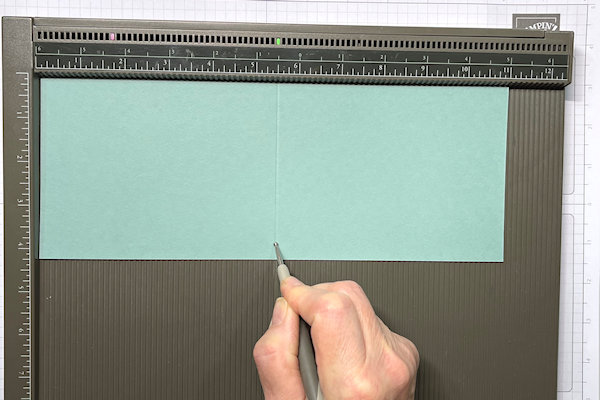
Step 2
Use the score tool to score the 4 1/4” x 11” piece of base cardstock at 5 1/2” on the long side.
-
Step 3
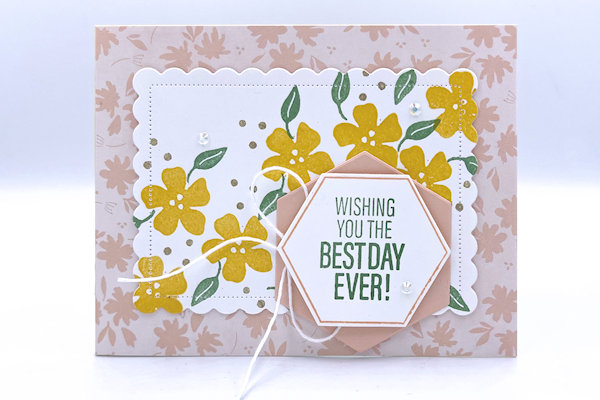
Build the card front and attach it to the card base before putting the “w” mechanism on the inside.
-
Step 4
Adhere the two 4 1/8” x 5 3/8” pieces of patterned paper to the inside panels of the card base.
-
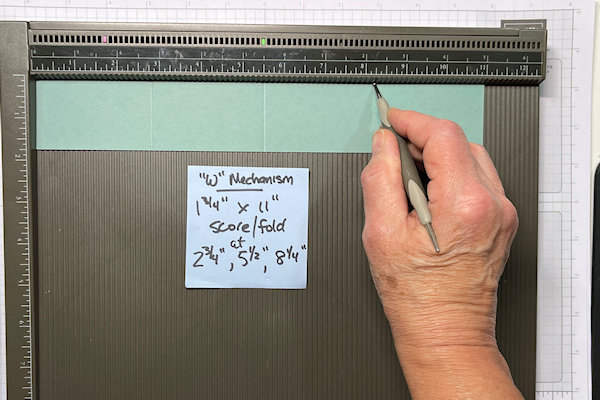
Step 5
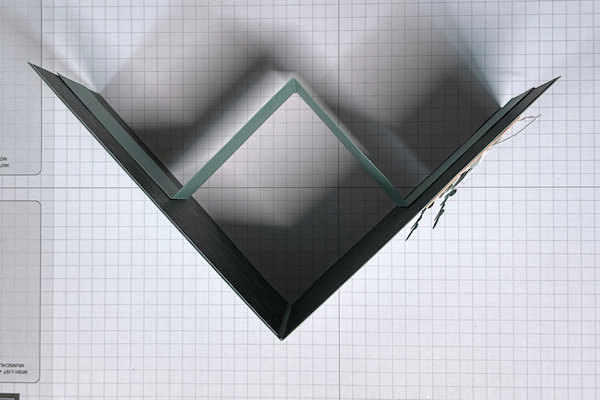
Use the score tool to score the 1 3/4” x 11” piece of cardstock at 2 3/4”, 5 1/2” and 8 1/4” along the long edge.
-
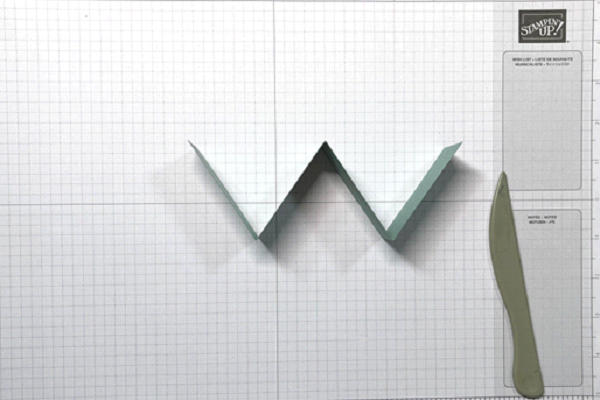
Fold and burnish the middle score line as a “mountain” and the two end lines as “valleys”.
-
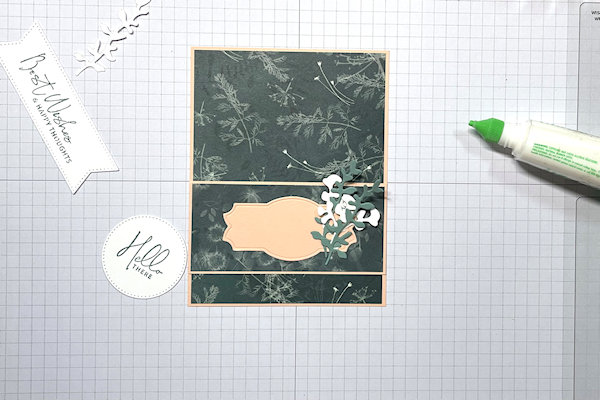
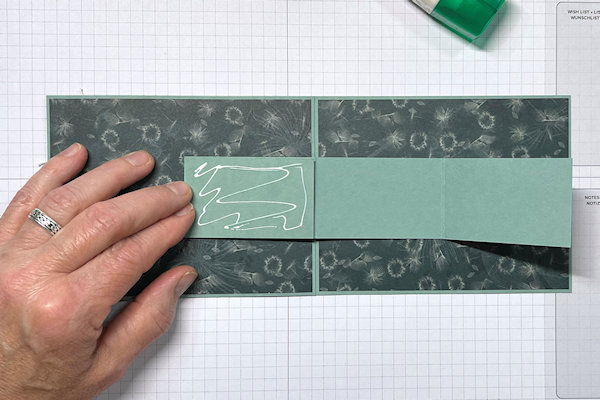
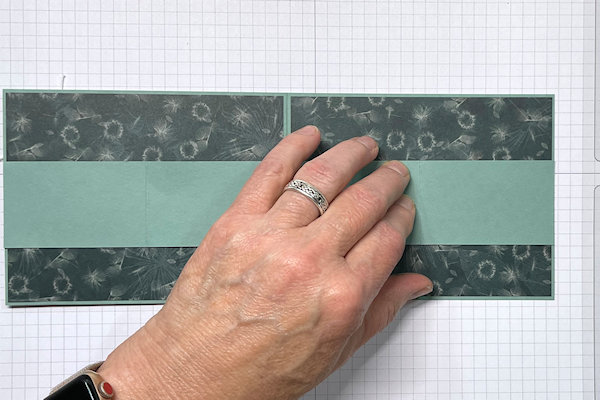
Step 6
Use Liquid Glue on the two end panels and then align them in the center of the card base. Start on the left side and adhere the end of the “mechanism”, aligning the left end of the mechanism with the left edge of the card base.
-
Straighten the mechanism, add Glue to the right end panel and adhere it on the other side, aligning the right end of the mechanism with the right edge of the card base.
-
Step 7
The middle fold of the mechanism should be lined up with the middle fold of the card base, and fold out the opposite way.
-
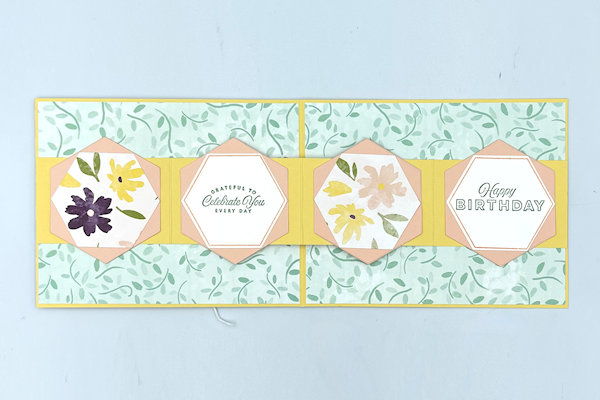
Step 8
Turn the card to the portrait (vertical) mode. Attach and decorate the four inside panels.
-
NOTE:
On the two middle panels, ensure that the adhesive does not extend past the edges of the mechanism strip or it will impede the movement when the card opens and closes. -
Step 9
Complete the project. The card will fold flat for mailing in a standard A2 envelope.


Video!
Variations
-
NOTE:
This “w” fold can be made in “landscape” mode as well. The card base is the same size – but the front is decorated in landscape – as are the panels on the inside.
-
You can also use different shapes for the inside decorations, they simply need to be sized to not interfere with the movement of the card and mechanism!
Your Turn
You've seen the tutorial, now you try it! We've got a section of the gallery set aside for W Fold Card. Try this technique, then upload your artwork to the gallery. Show us your creations!
***Please note - Internet Explorer/Edge is not a supported browser, and will not allow you to see the videos. Please use Chrome, Firefox or Safari to view our tutorial videos.

Questions and Comments
We'd love to get your feedback or questions. Leave your comment below.
Page 1 of 1 pages