Watercoloring with Dye Inks
by Dina Kowal
Use dye ink pads for watercolor techniques.

Supplies
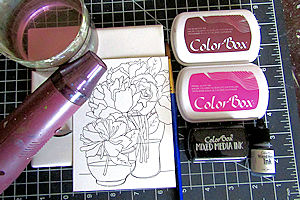
- Dye inkpads or reinkers (ColorBox® Premium Dye ink pads used here)
- Nonporous surface for a palette , such as a ceramic tile, craft sheet, styrofoam plate, acetate, or CD case (ceramic tile used here)
- Water
- Paint brush
- Heat tool
- Watercolor paper (Fabriano Studio Hot Press 90#/200gsm paper used here)
- Stamp image (used here: Stampers Anonymous Peonies, Impression Obsession WP835 Peony Set )
- Waterproof ink (ColorBox® Black Mixed Media ink kit used here)
- Stamp positioner (MISTI used here)
- Other supplies as needed to complete the project (used here: square dies, foam tape, ball stylus, Scor-Pal®, water mister, WRMK heart dies, Impression Obsession DIE 384 Miss You, discontinued sentiment stamp (dkdesigns), swiss dot organza ribbon, black pigment ink, clear embossing powder, CL634 Valentine Brush Words)
Step-by-Step
-
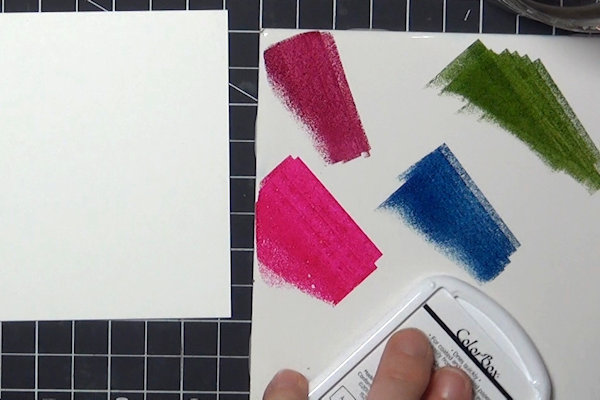
Step 1
Prepare a palette, using a nonporous surface such as a ceramic tile, acetate, craft mat, acrylic or glass block, or Styrofoam plate.
To fill the palette, tap or swipe dye-based inkpads onto the surface. -
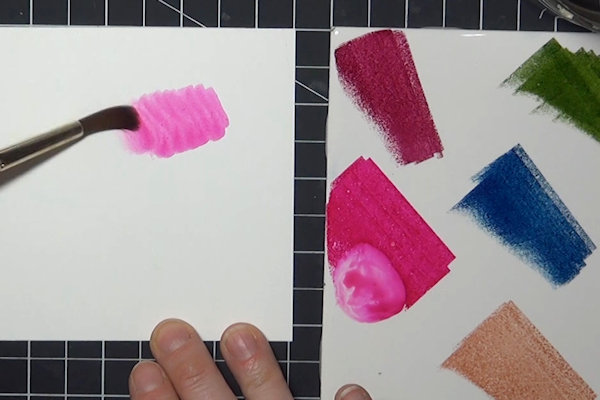
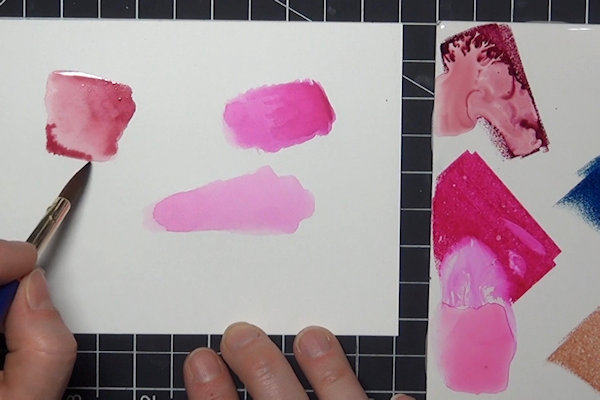
Step 2
Practice on watercolor paper to become familiar with how the ink blends with a wet brush. Use varying amounts of water to dilute or spread the ink. For more intense color, remove excess water from the brush and use a higher concentration of undiluted ink.
-
For a paler color, add more water, pulling color away from the original swatch on the palette to mix.
-
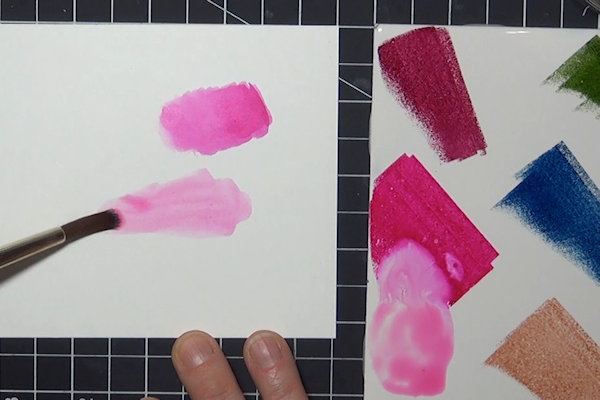
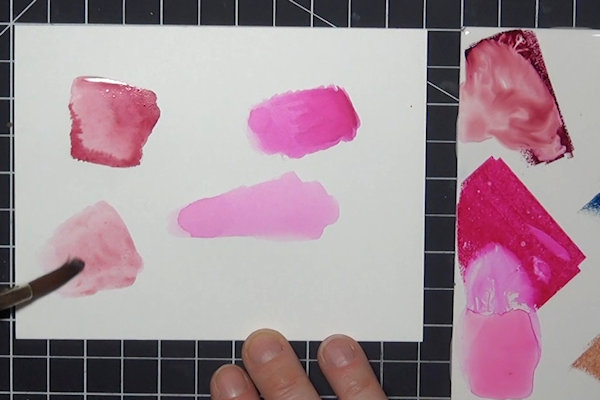
Step 3
Practice adding darker color into a lighter area while the first layer of color is still damp for the wet-into-wet blending method. As the area dries, newly added colors will remain more intense and stay more in place.
TIP:
A dotting motion works well for adding color. -
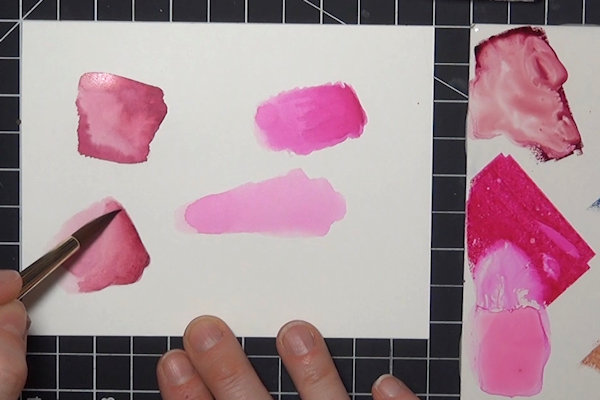
Step 4
Practice the glazing method. Apply a layer of diluted color and let it dry, or use a heat tool to speed the process.
-
Layer the same or a darker concentration of ink over the area where you want shading. Repeat as needed until you are pleased with the effect.
TIP:
Picking up ink on just the tip of the brush allows the water in the bristles to create a smooth blend. -
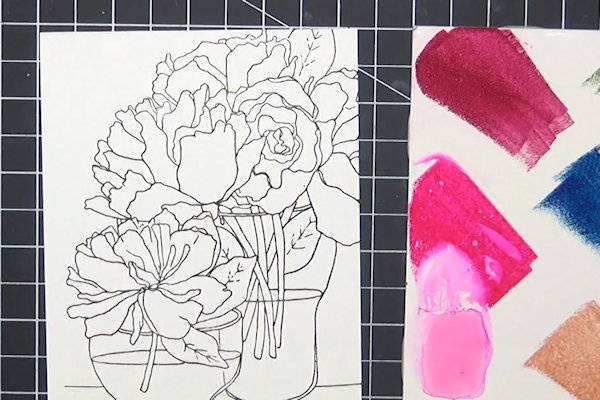
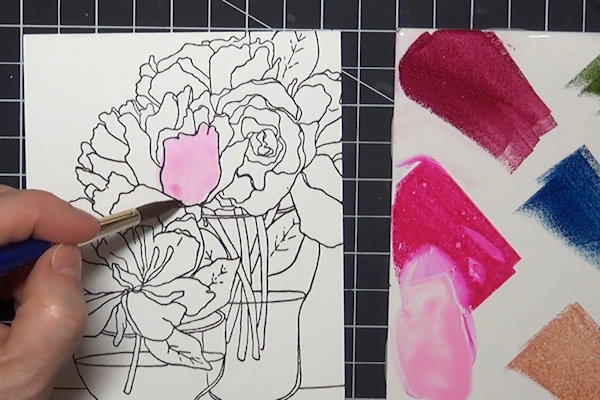
Step 5
Stamp an outline image on smooth watercolor paper.
-
Step 6
For the wet-into-wet technique, begin painting the image one small section at a time. Color in isolated areas that do not touch one another to prevent bleeding. Begin with a light base coat of color, adding a little water to dilute the ink.
-
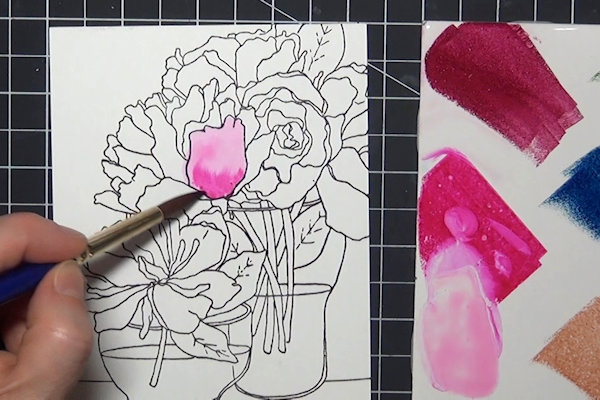
As the color dries, but while some dampness still remains, use more concentrated color for shading. The more wet the area, the more the additional color will blend out.
-
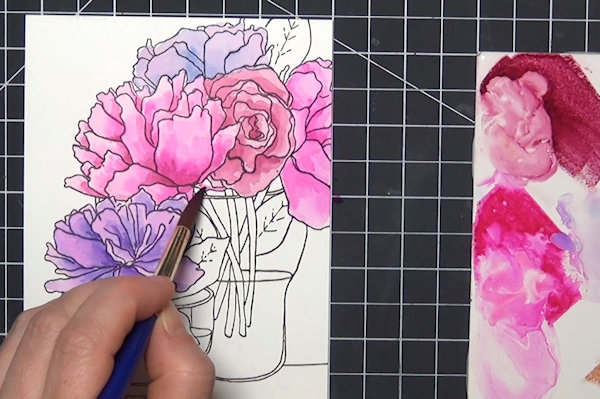
Step 7
For the darkest shading, wait until the area is almost dry. Add finer details after the first layers have dried completely so that the color does not bleed.
As a general rule, shaded sections are areas that are hidden behind something, areas that are lower on the image, and areas that appear farther away or are curving away.
-
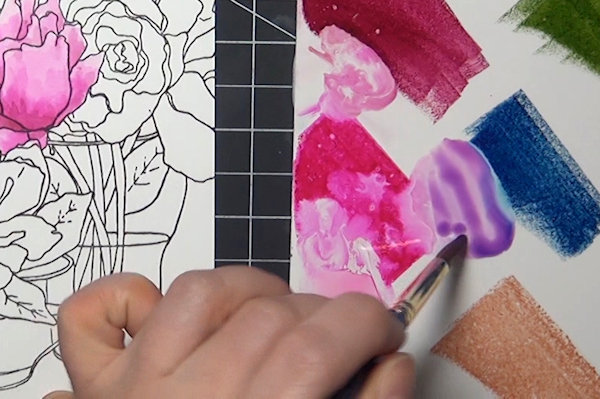
Step 8
Mix inks to create new colors on your palette. Here the bright pink and the blue inks were mixed to create an intermediate purple.
-
Step 9
You can vary your technique if it suits the image and your style. For this flower, the base color was applied all at once.
-
After heat setting, more layers of color were added.
-
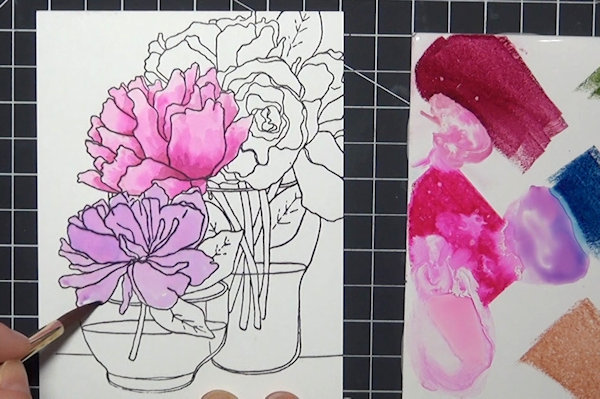
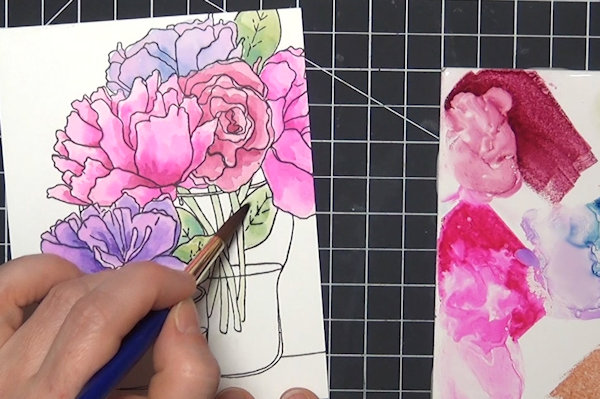
Step 10
Repeat the process in each area of the image.
-
Paint non-contiguous areas to prevent color bleeding – wait until an area is completely dry to paint a section directly next to it.
-
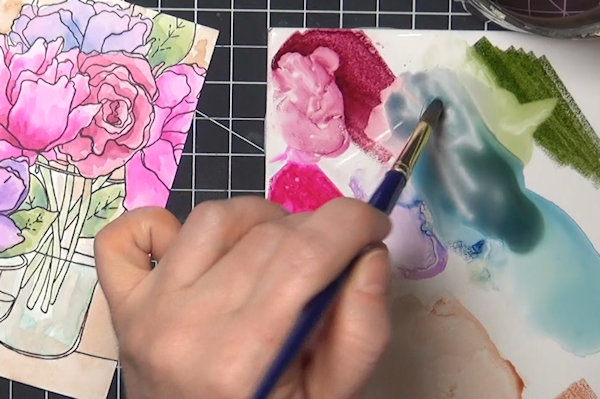
Step 11
To ground the image, mix colors on the palette to create a coordinating neutral color.
TIP:
Consult a color wheel; mix opposite colors together to create browns. In the sample, deep red and green alone would have created brown. Blue was added, producing a blue-grey. -
Create a horizontal shadow at the base of the image.
-
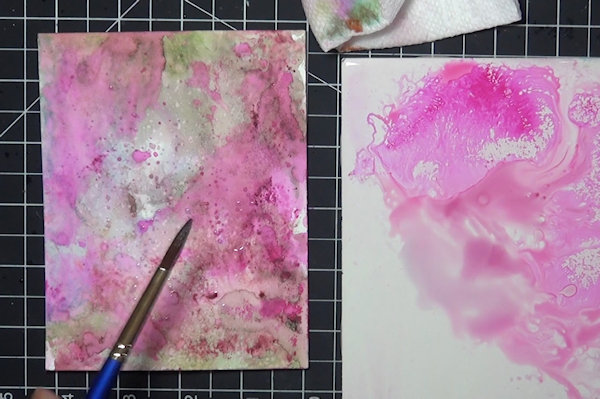
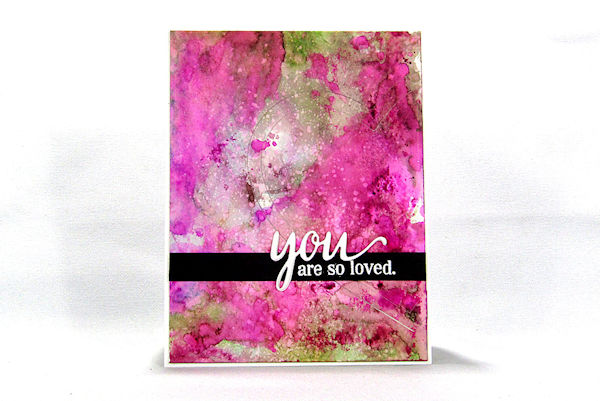
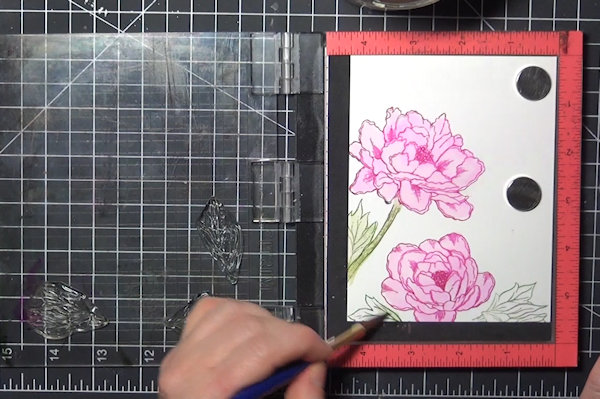
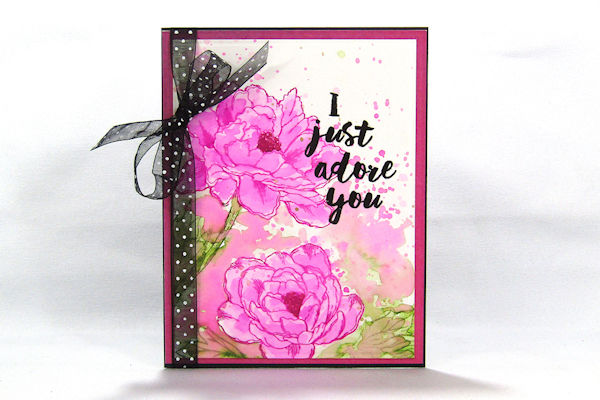
Step 12
Use the painted panel to complete a card or other project.
-
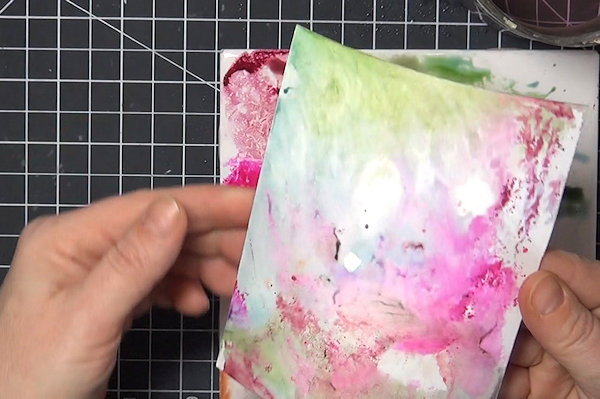
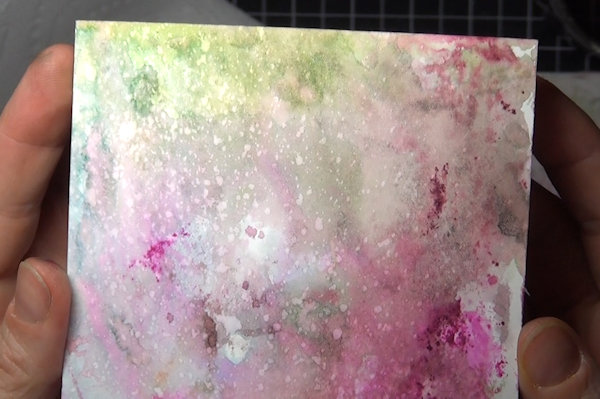
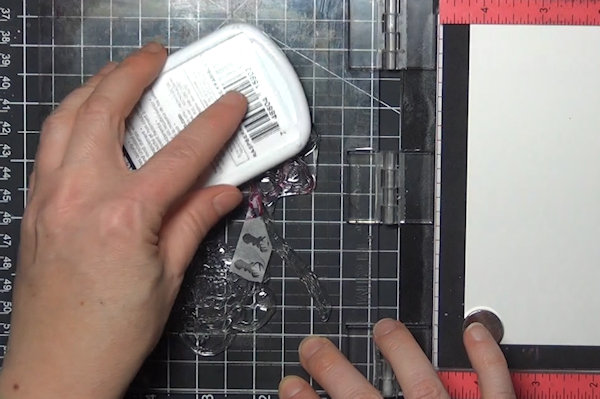
Step 13
Bonus panel – use the remaining ink on your palette to create a background using the Wrinkle-Free Distress technique. Mist the palette with water to refresh the ink as needed.
-
Dry the panel between prints to create more depth in the background. Mist the background with water and use a paper towel to lift ink away.
-
Step 14
Layer or splatter more ink as desired.
-
Step 15
Use the painted panel to complete a card or other project.
-
Step 16
For another method, stamp an outline image with the dye ink. Using a stamp positioner, work with one ink color at a time, masking off unwanted areas with tape.
NOTE:
Remember to remove the masks before stamping!
-
Use a wet brush to blend out the color.
-
Step 17
Stamp as many times as is needed to outline each area of the stamp or scene. Blend as before.
-
Step 18
Allow the panel to dry, then add shading and other details as desired.
-
Step 19
Use the painted panel to complete a card or other project.


Video!
View uncut painting process at 3x speed here. Please note: video does not have sound.
Sample 1 - 0:00; Sample 2 - 7:40; Sample 3 - 9:10
Your Turn
You've seen the tutorial, now you try it! We've got a section of the gallery set aside for Watercoloring with Dye Inks. Try this technique, then upload your artwork to the gallery. Show us your creations!
***Please note - Internet Explorer/Edge is not a supported browser, and will not allow you to see the videos. Please use Chrome, Firefox or Safari to view our tutorial videos.

 *
*
Questions and Comments
We'd love to get your feedback or questions. Leave your comment below.
Page 1 of 1 pages