Vinyl for Cardmaking
by Betty Traciak
Explore the benefits of using iron-on vinyl on your paper projects.

Supplies
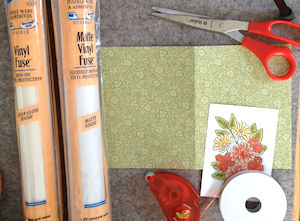
- Double-sided scrapbook paper
- Iron-on vinyl (Pellon 102R-M (Matte) or 100R (Gloss) used here)
- Scissors
- Iron
- Ironing board or mat
- Typing paper
- Paper piercer
- Needle and heavy thread
- Other supplies as needed to complete the project ((Stampin’ Up!® products used here: Ornate Style stamp set, Ornate Garden Specialty Designer Series Paper, Whisper White Cardstock, Memento Tuxedo Black Ink, Stampin’ Blends markers: Calypso Coral, Old Olive, So Saffron, Mint Macaron, Big Shot, Stitched Rectangles Dies, Ornate Garden Ribbon Combo Pack)
Step-by-Step
-
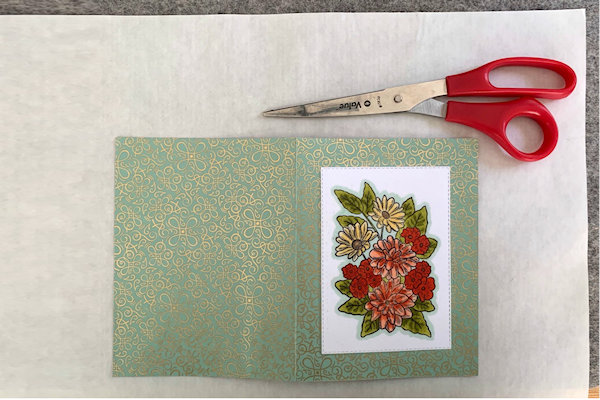
Step 1
Cut a 6-1/4” x 9-1/2” piece of double-sided scrapbook paper. Decorate front as desired.
-
Step 2
Cut two pieces of iron-on vinyl slightly larger than the scrapbook paper.
(Alternate - cut the vinyl twice the length of the project and slightly larger than the width if you wish to fold the vinyl over the edge.) -
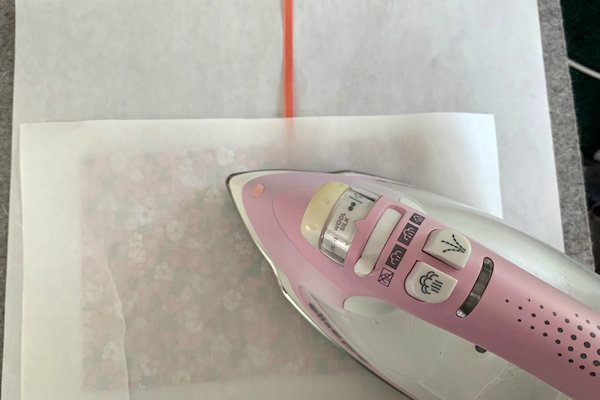
Step 3
Cover ironing mat with release paper backing from the vinyl. Sandwich scrapbook paper between the two pieces of vinyl with the sticky side of the vinyl in contact with the scrapbook paper. Trim the vinyl close to the paper.
-
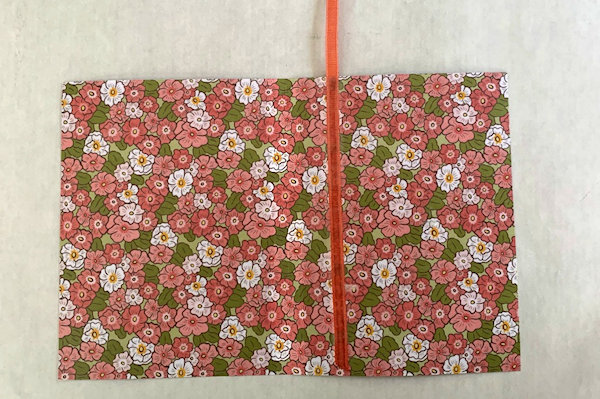
Step 4
Peel back the vinyl and put any embellishments such as ribbon in place.
-
Step 5
Cover the project with a second piece of release paper. Iron according to the manufacture’s directions with a warm dry iron (5 to 10 seconds).
-
Step 6
Cut several sheets of typing paper in half. Stack and fold into a book. Align the cover and pierce two holes through the crease. With a needle and heavy thread stitch through the holes and tie a knot.
-
Step 7
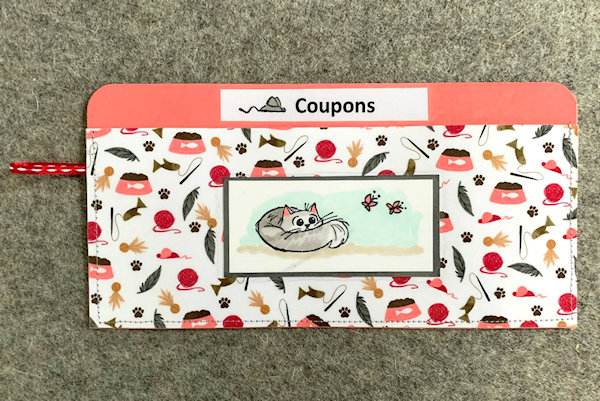
Complete the project.


Video!
Variations
-
Alternate project:
Cut two pieces of scrapbook paper/cardstock 3-1/2” X 8-1/2” and 4-1/4” X 8-1/2”. Decorate as desired. Cover with iron-on vinyl. Use a sewing machine to sew around the sides and bottom close to the edge.
Your Turn
You've seen the tutorial, now you try it! We've got a section of the gallery set aside for Vinyl for Cardmaking. Try this technique, then upload your artwork to the gallery. Show us your creations!
***Please note - Internet Explorer/Edge is not a supported browser, and will not allow you to see the videos. Please use Chrome, Firefox or Safari to view our tutorial videos.

Questions and Comments
We'd love to get your feedback or questions. Leave your comment below.
Thank you for sharing
Page 1 of 1 pages