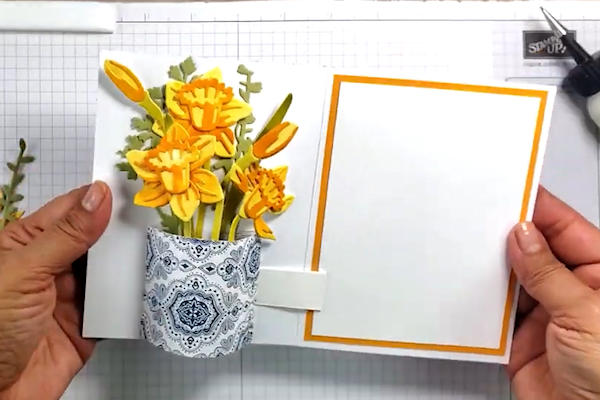
Vase Pop-Up Card
by Gloria Plunkett
Surprise your recipient with a dimensional vase of flowers.
Supplies
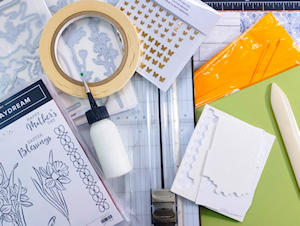
- Cardstock (Stampin’ Up!® Thick Basic White Cardstock used here)
- Stamps and embellishments (SU Daffodil Daydream stamp set, Daffodil Dies and Meadow Dies used here)
- Adhesives (liquid adhesive, double sided tape and foam dimensionals used here)
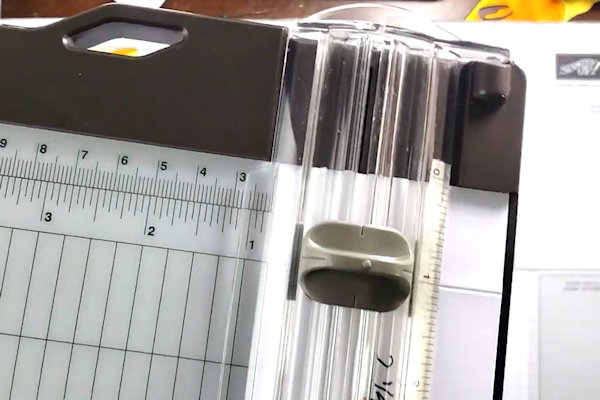
- Trimmer
- Scoring tool
- Scissors
- Other supplies as needed to complete the project (SU products used here: brass butterflies, watercolor paper, SU reinkers, Aquapainter, Heart and Home Designer Series Paper, Mango Melody and Basic White cardstock)
Step-by-Step
-
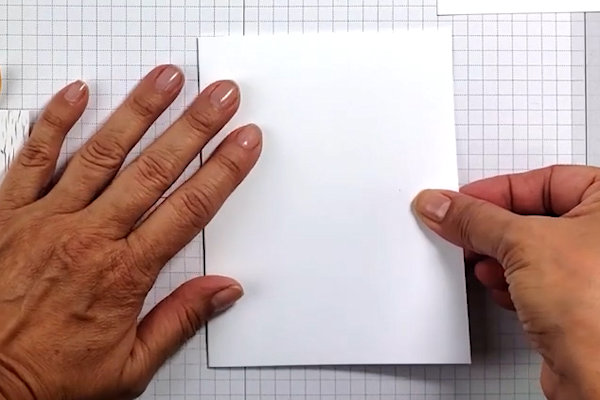
Step 1
Prepare a card base of heavy cardstock, cut to 8 1/2" x 5 1/2. Score at 4 1/4" and fold.
-
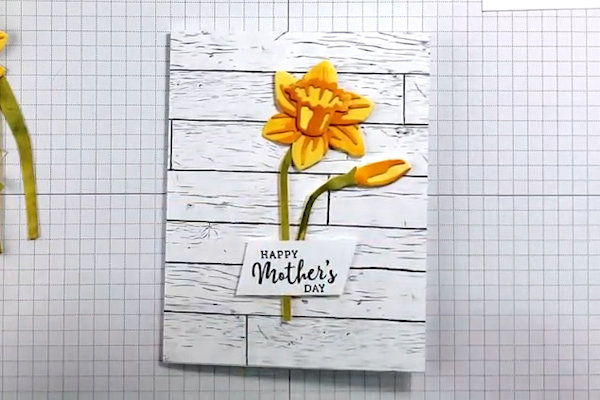
Step 2
Decorate the card front as desired.
-
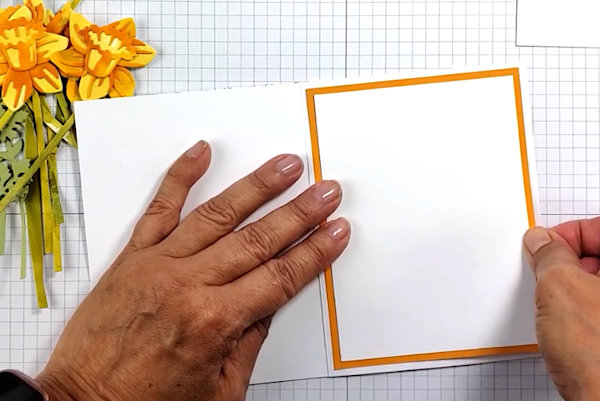
Step 3
Add layering panels to the inside of the card if desired. For the sample the panels are cut to 4” x 5 1/4” and 3 3/4" x 5”.
-
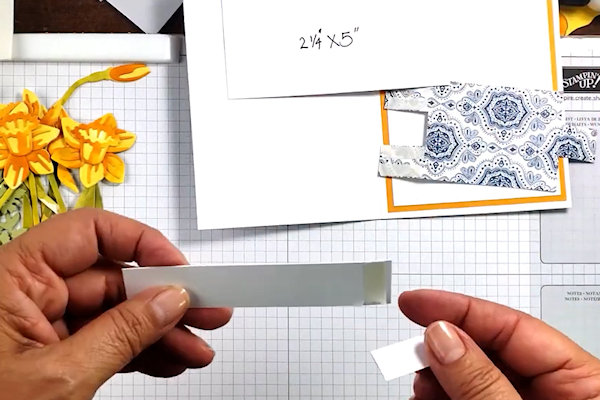
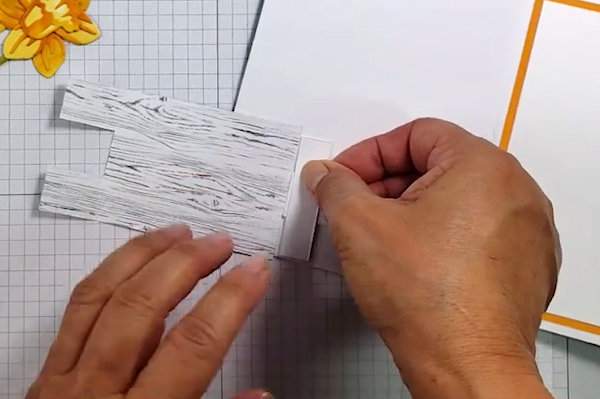
Step 4
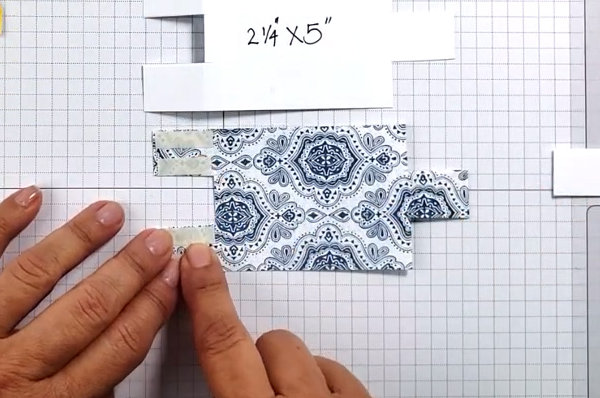
Cut cardstock for the vase mechanism:
2 1/4"x 5”
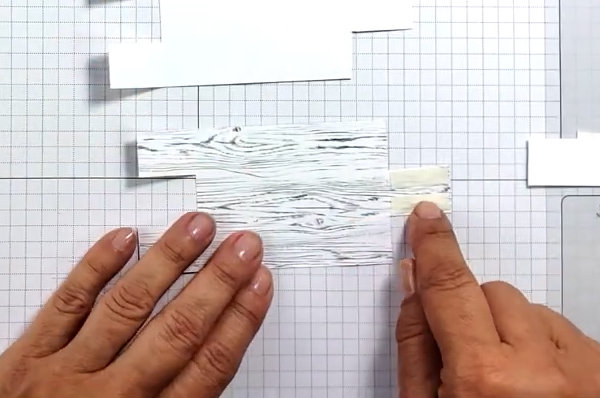
3/4" x 3 7/8”, score at 3/8” from one end
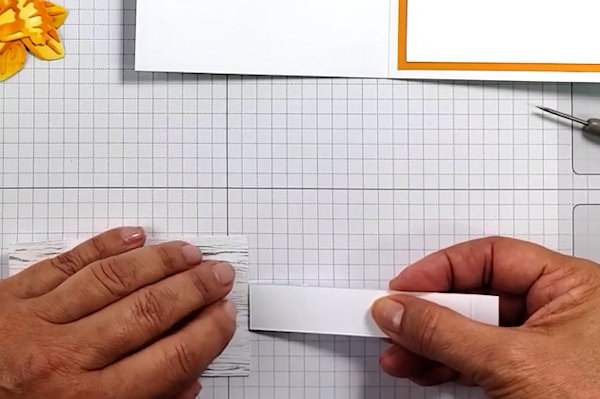
1/2" x 2” -
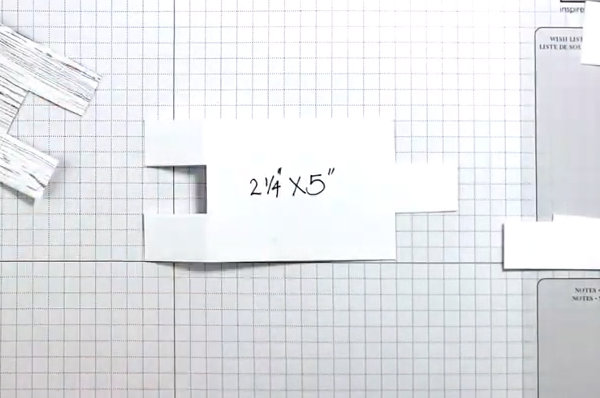
Step 5
Score the 2 1/4" x 5” at 1” and 4” on the 5” side. From the 2 1/4” sides, score at 3/4" and 1 1/2" only down to the score lines.
-
On one side, cut the outer sections away. On the other side, cut the center section away as shown.
-
Step 6
Add adhesive to the front side of the mechanism on the 2 tabbed end.
-
Add adhesive to the back side of the single tabbed end.
Do not cross the score lines. -
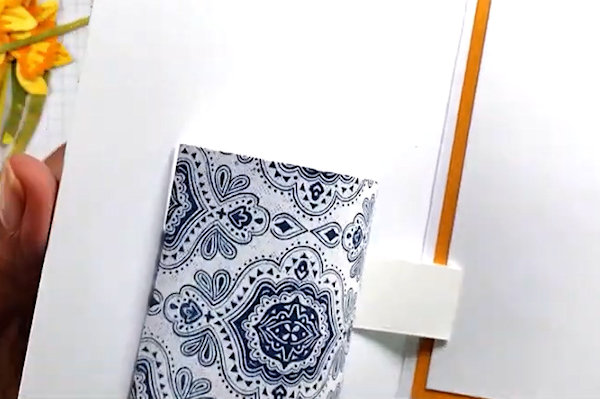
Step 7
Adhere the 3/4" x 3 7/8” strip to the single tab at the score line. Add adhesive to the back side of the 3/4" strip on the tabbed end.
-
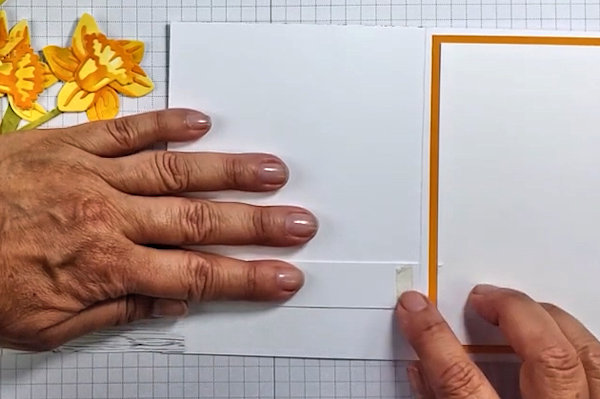
With the ‘wrong’ side of the vase up, adhere the tabbed end of the extender strip next to the fold line of the card. Be sure the bottom of the vase does not hang below the edge of the card. Close the card to attach.
-
Step 8
Put adhesive tape just at the ends of the small 1/2" x 2” stopper piece. Adhere the stopper piece over the extender tab at the edge of the vase piece (back). This strip should be adhered to the card base, not to the vase or extender strip.
-
Step 9
Remove the adhesive from the 2 tabs at the end of the vase. When the card is closed this piece needs to lie flat. Fold the tabs to the back of the vase. Hold the vase piece away from the card front until you are able to close the card and press it down flat. (See video for more clarity on this step.)
-
Step 10
When the card is opened, the vase will curve outward.
-
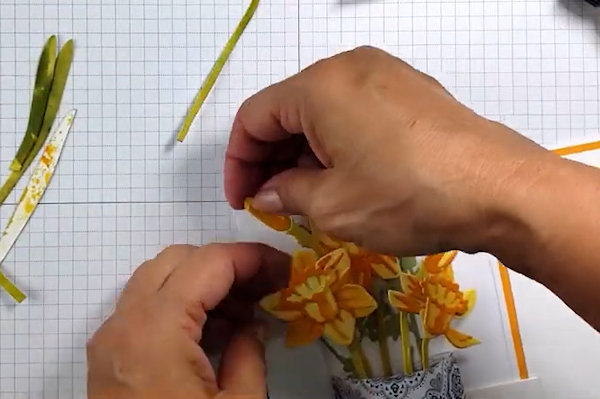
Step 11
Fill the vase by arranging and adhering die cuts behind it.
TIP:
For more dimension, adhere some pieces to the card and some to the back side of the vase that wil lift up when the card is opened. Take care to position the flowers so they don’t overlap the edge of the card when closed. -
Step 12
Complete the project. This card will fold flat to mail in a standard A2 envelope.

Video!
Your Turn
You've seen the tutorial, now you try it! We've got a section of the gallery set aside for Vase Pop-Up Card. Try this technique, then upload your artwork to the gallery. Show us your creations!
***Please note - Internet Explorer/Edge is not a supported browser, and will not allow you to see the videos. Please use Chrome, Firefox or Safari to view our tutorial videos.

Questions and Comments
We'd love to get your feedback or questions. Leave your comment below.
Page 1 of 1 pages