Valentine Tea Light
by Twila Davis
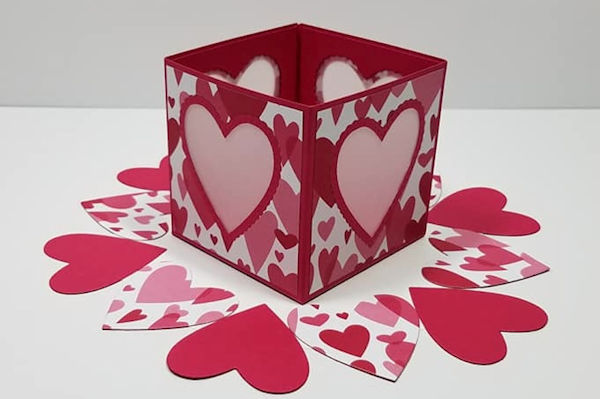
Create a valentine tea light holder with a matching mat.
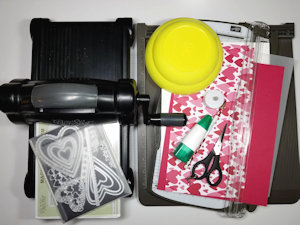
Supplies
- Cardstock: red, white (Stampin' Up!® Lovely Lipstick and Whisper White used here)
- Vellum (SU brand used here)
- Themed designer paper (SU All My Love Designer Series Paper used here)
- Paper trimmer
- Score board
- Die cutting machine
- Heart dies (SU Be Mine Stitched Framelits used here)
- Scissors
- Adhesive
- Battery tea light
- Pencil
Step-by-Step
-
Step 1
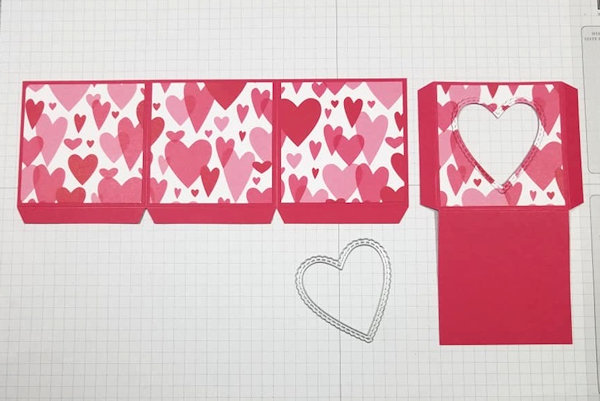
Cut a base piece of cardstock at 3 3/8" x 9" and another at 3 3/4" x 6.
Score the 3 3/8" x 9" piece on the long side at 3" & 6". On the short side, score at 3/8".
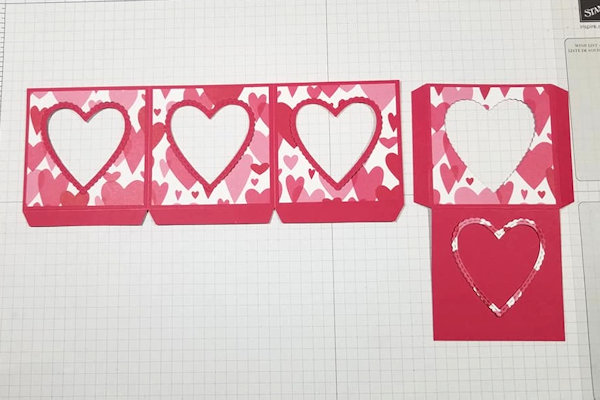
Score the 3 3/4" x 6" piece on the long side at 3". On the short side, score at 3/8" & 3 3/8". Trim as shown. -
Step 2
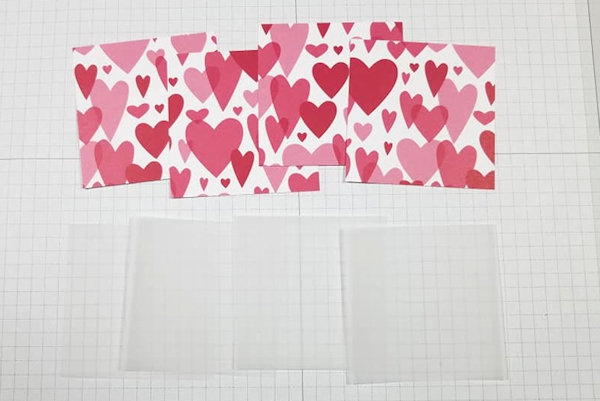
Cut four pieces of designer paper and four pieces of vellum at 2 13/16" x 2 13/16".
-
Step 3
Die cut a heart in the middle of each square.
-
If the heart die you are using has an extra outline heart cut, flip them all at this time and fit back into the holes made by the heart die.
-
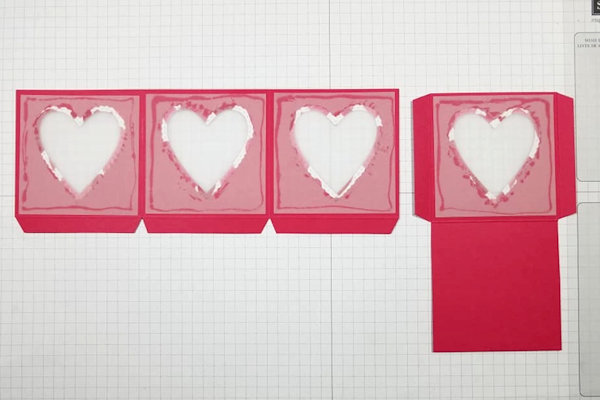
Step 4
Flip both pieces of cardstock over and glue the vellum pieces to the back, covering each hole.
-
Step 5
Glue the two pieces of cardstock together.
-
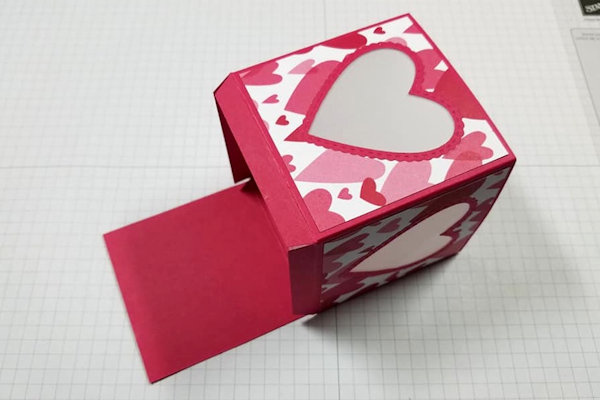
Step 6
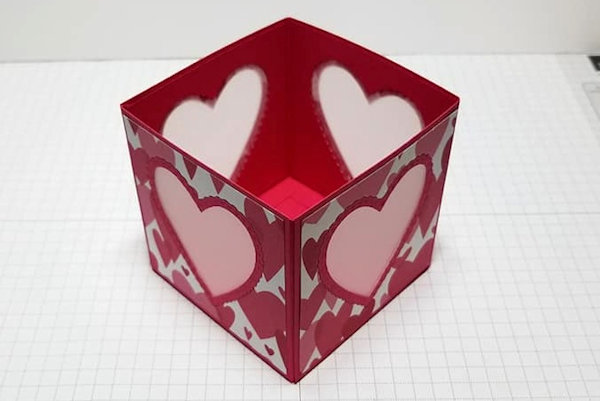
Bend the cardstock, forming a box. Add glue to the side tab and attach.
-
Add glue to the bottom tabs of the box and attach the bottom flap, finishing your box.
-
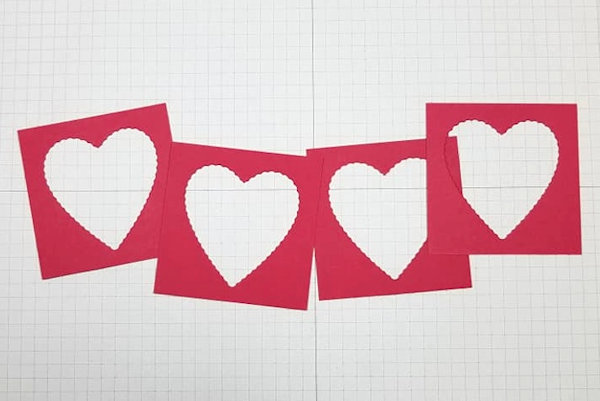
Step 7
Cut four pieces of cardstock at 2 7/8" x 2 7/8". Using the same heart die, cut out a heart in the middle of each piece.
-
Glue the red squares to the inside of your box on top of the vellum. This will finish off the inside nicely so you do not see the dried glue through the vellum.
-
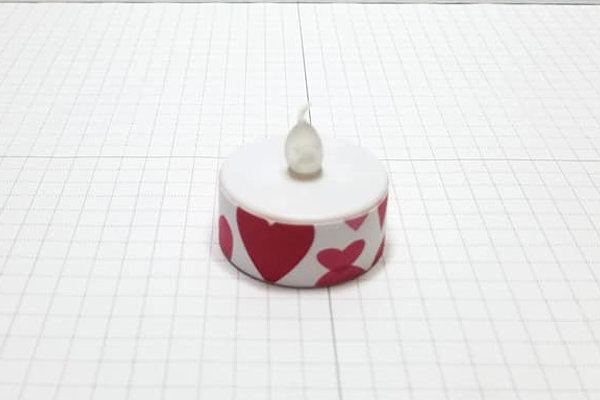
Step 8
Cut a piece of coordinating paper to 5/8" by 5 1/4" and glue it around the side of the tea light.
-
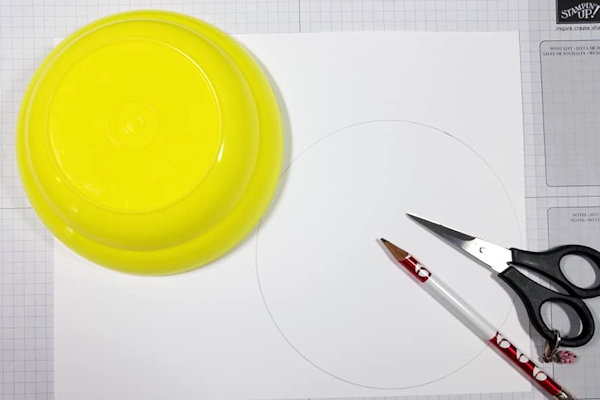
Step 9
Draw a circle with a circumference of 6 1/4" onto a piece of white cardstock. Cut it out.
-
Step 10
Cut out two more hearts from red cardstock and two more from the designer paper. These along with the eight hearts you have already cut out make a total of twelve hearts. Lay them down around the edge of the white circle. Glue them down when you have them where you want them. (It will take a little time to get them placed accurately, and placement may vary depending on the size of your circle.)
-
Step 11
Your Valentine Tea Light Holder with Matching Mat is now complete.


Video!
Your Turn
You've seen the tutorial, now you try it! We've got a section of the gallery set aside for Valentine Tea Light. Try this technique, then upload your artwork to the gallery. Show us your creations!
***Please note - Internet Explorer/Edge is not a supported browser, and will not allow you to see the videos. Please use Chrome, Firefox or Safari to view our tutorial videos.

Questions and Comments
We'd love to get your feedback or questions. Leave your comment below.
It's a great project. It can also be used as a basket. Just add a handle.
Page 1 of 1 pages