Twist Gate Fold
by Dawn Olchefske
Put a twist on a classic gate fold card.
Supplies
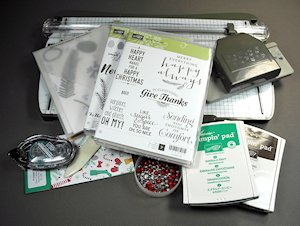
- Cardstock for card base, cut to 7 1/2" x 4 1/4" & 2 1/4" x 4"
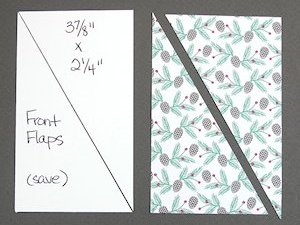
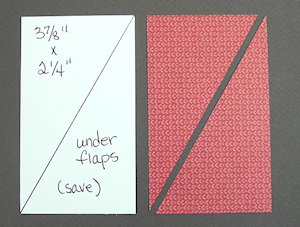
- Patterned paper, 2 pieces cut to 2 1/4" x 3 7/8" (Presents & Pinecones Designer Series Paper used here)
- Paper trimmer
- Bone folder
- Adhesive
- Other supplies as needed to complete the project (Stampin’ Up!® products used here: Suite Seasons and Christmas Pines stamp sets, Pretty Pines Thinlits Dies, Cherry Cobbler, Emerald Envy & Soft Suede cardstock, Emerald Envy and Early Espresso Classic Stampin' Pads, Baker's Twine Whisper White, Bunch Of Banners Framelits Dies, Confetti Hearts Border Punch, Mini Jingle Bell)
Step-by-Step
-
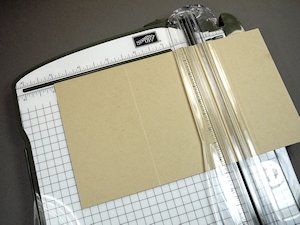
Step 1
Score the 7 1/2" x 4 1/4" piece of cardstock at 2-1/2" and 5".
-
Step 2
Score the left panel diagonally from the upper left corner to the lower right corner.
-
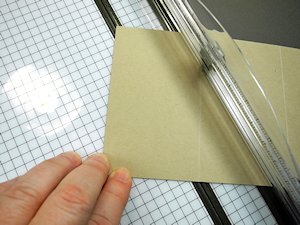
Step 3
Score the right panel diagonally from the upper left corner to the lower right corner.
-
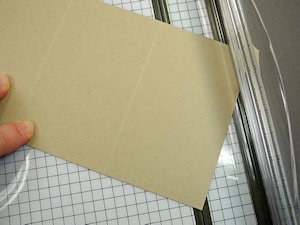
Step 4
Fold diagonal folds away from the card and straight folds inwards to complete the base of the card.

-
TIP:
Use a bone folder for tight creases.
-
Step 5
Cut the patterned paper diagonally for the front flaps from the upper left corner to the lower right corner.
-
Step 6
Cut the patterned paper diagonally for the under flaps from the upper right corner to the lower left corner.
-
Step 7
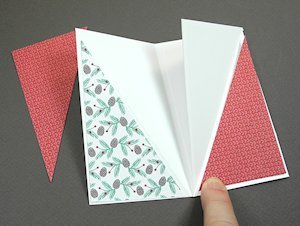
Adhere the diagonally cut papers to the card on the corresponding flaps.
-
Step 8
Decorate the card as desired.
Stamp a 4" x 2-1/4" panel with a greeting for the inside of the card.
TIP:
Be sure to only use adhesive on one side of the front of the card, so it can open freely.
-
Step 9
Complete the project.

-
The finished card will fit in an A2 envelope.

Video!
Your Turn
You've seen the tutorial, now you try it! We've got a section of the gallery set aside for Twist Gate Fold. Try this technique, then upload your artwork to the gallery. Show us your creations!
***Please note - Internet Explorer/Edge is not a supported browser, and will not allow you to see the videos. Please use Chrome, Firefox or Safari to view our tutorial videos.

Questions and Comments
We'd love to get your feedback or questions. Leave your comment below.
THANKS
Page 1 of 2 pages 1 2 >