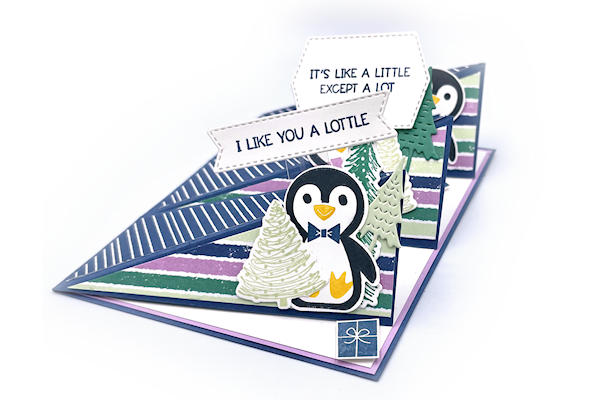
Triple Easel Panel
by Mary Deatherage
Showcase a variety of standing images on three easel features.
Supplies
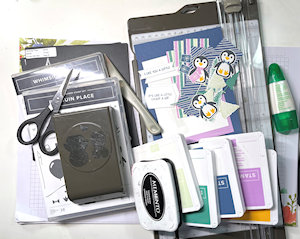
- Cardstock for base (Stampin' Up!® Misty Moonlight used here)
- Coordinating cardstock for inside mat, liner and easel stops (SU Fresh Freesia and Basic White used here)
- Patterned paper (SU Penguin Playmates DSP used here)
- Window Sheet for “floating sentiments”
- Paper trimmer
- Score tool
- Bone folder
- Liquid glue
- Other supplies as needed to complete the project (SU products used here: Basic White, Soft Seafoam and Just Jade cardstock for die cuts; Stampin’ Dimensionals; Tuxedo Black Memento Ink, Misty Moonlight, Fresh Freesia, Just Jade, Soft Sea Foam and Mango Melody inks; Penguin Place Bundle, Whimsical Trees Bundle and Tasteful Labels die set, die cutting machine)
Step-by-Step
-
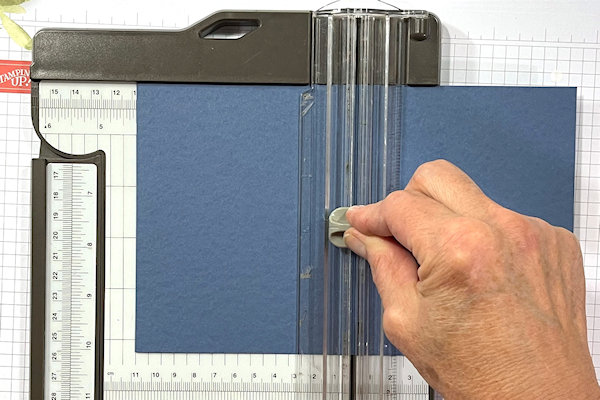
Step 1
Score a 5 1/4” x 8 1/2” piece of base cardstock at 4 1/4”on the long side.
-
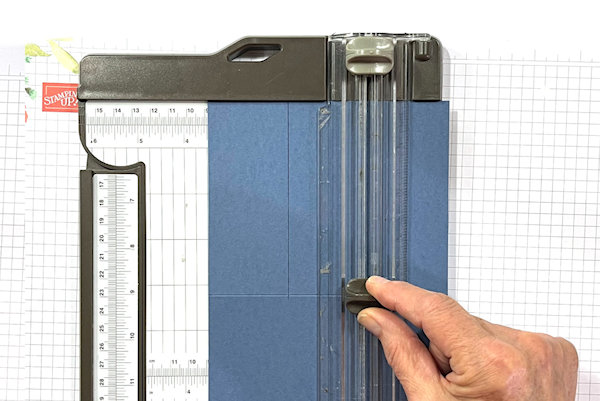
Step 2
Cut along the short side at 1 3/4” and 3 1/2” – cut only to the score line at 4 1/4”.
-
Step 3
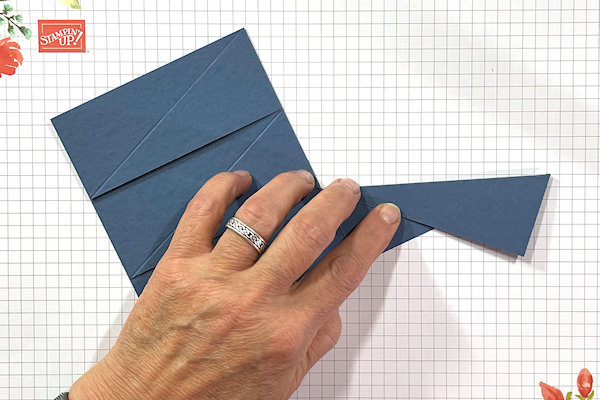
Score on the diagonal (upper right to lower left when card is open) on all three strips of the card base.
TIP:
Fold the other two strips out of the way to make this easier. -
Step 4
Fold each of the score lines as “mountain” folds to create the three easels.
-
Step 5
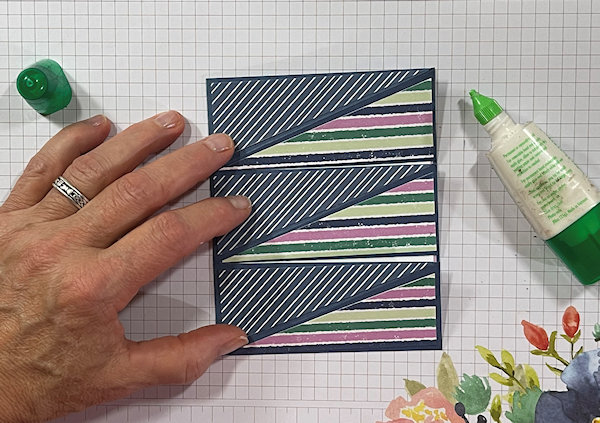
Cut 1 1/2” x 4” pieces of patterned paper to create the triangles for the easels.
-
-
Step 6
Adhere the triangles to the easel panels (liquid glue is recommended).
-
Step 7
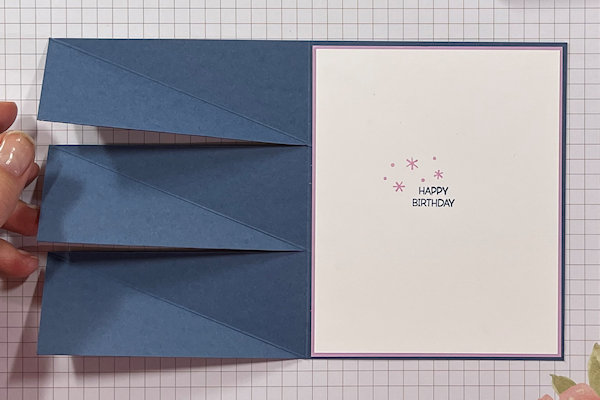
Add a sentiment to a 4” x 5” piece of inner liner cardstock. (Sample uses a sentiment from SU! Penguin Place in SU! Misty Moonlight and some snowflakes in SU Fresh Freesia.)
Layer the panel onto a 4 1/8” x 5 1/8” piece coordinating cardstock and adhere to the inside of the card. -
Step 8
Create “easel stops” on the inside of the card using popped up images or die cuts, buttons, etc. (Sample uses three stamped “presents” from SU! Penguin Place – two stamped in SU! Misty Moonlight and one in SU! Fresh Freesia – stamped on SU! Basic White cardstock and cut out with scissors.)
-
Adhere the props to the inner liner using a dimensional adhesive (sample uses SU! Stampin’ Dimensionals) such that they will “stop” the easels as shown.
-
Step 9
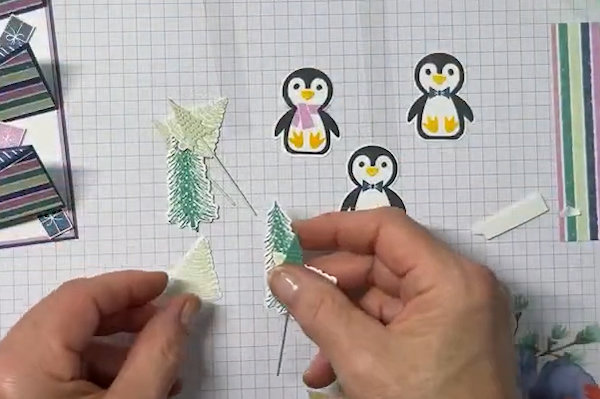
Create decorations for the front easels as desired. Sample uses:
a. Three Penguin Place penguins stamped in SU! Tuxedo Black, SU! Mango Melody, and SU! Misty Moonlight or Fresh Freesia and punched with the bundled SU! Penguin Builder Punch.
b. Three SU! Whimsical Trees stamped trees in SU! Soft Sea Foam and cut with bundled Christmas Trees Dies.
c. Two SU! Just Jade trees cut with the SU! Christmas Trees die set.
d. One SU! Soft Sea Foam tree cut with the SU! Christmas Tree die set. -
Step 10
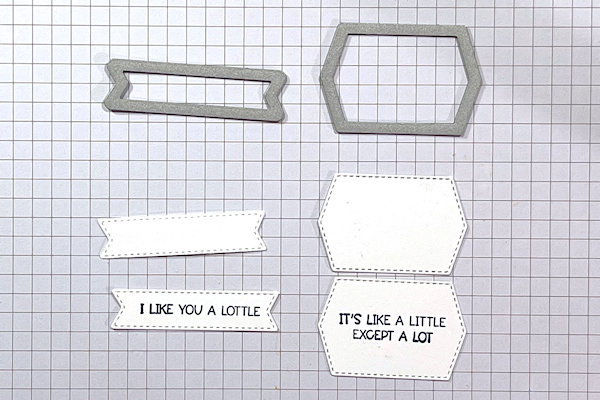
Create “floating sentiments”. (Sample uses two SU! Penguin Place sentiments stamped in SU! Misty Moonlight on SU! Basic White and cut with an SU! Tasteful Labels die.)
Cut a second die cut “backer” in the same color for each floating sentiment. -
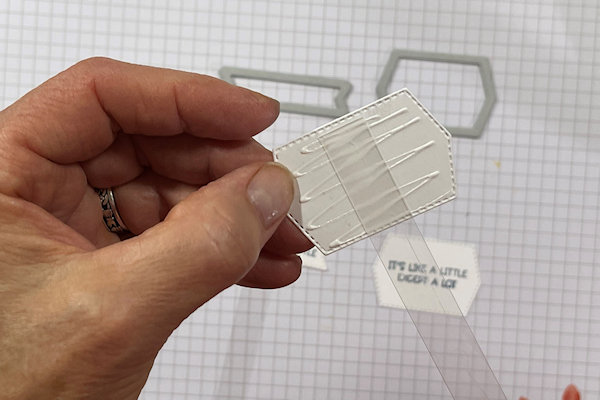
Step 11
Apply liquid glue to the inside of a "backer” die cut. Set a 1/2” wide strip of Window Sheet in place as shown.
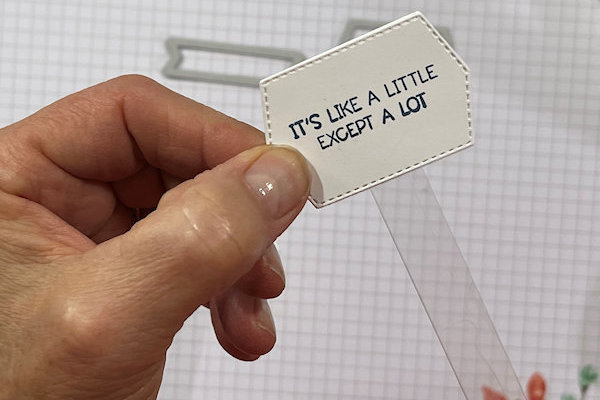
-
Add the matching sentiment label over the “backer” and Window Sheet strip to create a sandwich.
-
Step 12
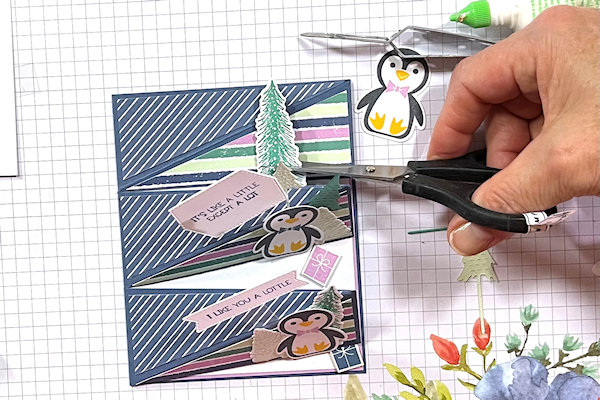
Decorate the fronts of the easels as desired.
TIPS:
Prop the easels on their stops as you decorate so that you can see the “scene” that you’re creating.
Adhere the “floating sentiments” as part of the decorations with Liquid Glue at the bottom of the strip, trimmed to fit as needed. Cover the bottom of the strip with another decoration to hide the glue. -
In order for the flat card to fit inside a regular A2 envelope – ensure that the decorations to do not extend past the sides or top of the card base when it is laid flat. This is especially important as you add decorations to the top easel. You should trim decorations as needed!
-
Step 13
Complete the project. If embellishments are trimmed properly, this card will fit in an A2 envelope. Additional postage may be required for thickness.


Video!
Your Turn
You've seen the tutorial, now you try it! We've got a section of the gallery set aside for Triple Easel Panel. Try this technique, then upload your artwork to the gallery. Show us your creations!
***Please note - Internet Explorer/Edge is not a supported browser, and will not allow you to see the videos. Please use Chrome, Firefox or Safari to view our tutorial videos.

 *
*
Questions and Comments
We'd love to get your feedback or questions. Leave your comment below.
Page 1 of 1 pages