Tissue Paper Bokeh
by Lindsay Adreon
Create a stunning bokeh effect with die cut tissue paper.

Supplies
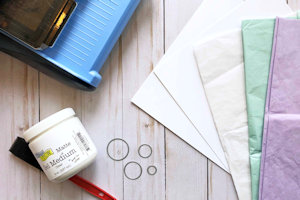
- Circle dies or punches ( 3-4 sizes - Hero Arts Nesting Circle Dies used here)
- Die cutting machine (if using dies)
- Tissue paper (purple, light blue, & white used here)
- Matte gel medium (The Crafter's Workshop used here)
- Foam brush
- Heavy weight white cardstock A2 size (4.25" x 5.5")(110 lb. used here)
- Other supplies as needed to complete the project (Joy Clair Stamps Hello Sentiments & Snowy Greetings stamp sets, CDD Holiday Border Dies, Tonic Studios Mixed Rectangle Dies, & Simon Says Stamp Celebration Time die sets used here)
Step-by-Step
-
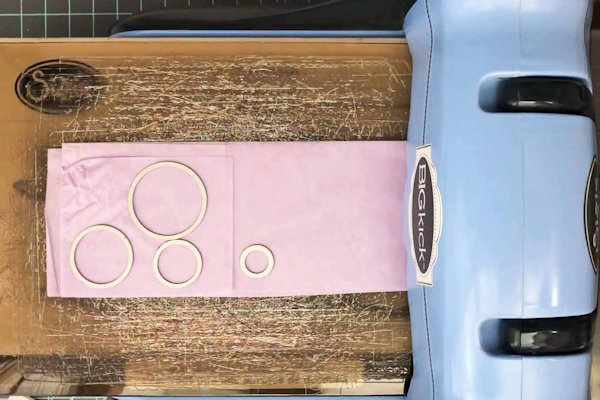
Step 1
Use the circle dies or punches to cut tissue paper. Cut several circles from all three colors.
-
Step 2
Separate the circles so each circle is only one layer of tissue paper.
-
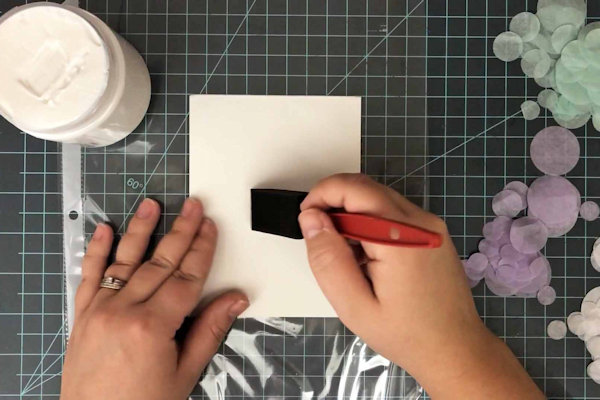
Step 3
Use the foam brush to apply a THIN layer of matte gel medium to the cardstock.
-
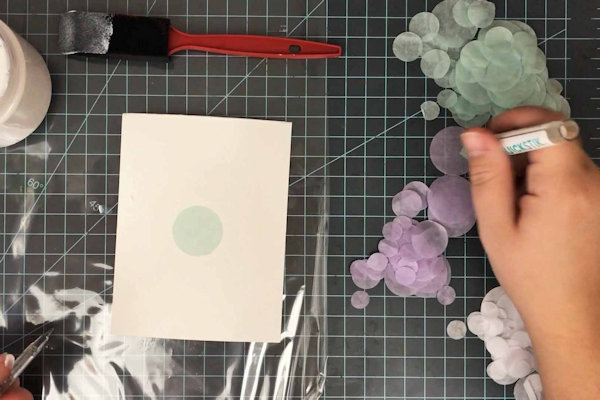
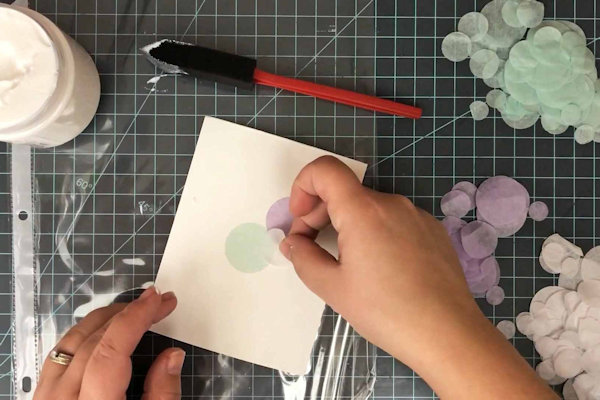
Step 4
Start laying down tissue paper circles using mostly the dark colors (blue and purple here) to fill the first layer.
-
Step 5
Overlap circles to give the bokeh effect.
-
Finish the first layer, and be sure to use THIN layers of gel medium to glue down each circle.
-
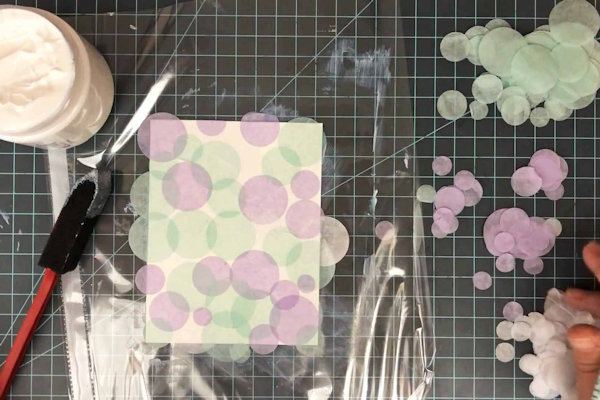
Step 6
For the final layers, incorporate more white tissue paper circles. This softens the background for the bokeh effect.
-
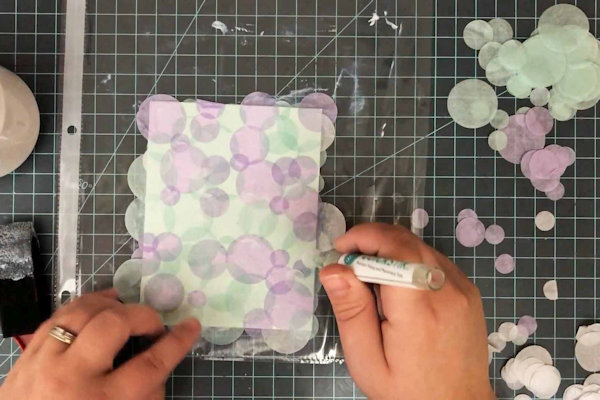
Step 7
Finish the background with a final thin layer of matte gel medium to seal everything in.
-
Step 8
Set background aside to dry.
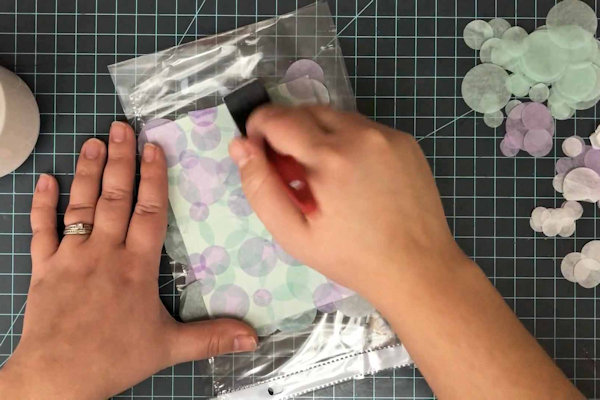
TIP:
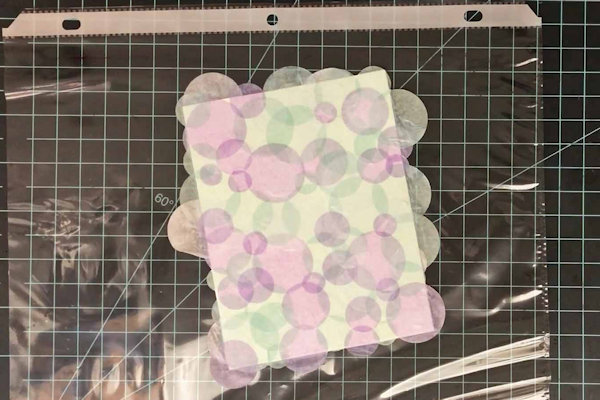
Use plastic wrap or a page protector to work on. Your paper won't stick as easily! -
Step 9
Use scissors or a paper trimmer to trim off the excess circles so all sides are flush.
-
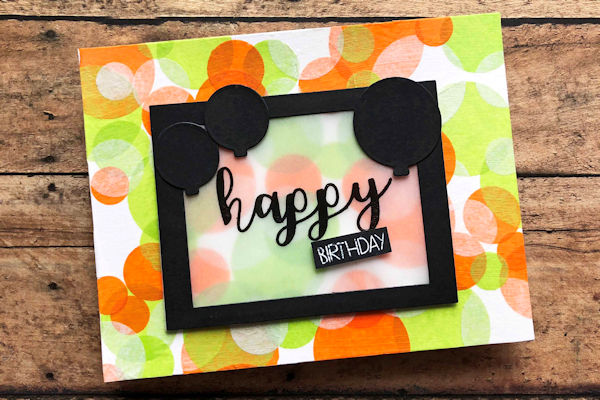
Step 10
Use your new backgrounds for your cards however you wish!
-


Video!
Your Turn
You've seen the tutorial, now you try it! We've got a section of the gallery set aside for Tissue Paper Bokeh. Try this technique, then upload your artwork to the gallery. Show us your creations!
***Please note - Internet Explorer/Edge is not a supported browser, and will not allow you to see the videos. Please use Chrome, Firefox or Safari to view our tutorial videos.

Questions and Comments
We'd love to get your feedback or questions. Leave your comment below.
Thanks for sharing.
Page 1 of 1 pages