Dimensional Tin Ornament
by Michele Kovack
Turn a baking tin into an ornament.
Supplies

- Tart Tin
- Stamped Image
- 2 1/2" circle die or punch
- Tacky Glue
- Texture Paste
- Dimensional Adhesive
- Crop-a-Dile™ or other strong hole punch
- Glitter
- Twine
Step-by-Step
-
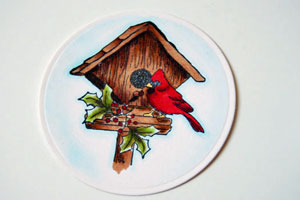
Step 1
Color image with medium of choice.
-
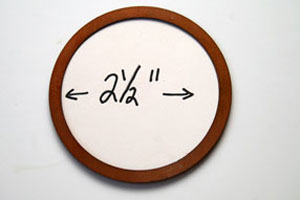
Step 2
Use 2 1/2" die to cut circle.
-
-
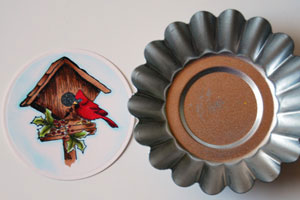
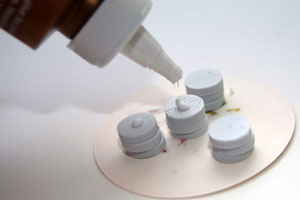
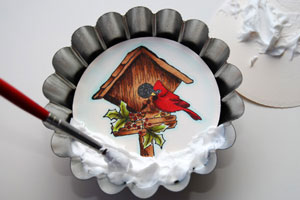
Step 3
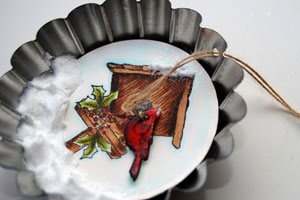
Use dimensional foam circles and Tacky glue to glue to bottom of tin. Let dry.
-
Step 4
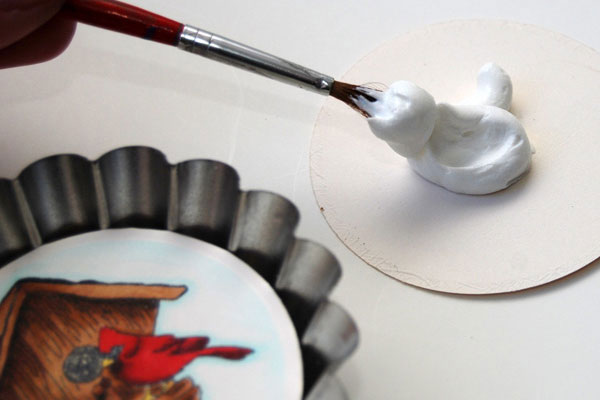
Squirt some Texture Paste on a piece of scrap paper.
-
Step 5
Use a paint brush to apply texture paste to bottom of tin to emulate snow.
-
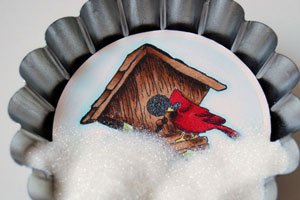
Step 6
Sprinkle fine glitter over wet texture paste. Let dry. Shake off excess glitter.
-
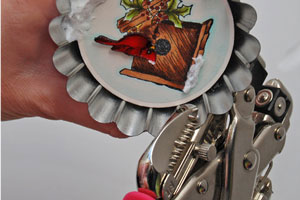
Step 7
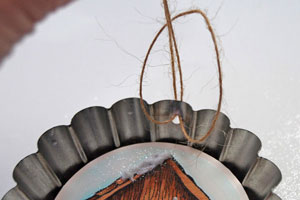
Use Crop-a-Dile™ to punch a hole at the top of the tin for the hanger.
-
Step 8
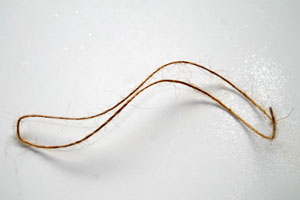
Take an 8" piece of twine and fold it in half.
-
Step 9
Slip twine through hole of tin.
-
Put ends of twine through loop and pull. Knot ends.
-
Step 10
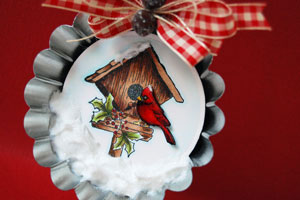
Embellish the top of the ornament with ribbons and bells.
-
Your ornament is done.

Your Turn
You've seen the tutorial, now you try it! We've got a section of the gallery set aside for Dimensional Tin Ornament. Try this technique, then upload your artwork to the gallery. Show us your creations!
***Please note - Internet Explorer/Edge is not a supported browser, and will not allow you to see the videos. Please use Chrome, Firefox or Safari to view our tutorial videos.

Questions and Comments
We'd love to get your feedback or questions. Leave your comment below.
I know it's a JustRite Stampers set, but I think it's retired. Sorry!
Page 1 of 1 pages