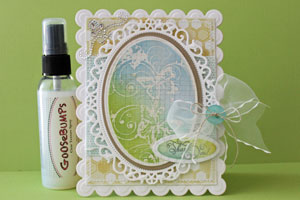
Texture Spray Resist
by Beate Johns
Use texture spray to create your own resist background.
Supplies
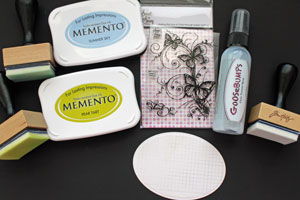
- Goosebumps texture spray
- Stamps Sweet 'n Sassy Butterfly Flourish used here)
- Dye inks (Pear Tart and Summer Sky Memento Ink used here)
- Blending tools or sponges
Step-by-Step
-
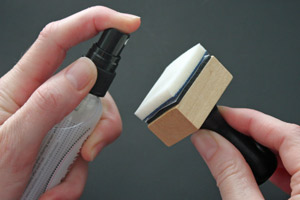
Step 1
Spray or dab Texture Spray to a blending tool.
-
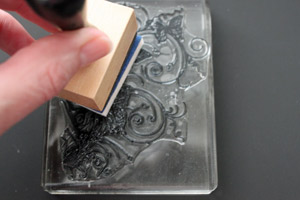
Step 2
Dab the blending tool over the stamp, inking the entire image.
-
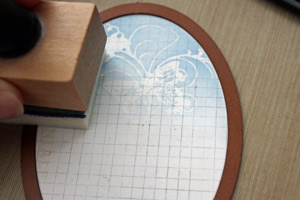
Step 3
Stamp the image on cardstock or patterned paper.
Hint:
After stamping the image, clean the stamp right away. Don't let the texture spray dry on the stamp.
-
Step 4
Start sponging dye ink over the resist image.
-
Continue to sponge ink over the entire piece to reveal the image.

-
Step 5 (Optional)
Add a second color of ink.

-
Step 6
Finish the card.

-
Video!
Variations
Try spraying the texture spray over masks instead of stamping an image with it. Or spray it over a brass stencils.
Your Turn
You've seen the tutorial, now you try it! We've got a section of the gallery set aside for Texture Spray Resist. Try this technique, then upload your artwork to the gallery. Show us your creations!
***Please note - Internet Explorer/Edge is not a supported browser, and will not allow you to see the videos. Please use Chrome, Firefox or Safari to view our tutorial videos.
Questions and Comments
We'd love to get your feedback or questions. Leave your comment below.
Also, could you get the same result by stamping the colored image with a stamp painted with bleach?
And what do you clean the Goosebump-ed stamps with?
Thanks.
Yes there are multiple different way to create a resist look. We have tutorials for a lot of them in our resource section:
Acrylic Resist
Burned Batik
Color Wash Faux Bleach
Crayon Resist
Crayon Rubbed Embossing
Embossing Resist
Emerging Color
Faux Mother of Pearls
Gesso Resist
Ghosting (Versamark Resist)
Joseph's Coat
Magic Snowflake
Mulberry Batik
Rubber Cement Resist
Shimmery Resist
Smooch Spritz Resist
Wax Paper Cuttlebug Resist
Wax Paper Resist
I just wanted to showcase another way to create a resist look.
Nancy, Stamping with bleach looks a bit different. You remove color from the cardstock you stamp on instead of adding an image with a product that will resist the ink you add over the image.
I clean my stamp right after I use with a wet cloth first, then with my regular stamp cleaner.
Lately I have been leaving my card insides blank, since I mostly work with white card bases now. If I add something, it's just a slim patterned paper strip (same that I have to used in the front).
Nancy,
Yes, the oval is called Floral Oval Nestabilities die and is my FAVORITE from the latest Spellbinders release. I am a bit obsessed with it. It makes every project just a bit more beautiful!
Mary,
You can purchase Goosebumps in many online stores. Just google it.
Page 1 of 2 pages 1 2 >