Telescoping Image
by Holly McMillen
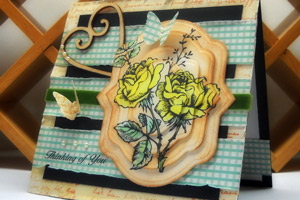
Cut image several times and layer them on top of each other to create a unique look.
Supplies
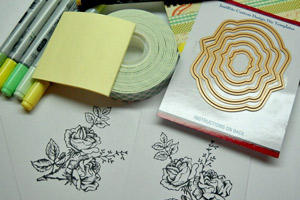
- Nesting Dies (four consecutive sizes)
- Image that fills largest die
- Ink
- Dimensionals
- Post–It® Notes or similar repositionable tape
- Supplies to finish card/project
Step-by-Step
-
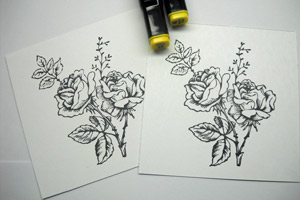
Step 1
Stamp image twice and color (if needed)
-
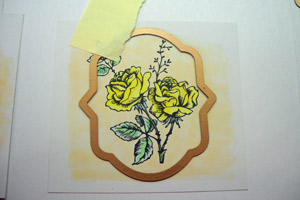
Step 2
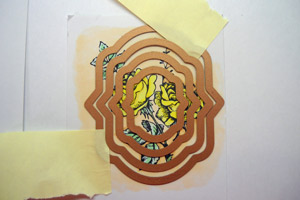
Position largest die over one of the images. Use the post-it note to hold it in place.
-
Step 3
Line up the 2nd and 3rd largest dies on the same image.
-
Holding down the middle die, gently pull the 2nd die away and affix the center die with a Post-It note. Run this through your die cut machine.

-
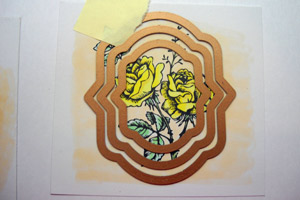
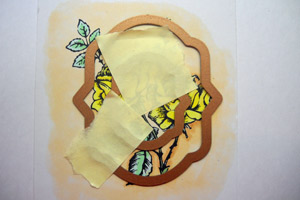
Step 4
Position the largest die over the second image. Line up the 2nd, 3rd and 4th dies inside.
-
Carefully remove the largest die and the 3rd die and tack down the remaining two dies with post-it notes. Run this through your die cut machine.
-
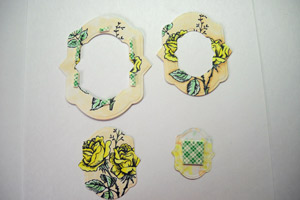
Step 5
Stack the four die cut pieces using dimensional adhesive.
-
Step 6
Complete your card/project.
Video!
Your Turn
You've seen the tutorial, now you try it! We've got a section of the gallery set aside for Telescoping Image. Try this technique, then upload your artwork to the gallery. Show us your creations!
***Please note - Internet Explorer/Edge is not a supported browser, and will not allow you to see the videos. Please use Chrome, Firefox or Safari to view our tutorial videos.

Questions and Comments
We'd love to get your feedback or questions. Leave your comment below.
The stamp set Holly used is from JustRite Stampers and is called With Sympathy.
Pam,
yes, you can stamp and cut the image four different times, but you have to make sure they stack up nicely. This way you have to color less (if it's an outline image) and you use less paper. Each way works.
Page 1 of 2 pages 1 2 >