Telescoping Card
by Beate Johns
Create an expanding card with three or more cardstock shapes.
Supplies
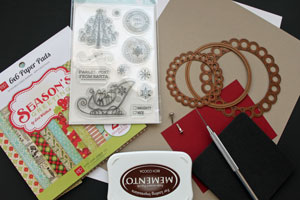
- Cardstock
- Patterned paper (optional)
- Shape Dies (Classic, Beaded and Jumbo Scallop Circle Nestabilities™ used here)
- Paper piercing mat and tool
- Two Brads
- Stamps, The Greeting Farm Clear Christmas used here)
- Ink
- Scor-Tape™, or other strong adhesive
Step-by-Step
-
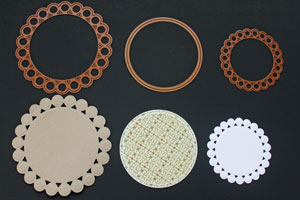
Step 1
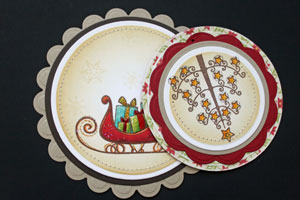
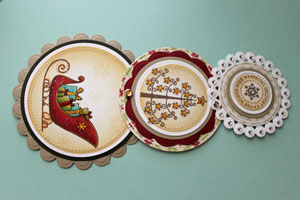
Cut three shapes of choice out of cardstock or patterned paper. Cut shapes that are each slightly smaller than the one before.
-
Step 2
Decorate the shapes with stamps and, if desired, additional layers and embellishments.

-
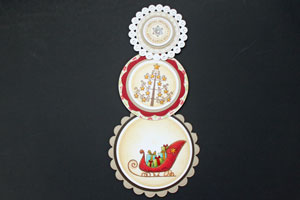
Step 3
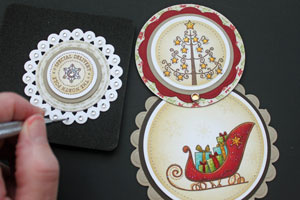
Lay out the shapes by size.
-
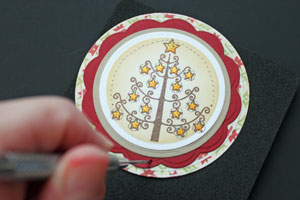
Step 4
Pierce a hole in the bottom of the middle shape.
-
Step 5
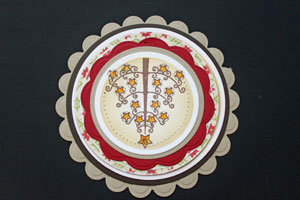
Place the medium size shape with its image upside down over the largest shape.
-
-
Step 6
Using the hole on the medium shape as a guide pierce a hole through the bottom shape.
-
Connect shapes with brad.
-
Step 7
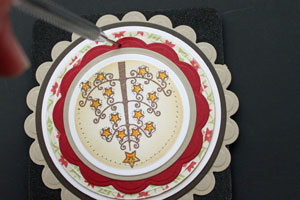
Pierce hole on the lower edge of your smallest shape.
-
Step 8
Line smallest shape up with medium one, the image of the smallest shape should be upside down. Pierce hole into the medium shape on the opposite side of your first brad.

-
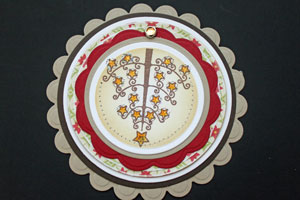
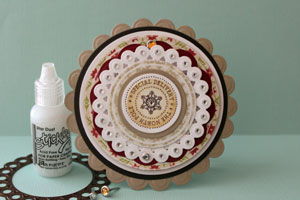
Attach layers with brad.
-
Step 9
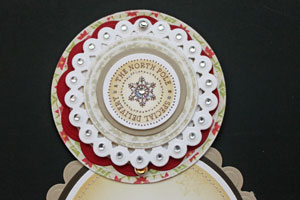
Your telescopic card is done.
-
Video!
Variations
Extend it!
Create more then three base shapes and attach them with brads to each other for a longer telescopic card.
Attach, then stamp
Some people find it easier to attach the shapes together before adding the images.
Mix it up!
Try mixing up shapes. Try squares with circles or Circles with Nestabilities Label shapes.
Your Turn
You've seen the tutorial, now you try it! We've got a section of the gallery set aside for Telescoping Card. Try this technique, then upload your artwork to the gallery. Show us your creations!
***Please note - Internet Explorer/Edge is not a supported browser, and will not allow you to see the videos. Please use Chrome, Firefox or Safari to view our tutorial videos.
 *
*
Questions and Comments
We'd love to get your feedback or questions. Leave your comment below.
gr
An (from Aruba)
Thanks
The card as it is shown will not stand.
If you want this card to stand, you will have to make the largest shape a card base, not just a single layer.
Lura
to do this. Thanks for sharing.
Page 1 of 3 pages 1 2 3 >