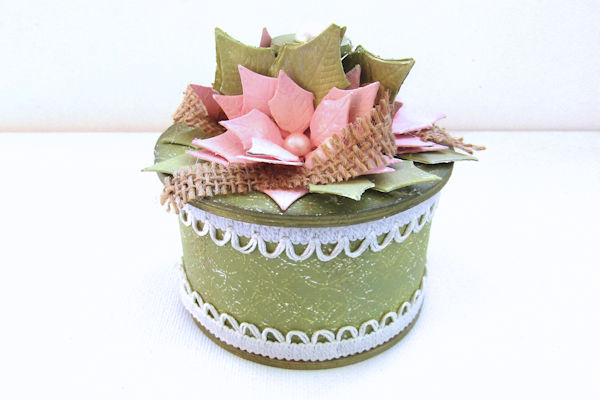
Tape Roll Trinket Box
by Dina Kowal
Upcycle an empty tape roll into a useful trinket box.
Supplies
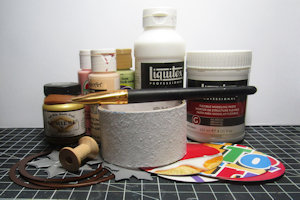
- Empty wide tape roll (1 3/4" wide roll from packing tape used here (3" inside diameter))
- Chipboard sheets (cereal boxes used here)
- Circle dies (2 3/4", 3 1/4", and 3 1/2" Spellbinders circle dies used here)
- Strong liquid glue (Tombow Mono Multi Adhesive used here)
- White gesso
- Paint brush
- Heat tool
- Post-It® Notes
- Large background stamp (Impression Obsession CC180 Broken Chainlink used here)
- Embossing ink
- White or clear embossing powder
- Acrylic paint
- Sandpaper or emery board
- Glue gun
- Embellishments (used here: Impression Obsession DIE323 Poinsettia Die Set, wooden spool, burlap scraps, vintage trim)
Step-by-Step
-
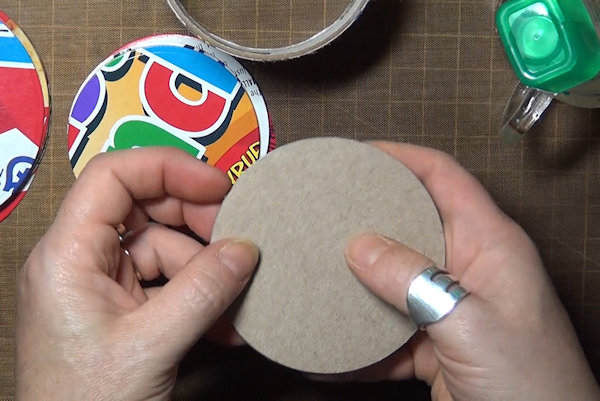
Step 1
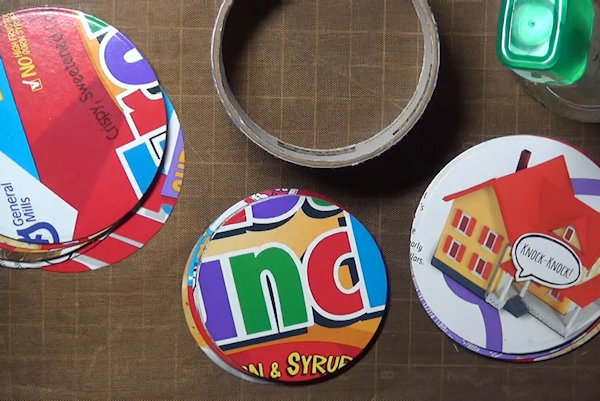
For the base of the box, choose a circle die that is the same size or just slightly larger than the tape roll. For the lid, choose a circle die 1/4" to 1/2" wider than the tape roll. Finally, choose a circle die for the bottom of the lid just smaller than the inside of the tape roll opening.
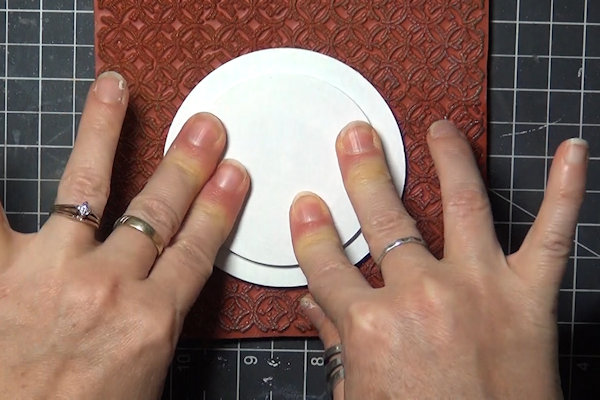
Die cut 5-6 chipboard circles for each size needed for the box. -
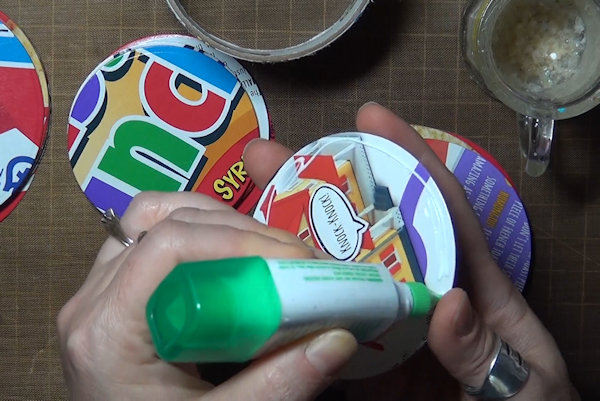
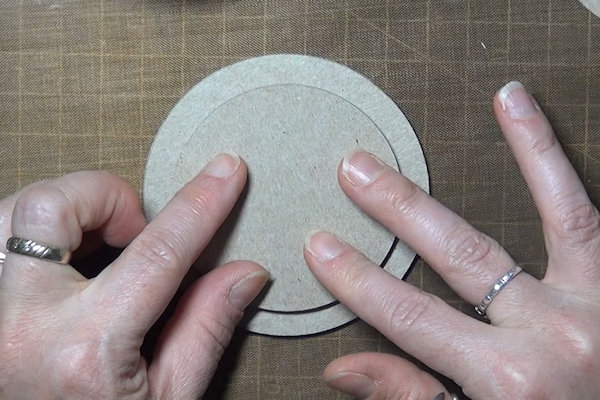
Step 2
Glue the cut circle pieces of each size together into three tight stacks. Line the edges up carefully to create a smooth edge on the glued piece. Press the stacked pieces under a book or heavy weight so they dry compactly.
-
NOTE:
Be sure to glue the end pieces so that the unprinted side of the chipboard is exposed. -
Step 3
Center and adhere the smallest stacked piece to the bottom of the largest (lid) piece. (This will keep the lid from sliding off the box.)
-
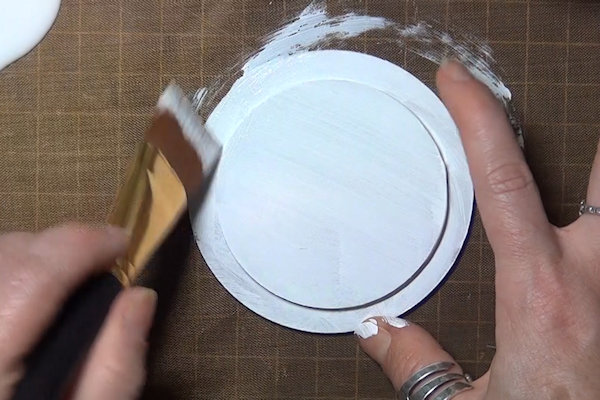
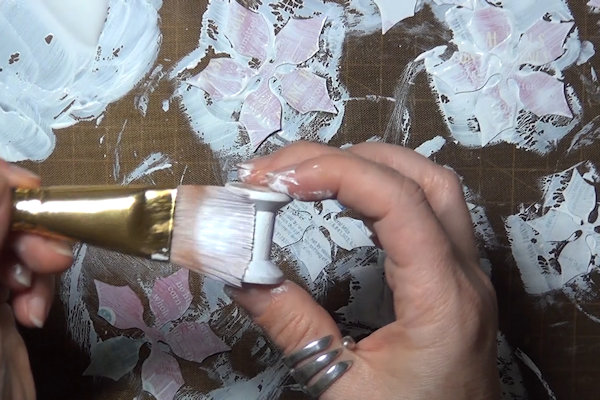
Step 4
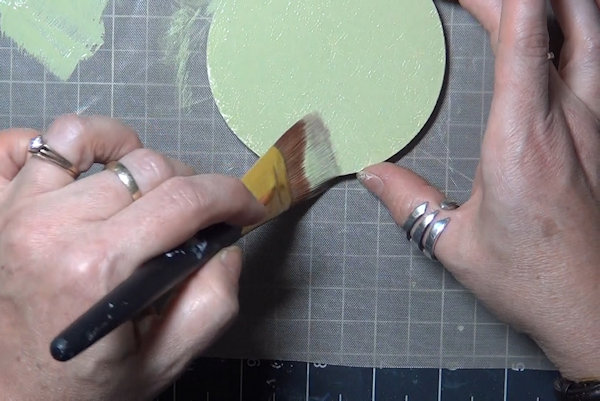
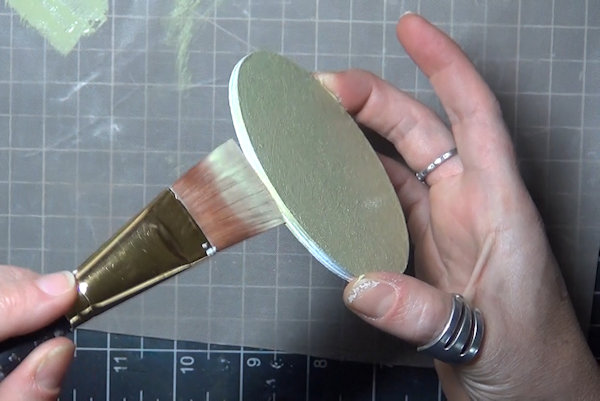
Coat each of the stacked circle pieces with white gesso. Repeat as needed for full coverage.
-
Use a heat tool as needed to speed the drying process. Heat lightly, as overheating can cause the gesso to bubble.
-
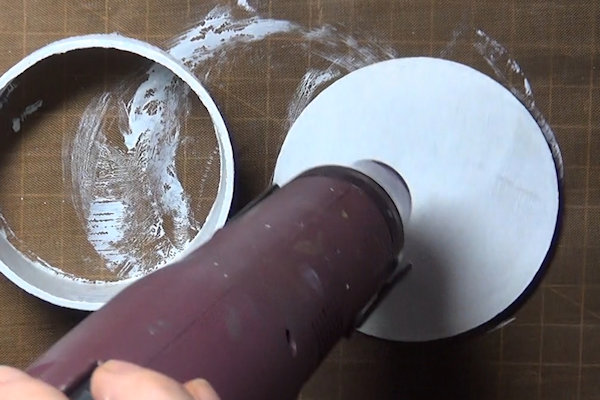
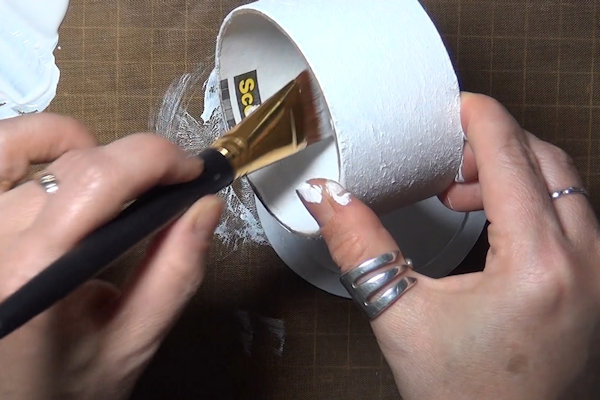
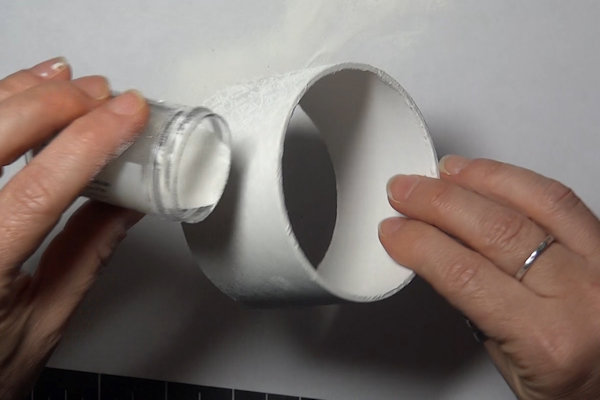
Step 5
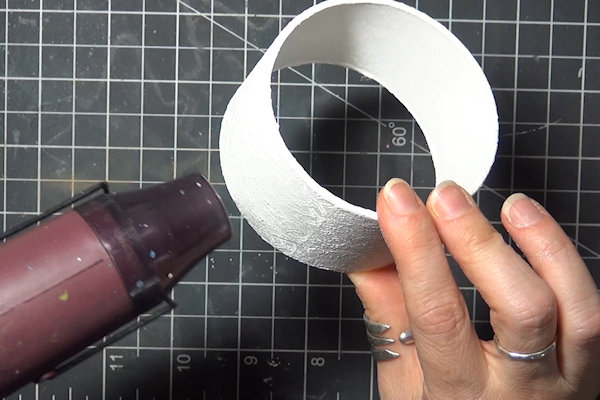
Coat the tape roll with white gesso, repeating as needed for full coverage.
-
Paint the inside of the roll as well.
-
Step 6
Prepare other embellishments for the box and coat them with gesso as well. Here, layered poinsettias were cut out of chipboard and coated with gesso, as well as a small wooden spool that will be used as a handle.
-
Step 7
Mask off half of the tape roll using sticky notes, so that you can work with one section at a time.
-
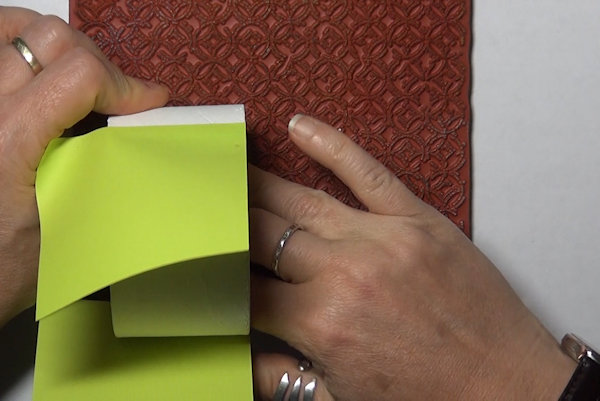
Step 8
Ink a large background stamp with Versamark or other clear embossing ink.
-
Roll the tape roll over the inked portion of the stamp.
-
Step 9
Using white or clear embossing powder, coat the stamped design.
-
Heat to activate and set the powder, using a heat tool.
-
Step 10
Repeat steps 7-9 for the other side of the roll.
-
Emboss the top of the box lid as well.
-
Step 11
Give each piece of the box (lid, ring, and base) an even coat of acrylic paint. Repeat as needed for complete coverage.
-
Remember to paint the edges as well.
-
Step 12
When the paint is dry, use fine grit sandpaper or an emery board to very lightly sand over the embossed areas, exposing the white paint beneath.
-
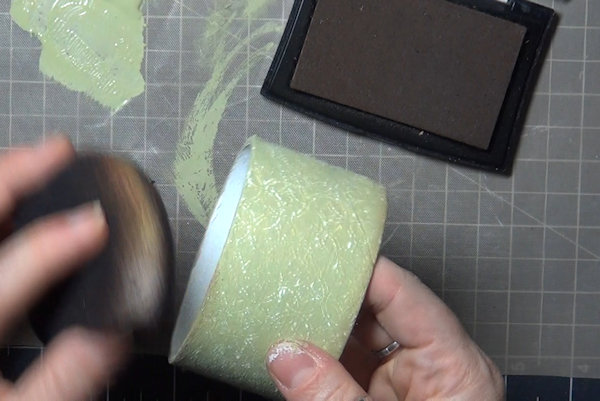
Sponge the edges of the pieces with permanent ink, if desired.
-
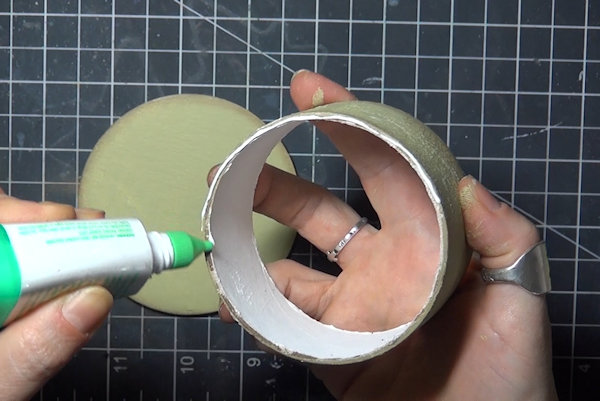
Step 13
Adhere the tape roll to the base, centering it carefully.
TIP:
Put a heavy book atop the box as the glue dries for a stronger bond. -
Step 14
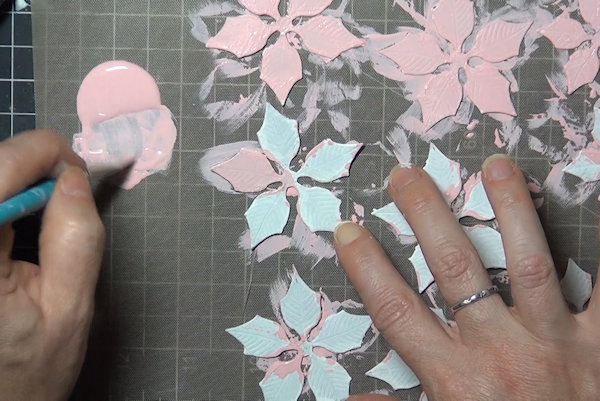
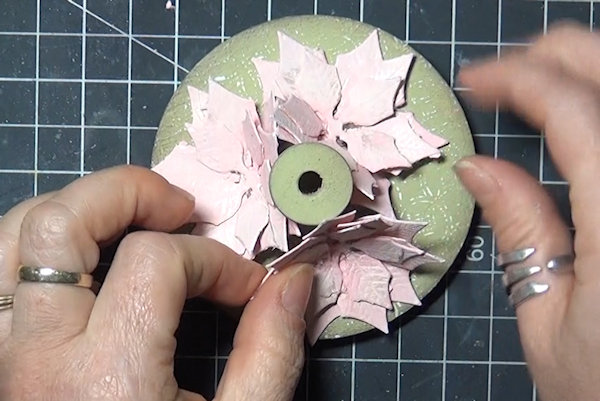
Prepare embellishments for the box top. Die cut chipboard poinsettias were used here – first they were painted with acrylic paint.
-
The flowers were then assembled around the spool handle with hot glue.
-
Step 15
Add trim and other embellishments as desired.
-
Step 16
Complete the project.


Video!
Your Turn
You've seen the tutorial, now you try it! We've got a section of the gallery set aside for Tape Roll Trinket Box. Try this technique, then upload your artwork to the gallery. Show us your creations!
***Please note - Internet Explorer/Edge is not a supported browser, and will not allow you to see the videos. Please use Chrome, Firefox or Safari to view our tutorial videos.

Questions and Comments
We'd love to get your feedback or questions. Leave your comment below.
Page 1 of 1 pages