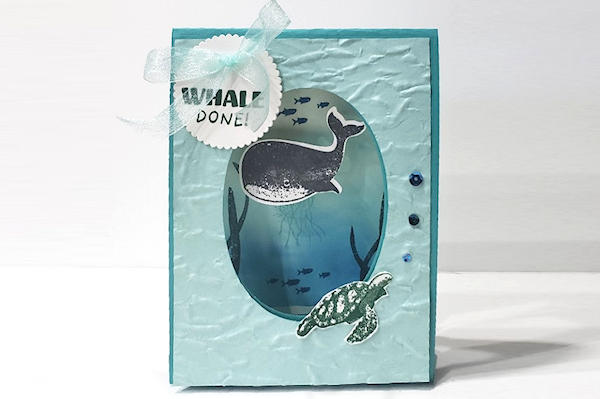
Swinging Tent Card
by Kim Peck
Create a standing tent card with a swinging mechanism.
Supplies
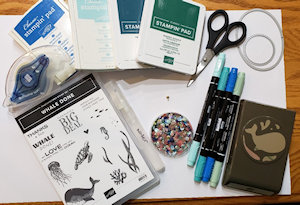
- Stamps (Stampin' Up!® Whale Done Stamp Set used here)
- Cardstock (SU Bermuda Bay, Pool Party, and Shimmer White cardstocks used here)
- Acetate strip – 0.5 x 2.5 inches
- Coloring medium (SU Stampin’ Write Markers used here)
- Ink (SU Pacific Point, Pool Party, Pretty Peacock, Shaded Spruce, and Memento Tuxedo Black used here)
- Punch or scissors for swinging image (SU Whale Punch used here)
- Die for card opening (SU Layering Oval Dies used here)
- Die cutting machine
- Mini brad
- 1/8" hole punch
- Adhesives
- Trimmer
- Scoring tool
- Other supplies as needed to complete the project (SU supplies used here: Pool Party Ribbon, Layering Circle Dies, Stampin’ Spritzer, Old World Paper 3-D Embossing Folder, Acrylic Block E)
Step-by-Step
-
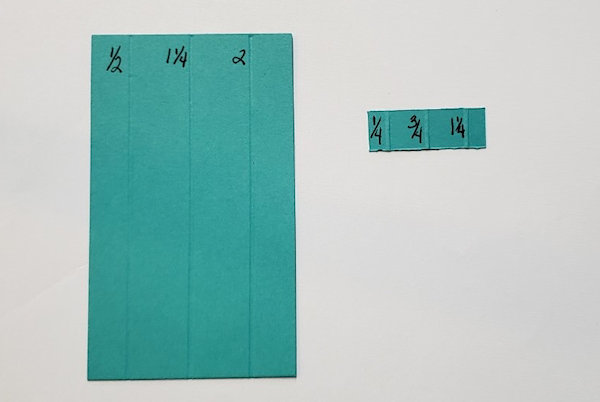
Step 1
Cut and score cardstock:
Darker color for base: 4.25 x 11 inches; 0.5 x 1.5 inches (scored along 1.5 inch side at 0.25, 0.75, 1.25 inches); 2.5 x 4.25 inches (scored along the 2.5 inch side at 0.5, 1.25, 2 inches)
Lighter color for front layer – 4 x 5.25 inches
Lightly coated white CS for background – 4 x 5.25 inches
White cardstock for other images -
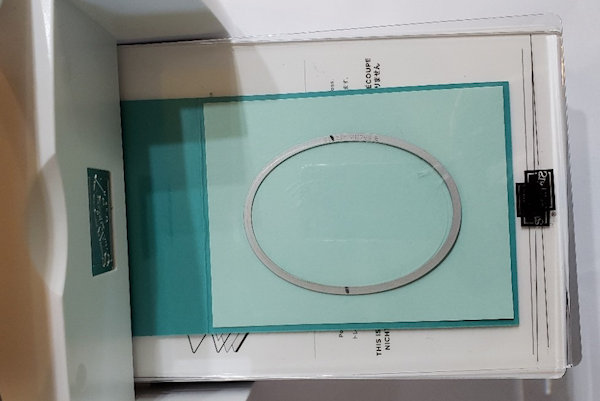
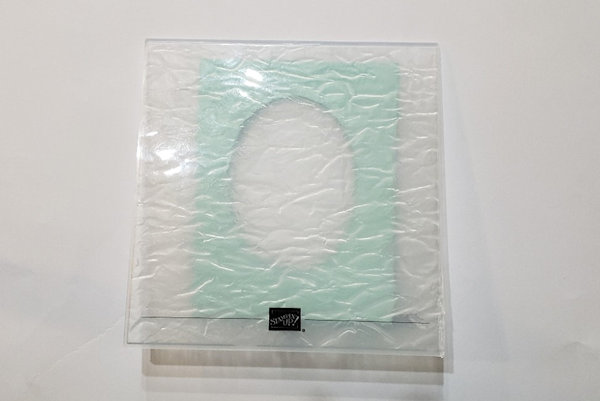
Step 2
After folding the card base in half, reopen it to full length and lay the coordinating piece of 4 x 5.25 inch cardstock on the half that will be the front of the card. (Do not attach with adhesive at this point). Using the oval die, and a die cutting machine, cut out the center of these 2 layered pieces.
-
NOTE:
It is important not to cut through the back side of the card base, so be sure the card is open when it is run through the machine. -
Step 3
Take the top piece of cardstock (4x 5.25 inch) with the oval cut out of it, and run this through an embossing folder and die cutting machine if desired. Adhere this embossed layer onto the front of the card base lining up the ovals.
-
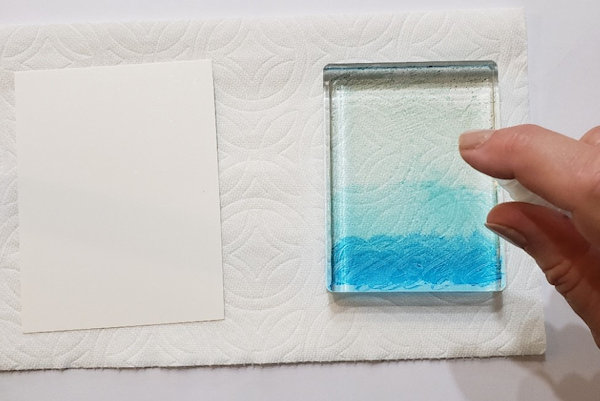
Step 4
Create a background panel that will show through the opening of the card.
For the sample, an acrylic block was colored with 4 water-based markers, each covering about a quarter of the area. The block was spritzed with water. -
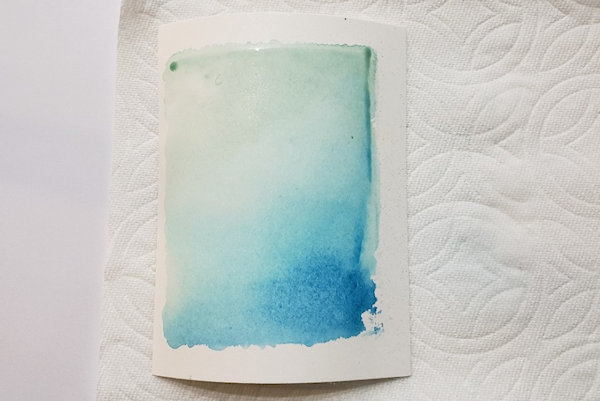
The spritzed block was turned onto coated cardstock to allow the colors to print and mix.
-
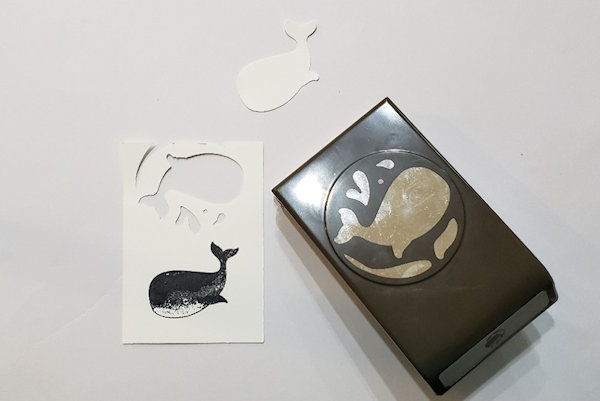
Step 5
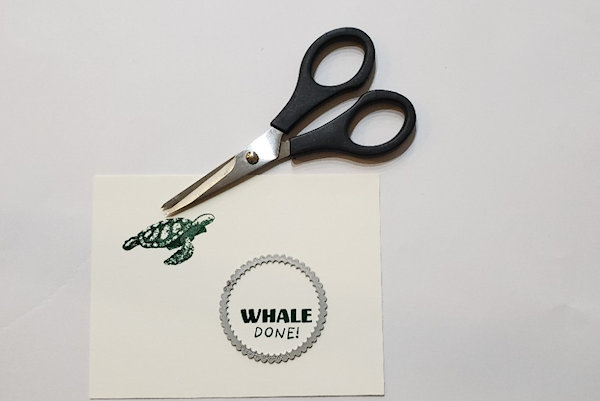
Take another piece of white cardstock, and stamp the image that will “swing” onto the cardstock twice. Cut or punch these images out.
-
Step 6
Stamp any other images that are needed for embellishment and cut them out.
-
Step 7
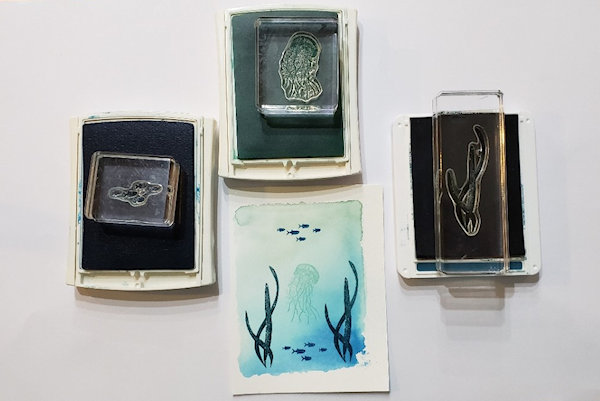
Taking the dried background piece, stamp a scene using your stamps and ink pads.
-
Step 8
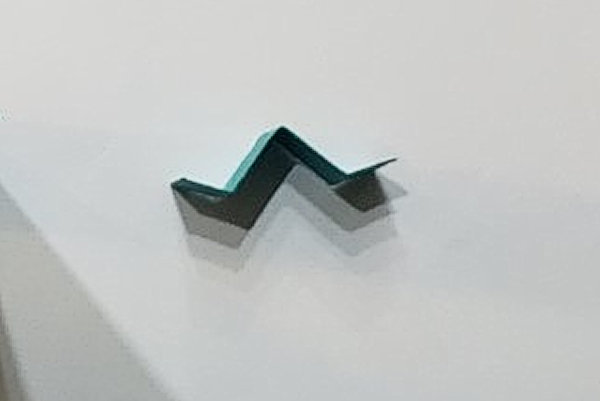
To make the swing mechanism, start by accordion-folding the 0.5 x 1.5 inch piece of cardstock along the score lines to form a “w”.
-
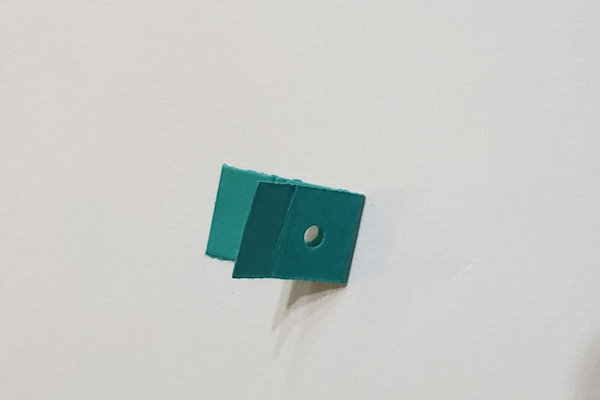
Adhere the two middle sections together with strong glue, and punch a 1/8th inch hole through both pieces.
-
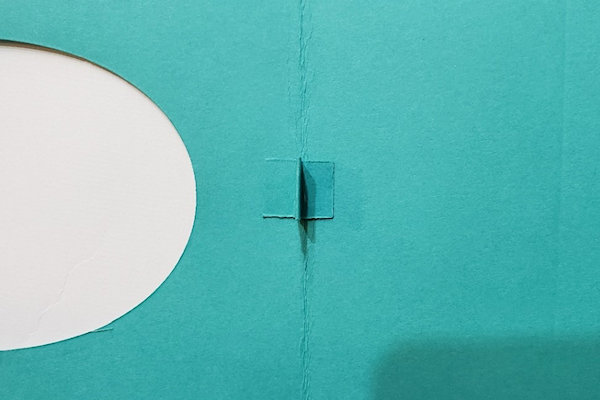
Step 9
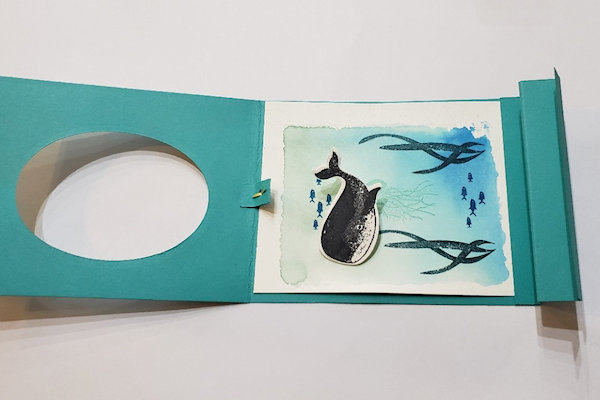
Adhere the swing mechanism to the inside of the middle of the card along the fold using strong adhesive. Line the mechanism up so that the flaps straddle the middle of the fold line of the card with a flap on each side of the fold line.
-
Adhere the “scene” onto the back, inside of the card covering the back flap.
-
Step 10
Punch a 1/8th inch hole into one end of the acetate strip, then round the end by cutting off the sharp corners.
-
Step 11
Using a brad, attach the acetate strip to the swing mechanism. Be sure the head of the brad is toward the back of the card, and the acetate strip is sandwiched between the head of the brad and the swing mechanism.
-
When closing the brad, be sure not to bend the legs of the brad too tightly, or the acetate strip will not “swing” freely. It may be helpful to use scissors to help keep the legs from being bent down too tightly.
-
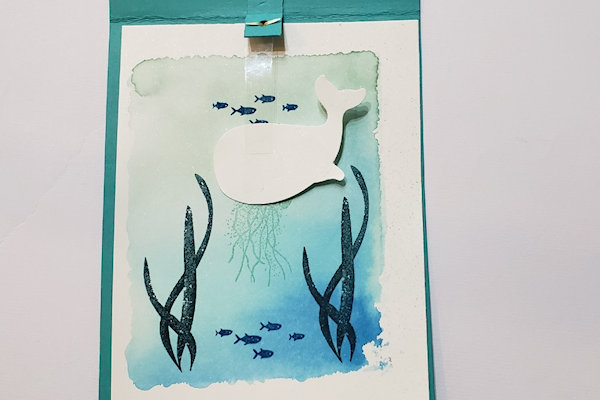
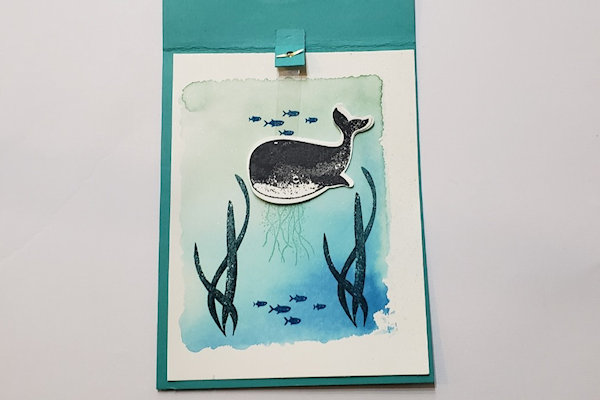
Step 12
Position the image that will “swing” where you would like it to hang relative to your background scene. Adhere this to the acetate strip.
-
Begin by placing one image under the acetate strip, and one on top of the acetate strip, and adhere these together using strong adhesive. Cut away any excess acetate.
-
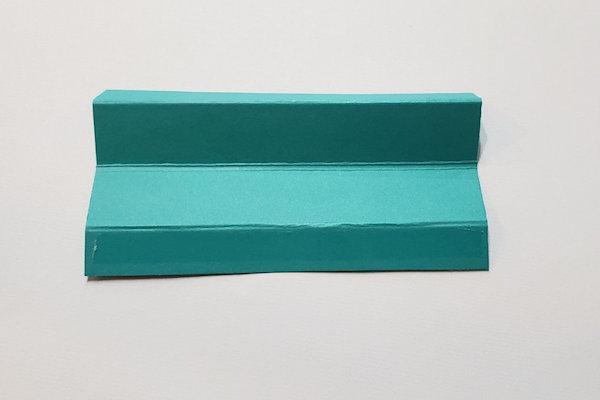
Step 13
To create the “stand-up” bottom of the card, accordion-fold the 2.5 x 4.25 inch piece of cardstock on the score lines to form a “w”. Place strong adhesive along the entire length of the outside of the 0.5 inch segment.
-
Adhere this along the inside bottom edge of the back of the card. Repeat this step for the inside bottom edge of the front of the card.
-
Step 15
Embellish the outside of the card as desired to complete the project.


Video!
Your Turn
You've seen the tutorial, now you try it! We've got a section of the gallery set aside for Swinging Tent Card. Try this technique, then upload your artwork to the gallery. Show us your creations!
***Please note - Internet Explorer/Edge is not a supported browser, and will not allow you to see the videos. Please use Chrome, Firefox or Safari to view our tutorial videos.

Questions and Comments
We'd love to get your feedback or questions. Leave your comment below.
Page 1 of 1 pages