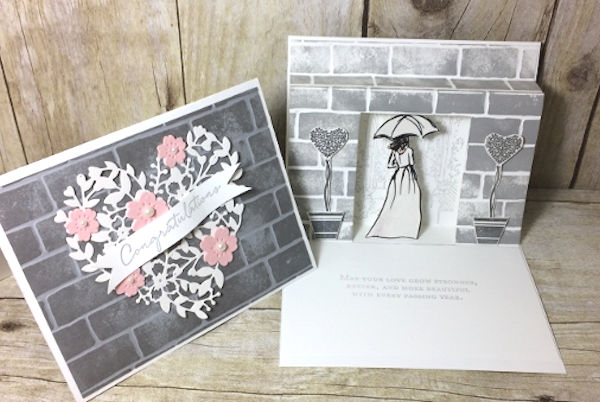
Step Pop-Up Card
by France Martin
Create a standing pop-up card with a scenic inner panel.
Supplies
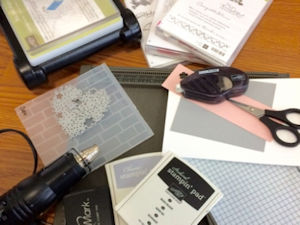
- Cardstock (Stampin' Up® Whisper White, Blushing Bride, Shimmery White, Smoky Slate used here)
- Adhesive (Tombow Mono Liquid Glue, Glue Dots, Dimensionals and Fast Fuse used her)
- Scissors
- Bone folder
- Paper trimmer
- Scoring tool
- Scenic stamp or dies
- Other supplies as needed to complete the project (SU supplies used here: Brick Wall embossing Folder, Bloomin’ Heart Thinlits, Vertical Greeting, Floral Phrases, Beautiful You and Mediterranean Moments stamp set, Smoky Slate, VersaMark and Memento Ink, Wink of Stella clear, Black, Chocolate Chip and Blushing Bride markers, Silver embossing powder, Basic Pearls, heat tool, die cutting machine)
Step-by-Step
-
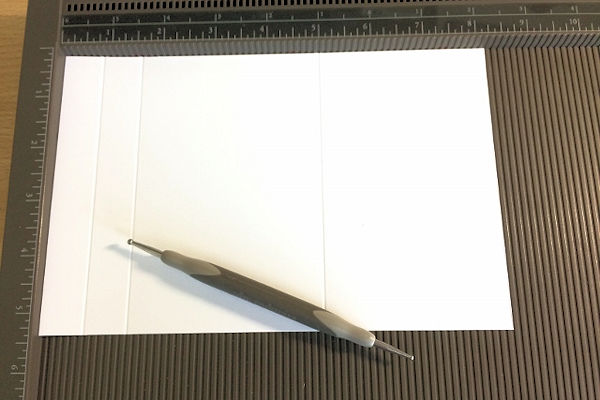
Step 1
To make the card base, cut cardstock to 8 1/2" x 5 1/2" and score at 4 1/4".
Cut an insert panel to 8 1/4" x 5 3/8”, and score along the long side at 3/4", 1 1/2", and 5”. -
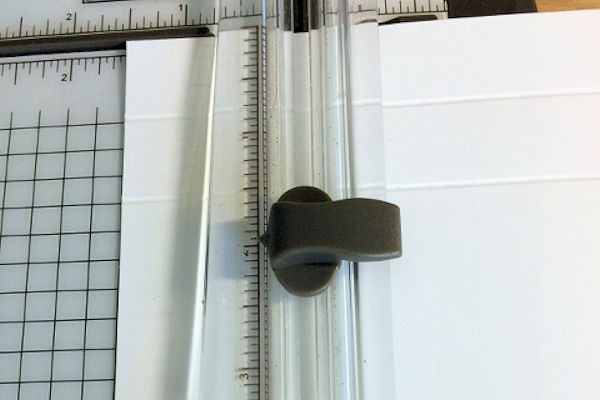
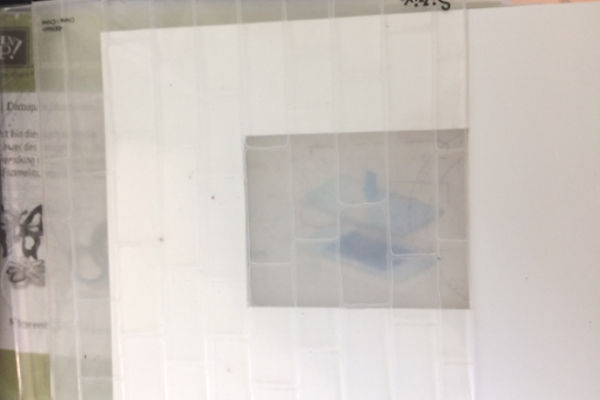
Step 2
To make the opening, set the scored insert place on the paper trimmer with the 5 3/8” side at the top. Line up to the 1 1/2” mark and place the blade 2” down. Cut to the 5” score line.
Repeat at the 3 7/8” mark. -
Rotate the cardstock and line up the edge at the 2” mark. Cut in between center cuts. Repeat at the 5” score, and remove the center piece.
-
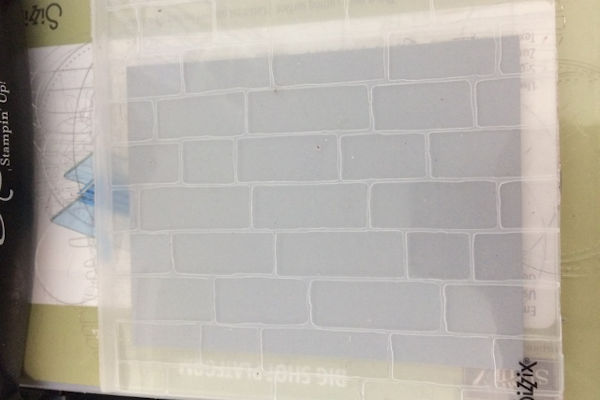
Step 3
Place the insert into an embossing folder so that only the top portion with the opening will be embossed.
-
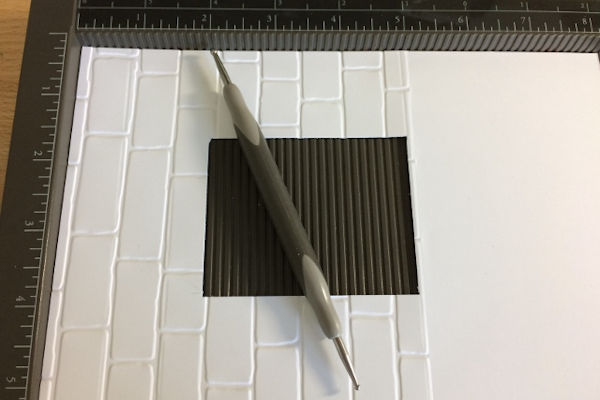
Step 4
Score the panel again after embossing, at 3/4", 1 1/2", and 5”.
Fold the first score in, the second one out and the 3rd score in. -
Step 5
Emboss a 5 1/4"x 4” panel using the same folder.
-
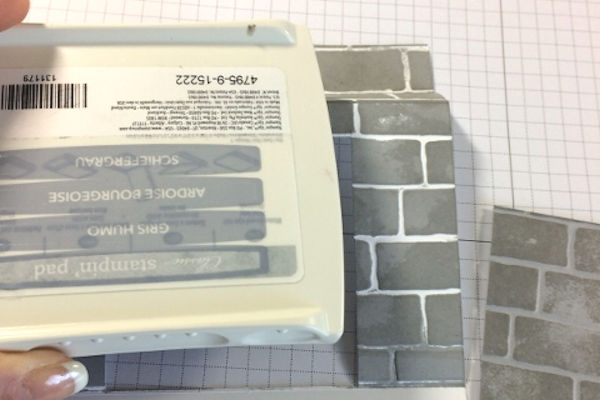
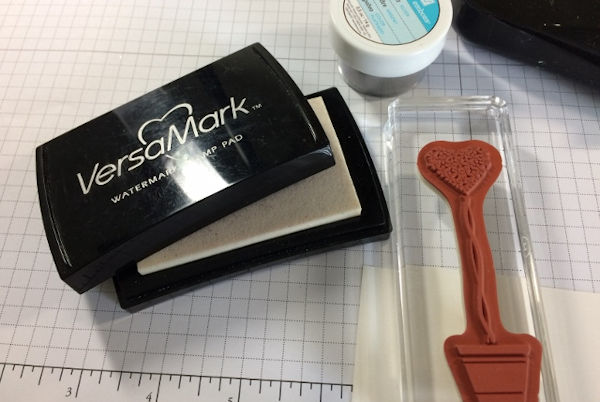
Step 6 (Optional)
On both embossed panels, highlight the raised areas by dragging a light colored inkpad over the panels.
-
Step 7
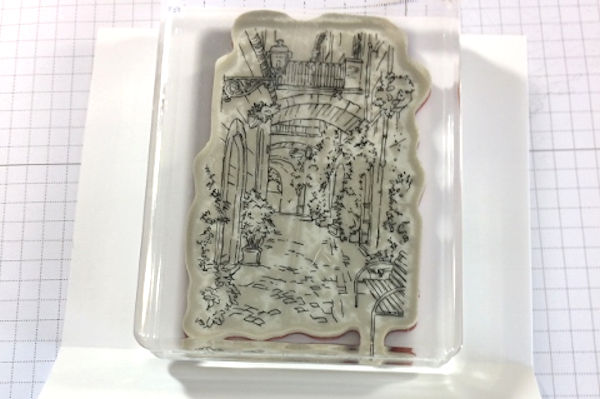
Stamp a scenic image into the inside top of the card base, centered above the score line.
-
Step 8
Adhere the insert into the card base. Apply adhesive only from the top to the first score and from the last score to the bottom. Adhere the top portion first, leaving about 1/8“ from the top. Fold the insert and close the card base to finish the assembly.
-
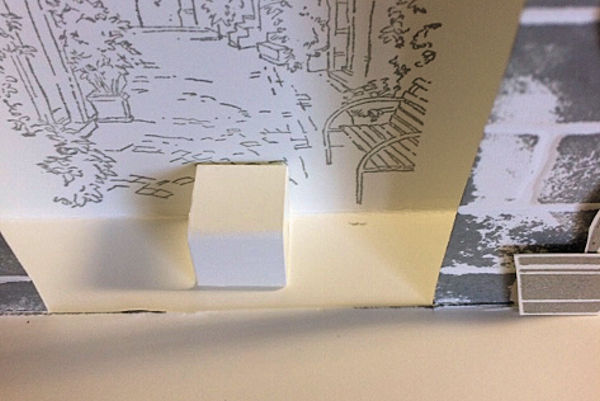
Step 9
To create the center pop-up, cut cardstock to 2 1/2" x 1/2” and score at 1/2”, 1”, 1 1/2" and 2”. Overlap each end and adhere together.
-
Add adhesive onto 2 sides in a row and adhere the pop-up into the center of the card base at the opening of the insert.
-
Step 10
Choose a focal image, and color and cut it out. Adhere it at the bottom of the pop-up.
-
Step 11
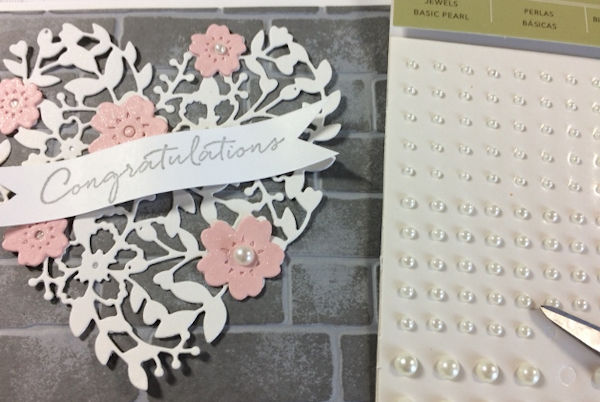
Embellish the other areas of the inside of the card as desired.
-
Decorate the card front.
-
Step 12
Complete the project.
The card will fold flat to fit in a standard A2 envelope.


Video!
Your Turn
You've seen the tutorial, now you try it! We've got a section of the gallery set aside for Step Pop-Up Card. Try this technique, then upload your artwork to the gallery. Show us your creations!
***Please note - Internet Explorer/Edge is not a supported browser, and will not allow you to see the videos. Please use Chrome, Firefox or Safari to view our tutorial videos.

Questions and Comments
We'd love to get your feedback or questions. Leave your comment below.
I so love to listen to you as well as watch your videos. You are so precise and clear and I think you do such Beautiful Cards.
Thank you for taking the time to do the video, it truly helps to understand what and how to put everything together.
Jami
Hugs, Sherry x
Page 1 of 1 pages