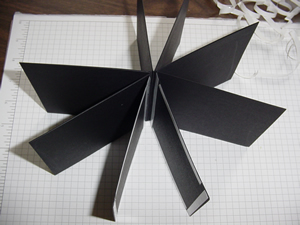
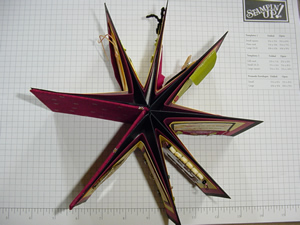
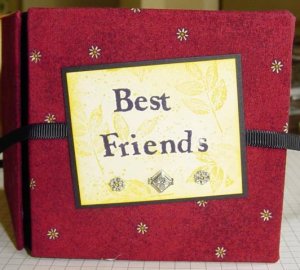
Star Book
by Beate Johns
A very special 3-D card.
Supplies
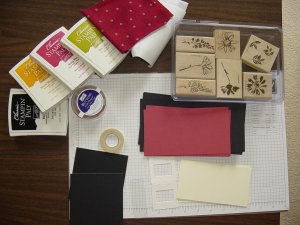
- 2 pieces of matboard (4" x 4"). Cut pieces from a cereal box work too.
- 7 pieces of cardstock for the outer pages (8" x 4")
- 7 pieces of cardstock for the middle pages (6.5" x 3.5")
- 7 pieces of cardstock for the inner pages (5.5" x 3")
- Terrific Tacky or other strong double-sided tape
- Embellishments like charms, fibers, eyelets, buttons, slide mounts, microscopic slides, or anything else you want to decorate your pages with.
- Classic ink
- Sponges
- Fabric (optional)
- Fusible Web (optional)
Step-by-Step
-
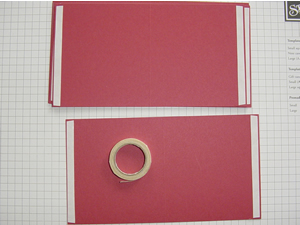
Step 1
(Optional) If you want your matboard lined with fabric, cut two fabric and fusible web pieces into 5 1/2" squares. Follow fusible web instructions and fuse those together.

-
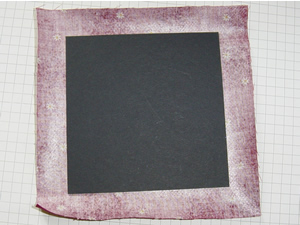
Step 2
Next, fuse the matboard in the center of the fabric.
-
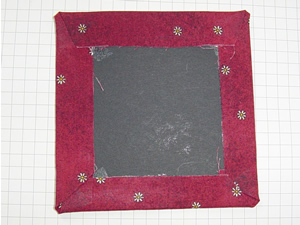
Step 3
Fold the corners of the fabric in.

-
Step 4
Fold the sides over. Use your iron to fuse the fabric to the matboard on each side that you fold over.
-
Step 5
Score all of your pages in half. (The outer pages will be scored at 4", the middle pages will be scored at 3 1/4", and the inner pages will be scored at 2 3/4")

-
Step 6
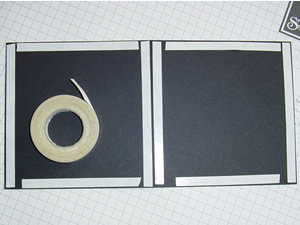
Add Terrific Tacky tape on all outer edges of four of the outer double pages. Don't get any tape on the scored lines.
-
Step 7
Add tape to the middle and inner pages on the two outside edges of each double page.
-
Step 8
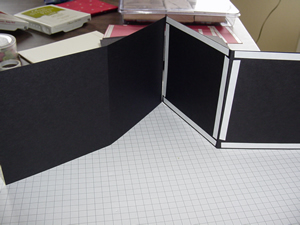
Tape the outer pages together in the following way: Take one page with tape and one without. Tape them together so that the scored edge will be pointing in the same direction.
-
-
Step 9
Take another page with tape and add it to the side without. Continue to tape the pages together until all the pages are gone. You should have one page with tape on each end.
-
Optional: Add a piece of velveteen paper (2" x 4") over the middle to hide the scored page ends and make a nice spine.
Tape the matboard covers over the last pages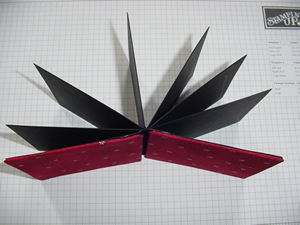
-
Step 10
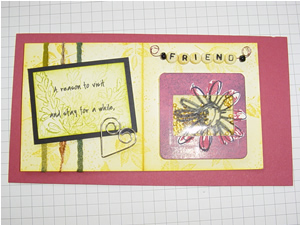
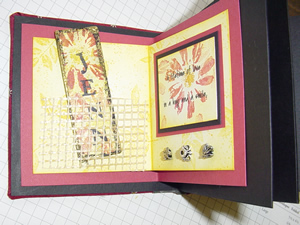
Stamp and decorate all your inner pages.
-
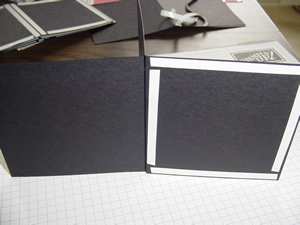
Step 11
Take one of your stamped pages and line the left side up 1/4" inside a medium page. Tape down the left side of the stamped page on the left side of the medium page.
-
Now pull the stamped page over and tape the right side down 1/4" inside the medium page.
Repeat this with all of the pages.
-
Step 12
In the same manner as in step six tape the medium pages onto the outer pages.
-
Step 13
Stamp an outer image if wanted and tape the ribbon that will close the book under it. Tie the book shut...and you are done!
-
Variations
Different Sizes
Try different page sizes
Keep the height of the pages the same and change the length of the pages by 1" for each layer. Line each end of the pages up with the outer pages. It will still make a star book....but you won't have the layered look.
Create Windows
Use punches to add windows on the inner pages and stamp an image under it on the medium page.
Your Turn
You've seen the tutorial, now you try it! We've got a section of the gallery set aside for Star Book. Try this technique, then upload your artwork to the gallery. Show us your creations!
***Please note - Internet Explorer/Edge is not a supported browser, and will not allow you to see the videos. Please use Chrome, Firefox or Safari to view our tutorial videos.
Questions and Comments
We'd love to get your feedback or questions. Leave your comment below.
thanks and greetings from germany.
Measurements would be great.
Thanks
Diane
That tips are great, thank you ..
I love your blog…
thank you again carry on…
Did you cut the pages the right size?
We don't have a video tutorial for this project yet.
I will keep playing with it but thanks for getting back to me so soon
Page 1 of 1 pages