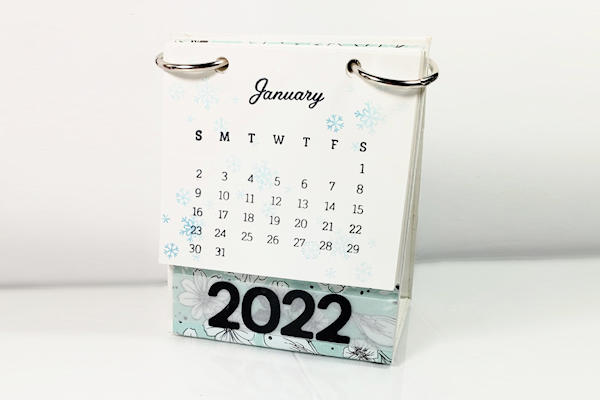
Standing Calendar
by Gloria Plunkett
Make a sturdy stand for a desktop calendar.
Supplies
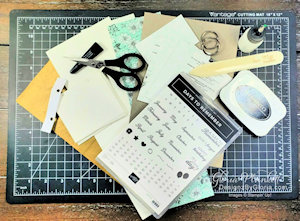
- Sturdy chipboard or cardboard
- Cardstock (Stampin' Up!® Basic White Cardstock, Thick Basic White Cardstock, and Basic Black Cardstock used here)
- Scissors or craft knife
- Adhesive (SU Liquid Glue and Tear & Tape used here)
- Tyvek envelope (Optional)
- Stamps and embellishments (SU Playful Alphabet Dies, Days to Remember Stamp Set, Welcoming Woods Stamp Set, Balmy Blue Classic Ink, Memento Tuxedo Black Ink used here)
- Binder rings or other binding system
- Punch (Crop-O-Dile II used here)
- Other supplies as needed to complete the project (Colorway Arts Corner Miter Tool)
Step-by-Step
-
Step 1
Cut chipboard pieces for the stand:
3 1/2" x 2” (base)
3 1/2” x 4 1/4" (cut 2) -
TIP:
Layer additional pieces together for stability as needed. -
Step 2
Cut a piece of cardstock to 4 1/2" x 12”. Adhere the chipboard pieces with about 1/8” between them in the center of this cardstock and an even border around the edges.
-
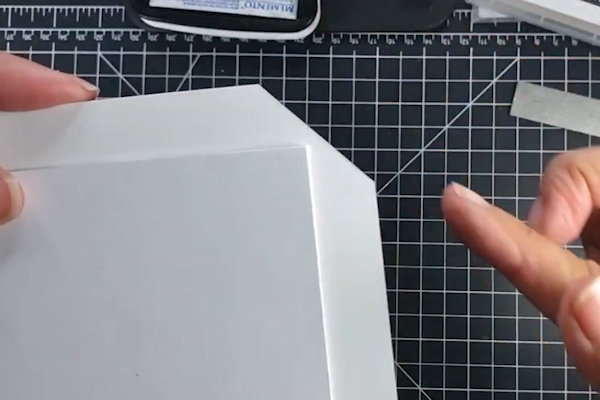
Step 3
Cut away corners.
-
Score the cardstock around the edges of the chipboard forms so it is easier to wrap.
-
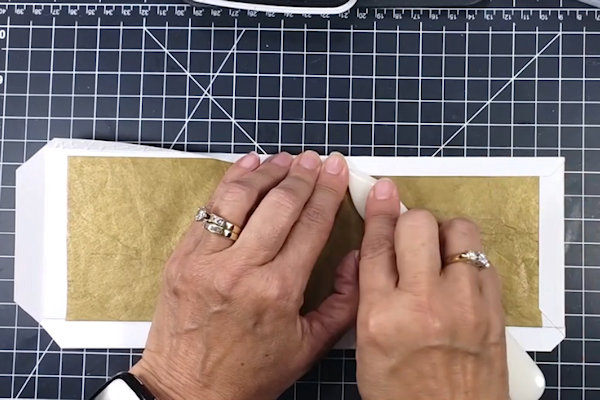
Step 4 (Optional)
Line the inside of the base with Tyvek®.
-
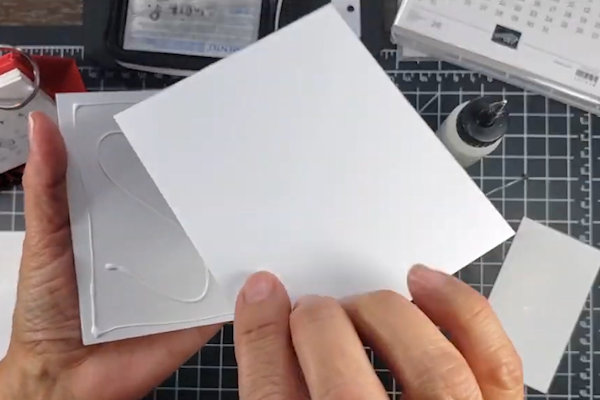
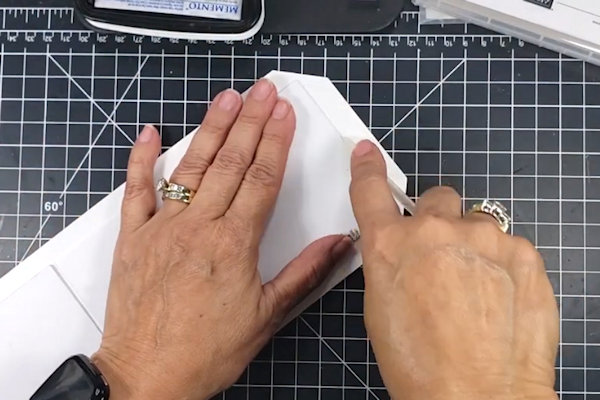
Step 5
Wrap the edges of the cardstock around and adhere to the inside of the base.
-
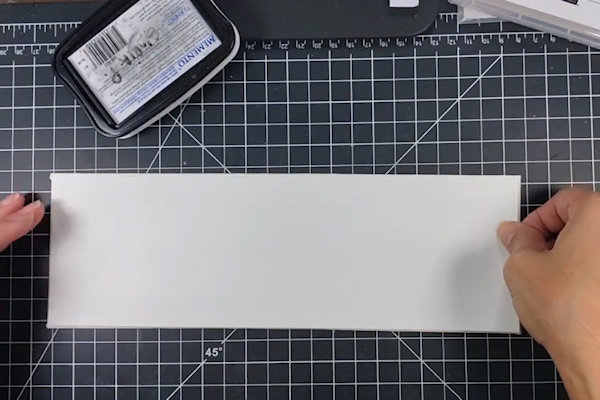
Cut a slightly smaller piece of matching cardstock to line the inside of the base and cover up the folded-over edges (3 1/2” x 11 7/8”) .
-
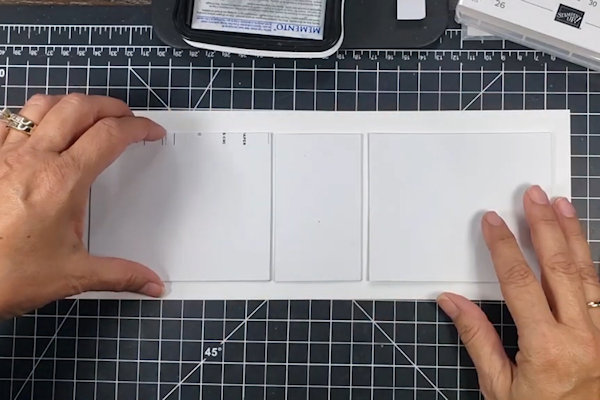
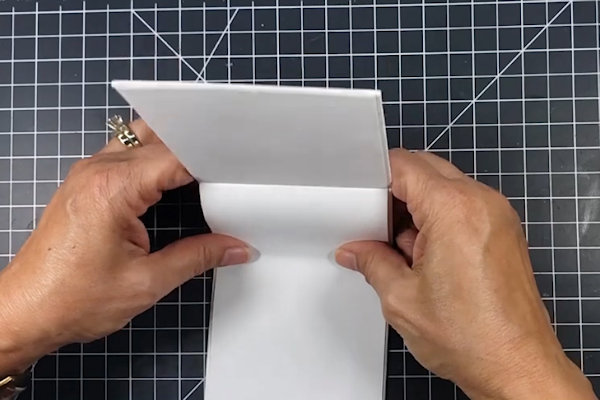
Step 6
Score along the gaps in the chipboard.
-
Gently fold along the lines to shape the base. Add adhesive and burnish as needed if the cardstock lifts.
-
Step 7
Layer patterned paper on the outside panels if desired. (Paper for the sample was cut to 3 1/8” x 11 3/4”.)
-
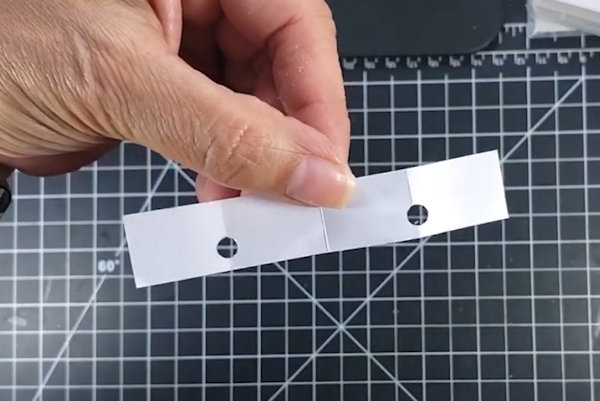
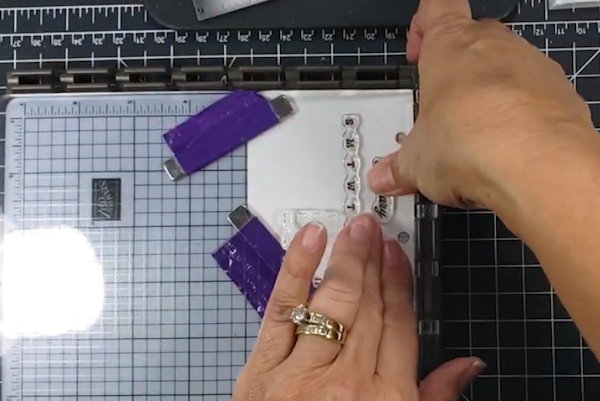
Step 8
Use what you have to hold the top of the stand together – binder rings, clips, spiral binding, etc. For binder rings, create a template for the holes to place them at equal distance from the sides.
-
Mark and punch holes on both sides of the stand.
-
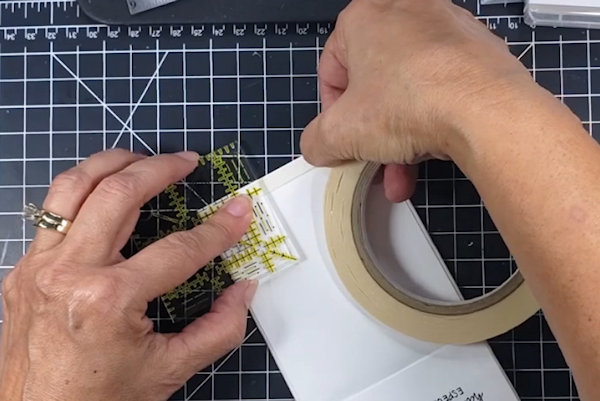
Step 9 (Optional)
Add double sided adhesive at the top of the stand to hold the sides together in a point.
-
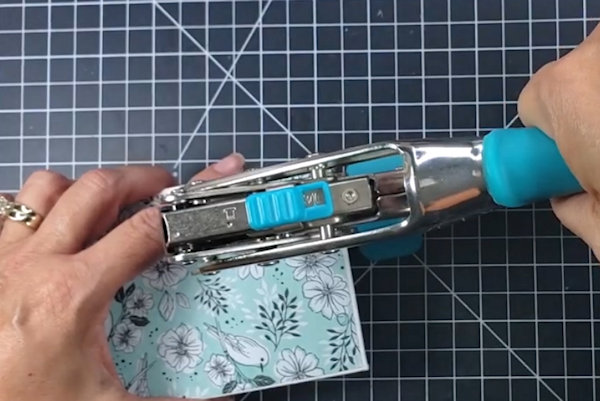
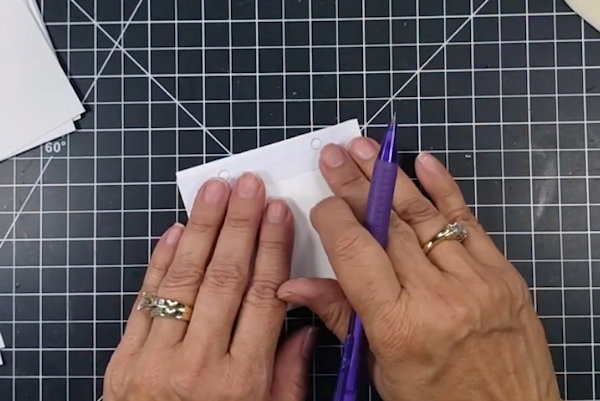
Step 10
Cut cardstock for the calendar pieces (for the sample these are 3 1/2" x 3”). Use the punching template to mark and punch the holes.
-
Step 11
Stamp or print the calendar sheets. (You can find current printable calendars HERE.)
-
Stamp or embellish as desired.
-
Step 12
Decorate the stand as desired, with the year or another motif.
TIP:
Add the year to a removable vellum strip so that it can be changed out in coming years. -
Step 13
Complete the project.


Video!
Your Turn
You've seen the tutorial, now you try it! We've got a section of the gallery set aside for Standing Calendar. Try this technique, then upload your artwork to the gallery. Show us your creations!
***Please note - Internet Explorer/Edge is not a supported browser, and will not allow you to see the videos. Please use Chrome, Firefox or Safari to view our tutorial videos.

Questions and Comments
We'd love to get your feedback or questions. Leave your comment below.
Page 1 of 1 pages