Stamping with Watercolor Powders
by Dina Kowal
Create a faux watercolor look using stamps, powders, and a stamp positioner.

Supplies

- Stamp positioner (MISTI used here)
- Watercolor powders (Brusho, Magenta Nuance, and Bister used here)
- Stamps (Impression Obsession CC171 Lotus and Reverse Confetti Something Wonderful clear set used here)
- Watercolor paper (Fabriano Studio Hot Press paper used here)
- Water mister
- Magnets or washi tape to hold paper in place
- Static cloth for cleanup (Swiffer 360 Duster Refill used here)
- Other supplies as needed to complete the project (cardstock, Impression Obsession B13651 Simplify, Cartwrights sequins, sheer polka dot ribbon, Stampendous clear embossing powder)
Step-by-Step
-
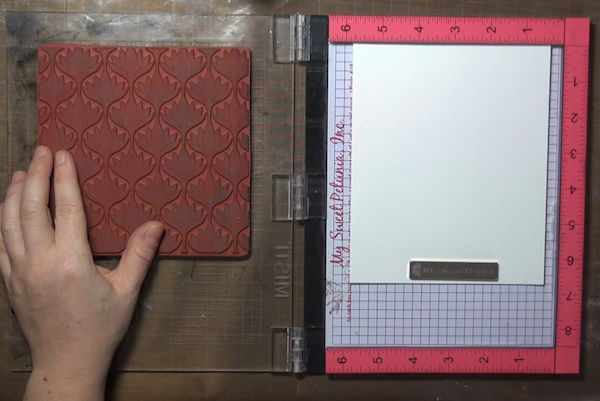
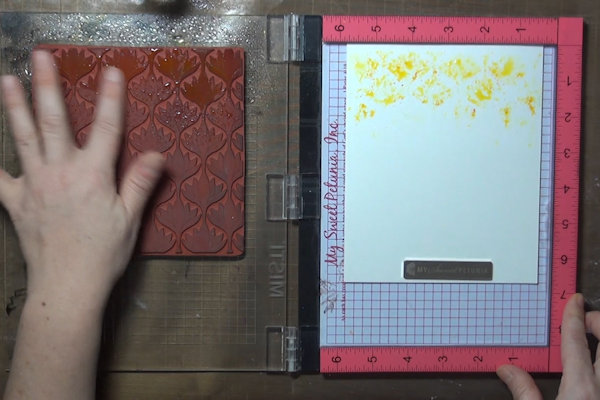
Step 1
Position watercolor paper and a cling or clear stamp in your stamp positioner.
-
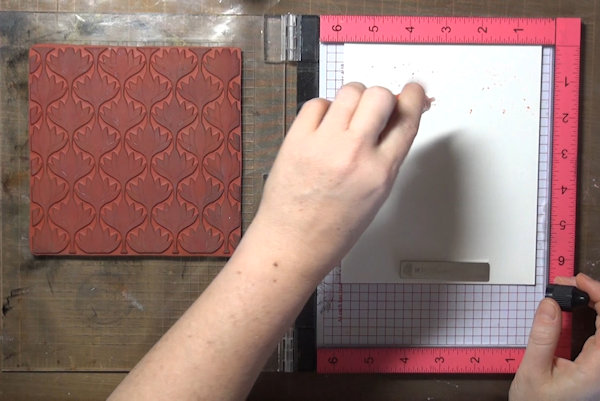
Step 2
Sprinkle a little watercolor powder onto the watercolor paper, beginning with a light color (Brusho Lemon used here).
-
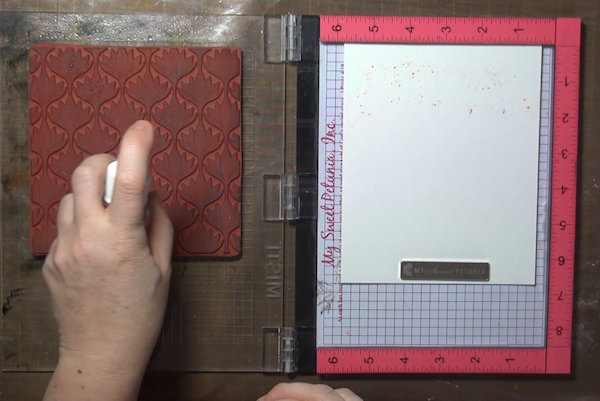
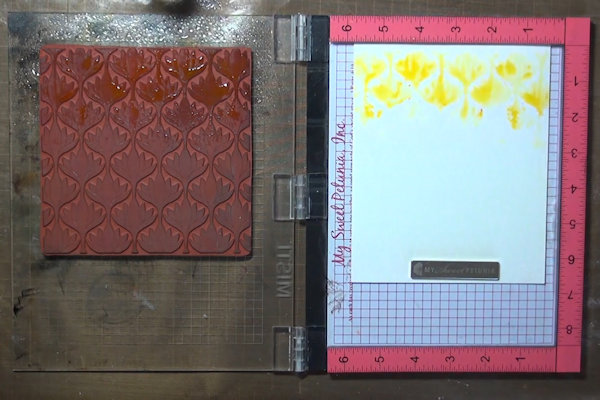
Step 3
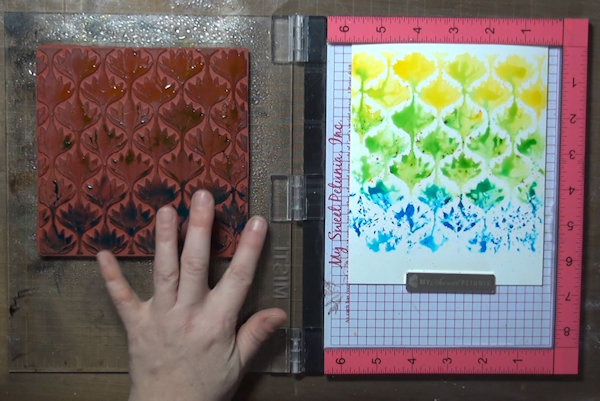
Mist water onto the stamp, and press it down onto the paper. Hold it down for several seconds, allowing the water to contact the powders.
-
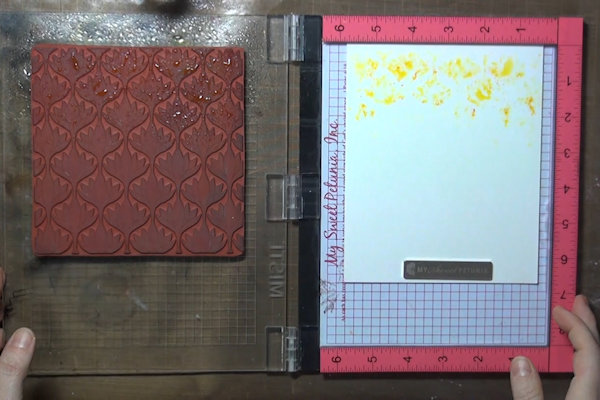
The water will activate the watercolor powder only where the stamp image contacts the paper.
-
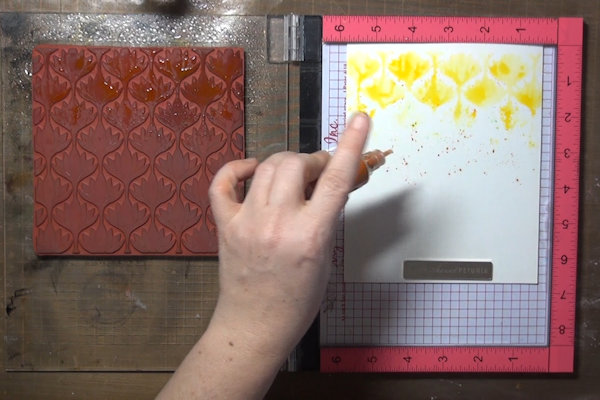
Step 4
Rub your finger over areas of the stamp where the water is beading or didn't make full contact with the powders on the paper. Stamp again.
-
Repeat until you are happy with the coverage of the first color.
-
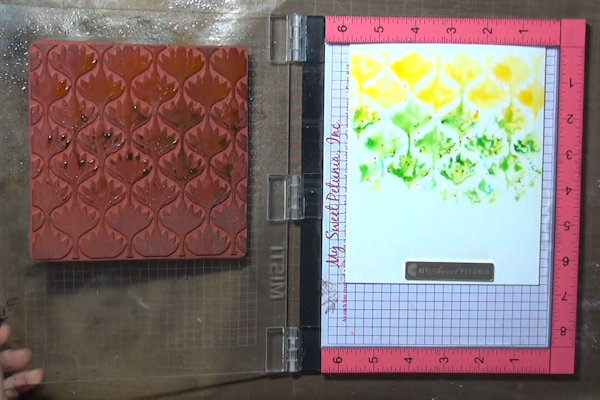
Step 5
Add another color of powder, and repeat the steps above (Brusho Lime Green used here).
-
Hold the stamp down to allow the water to travel along the outlines and solid areas of the stamp, combining with the previous color.
-
Step 6
Repeat with remaining colors (Brusho Turquoise used here).
-
Step 7
Allow the image to air dry completely. Do not use a heat tool, or the dry powder particles will spread.
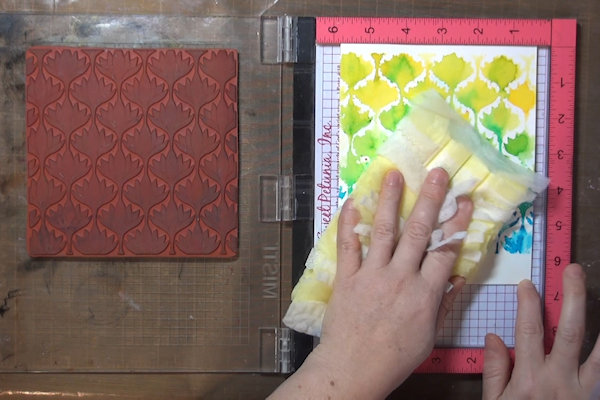
When the colored area is completely dry, use a static cloth or duster to remove the loose excess powder from the watercolor panel. -
Use the static duster to clean out your stamp positioner, then clean with a wet wipe to catch any unseen particles.
-
Step 8
Use the finished panel to complete a card or other project.

Video!
Variations
-
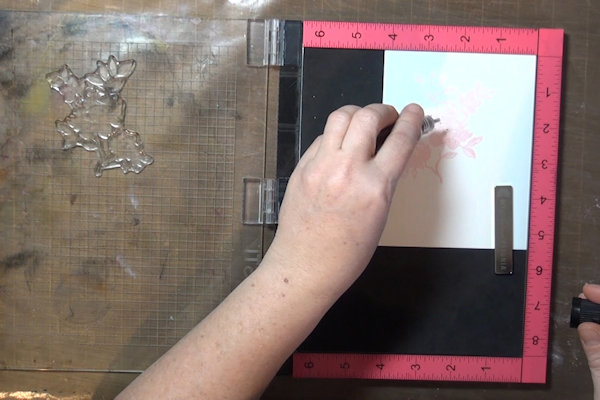
For an outline image, stamp in a light color first to help with positioning the powder in the right places.
-
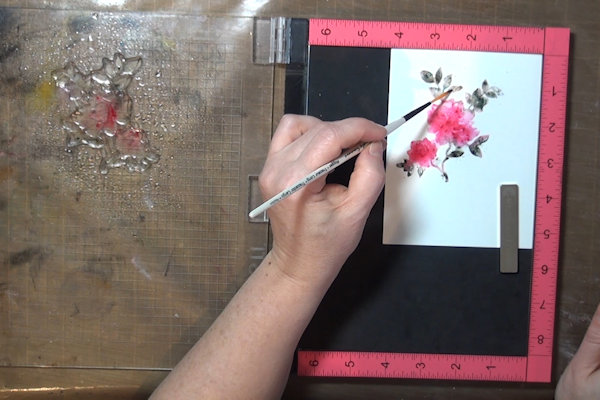
While the panel is still wet, use a brush to fill in open areas as needed
Your Turn
You've seen the tutorial, now you try it! We've got a section of the gallery set aside for Stamping with Watercolor Powders. Try this technique, then upload your artwork to the gallery. Show us your creations!
***Please note - Internet Explorer/Edge is not a supported browser, and will not allow you to see the videos. Please use Chrome, Firefox or Safari to view our tutorial videos.

Questions and Comments
We'd love to get your feedback or questions. Leave your comment below.
Page 1 of 1 pages