Stamping Frosted Glass
by Dina Kowal
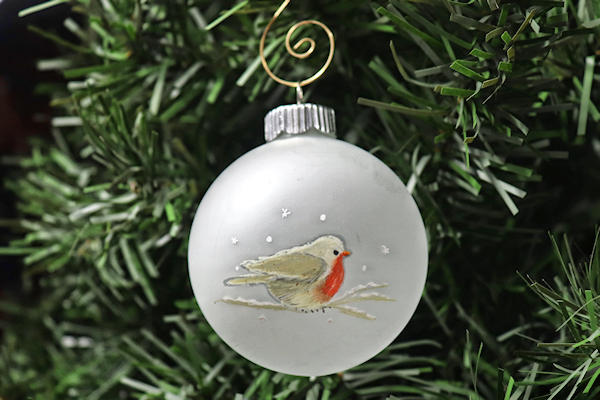
Add a stamped outline image to a frosted glass ornament. Color it in if you like!
Supplies
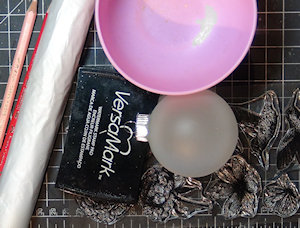
- Frosted glass ornament (Hobby Lobby brand used here, 2-1/2" diameter)
- Glad® Press'n Seal® Food Wrap
- Clear stamp, 2” or less (Impression Obsession WP1057 Winter Branch used here)
- Versamark embossing ink
- Colored pencils (Prismacolor used here)
- Acrylic paint pens (Tooli-Art Extra Fine Paint Pens used here)
- Washi tape roll for stability
Step-by-Step
-
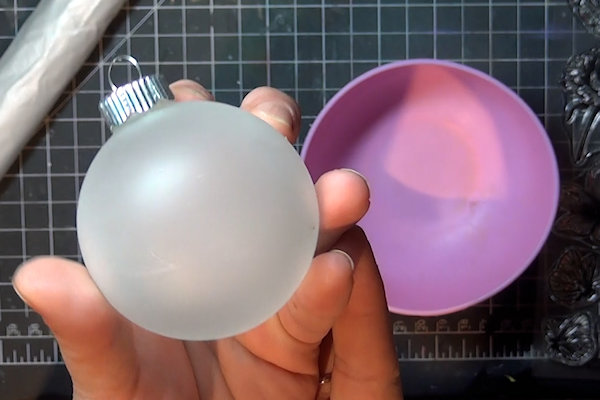
Step 1
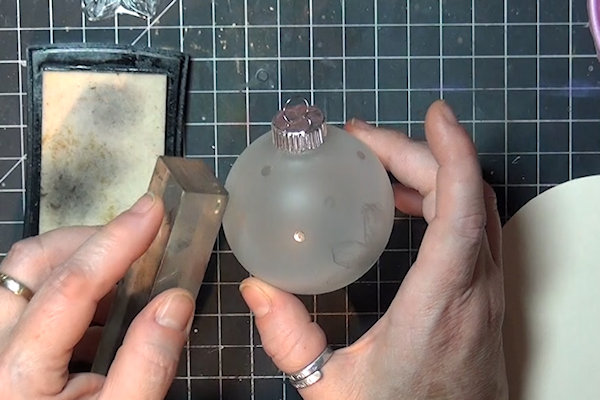
Select a frosted glass ornament (for the sample, I chose a 2 1/2” ball ornament).
-
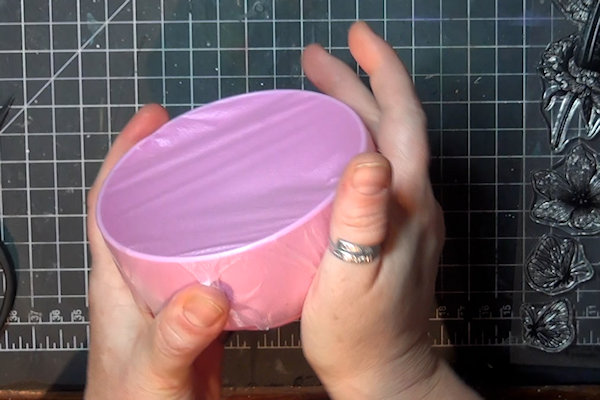
Step 2
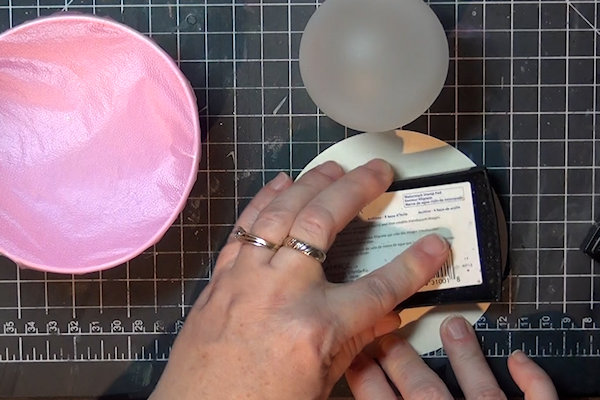
Prepare a small bowl (for the sample, the bowl is about 4 1/2" across. Stretch Press'n Seal® Food Wrap over the top of the bowl, pressing it around the rim of the bowl and down the sides for stability.
-
Step 3
Ink a clear stamp using Versamark embossing ink.
-
Step 4
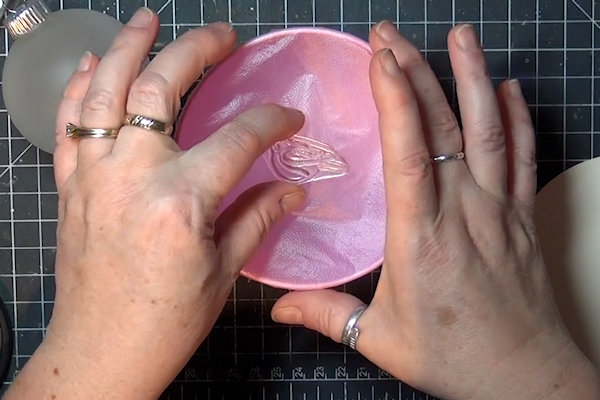
Lay the inked stamp onto the Press’n Seal wrap, ink up.
-
Step 5
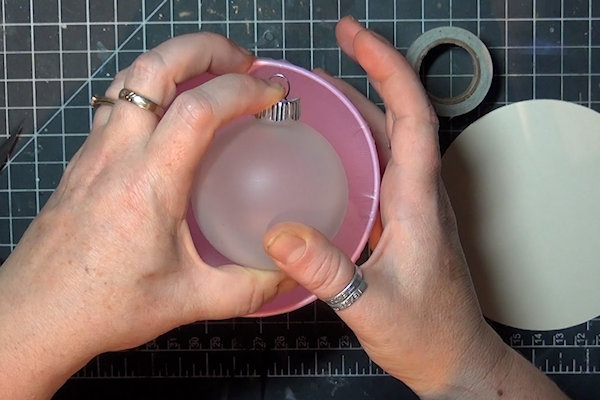
Press the ornament down onto the stamp. Give enough pressure that the Press’n Seal wrap flexes down and rounds the stamp to the ornament. For larger images you can roll the ornament slightly from side to side to ensure good coverage.
-
Step 6
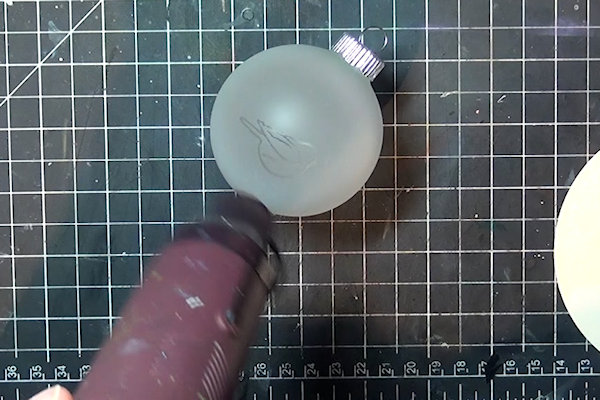
The embossing ink will remove the frost effect from the glass where stamped.
-
Heat set the image. Allow the glass to cool before handling again.
-
Step 7
Smaller accent stamps can be mounted on a block and stamped directly.
-
Step 8
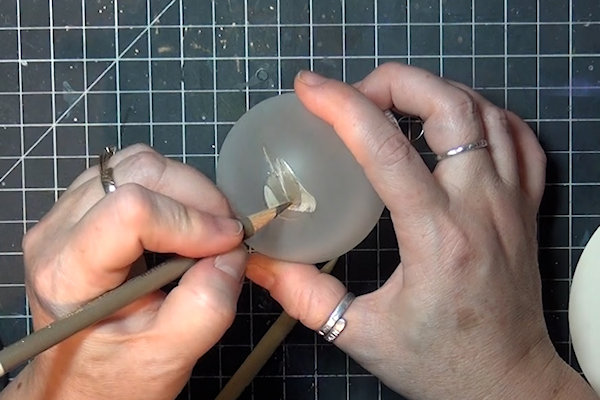
If desired, you can color the image in with colored pencils. The frosted finish has enough tooth to give really nice results. Start with your lightest colors and work from light to dark. Note that the ink will resist the pencil slightly, and it's a little more difficult to layer colors on top of each other than it is on paper.
-
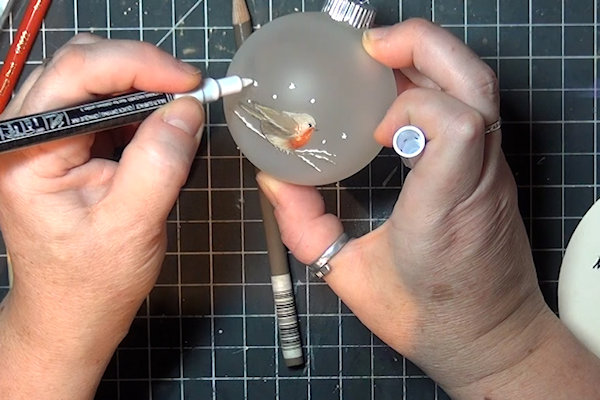
Add in other details with a paint pen as desired.
-
Step 9
Seal with caution or leave unsealed. A very light spray of Krylon Workable Fixatif gave the best results, but it requires a very light hand and even coverage. Please see gallery photos for my test swatches! Some sealants will remove the finish and you may like that look. Test what you have on a spare ornament before committing.
-
Step 10
Display and enjoy!
-


Video!
Your Turn
You've seen the tutorial, now you try it! We've got a section of the gallery set aside for Stamping Frosted Glass. Try this technique, then upload your artwork to the gallery. Show us your creations!
***Please note - Internet Explorer/Edge is not a supported browser, and will not allow you to see the videos. Please use Chrome, Firefox or Safari to view our tutorial videos.

Questions and Comments
We'd love to get your feedback or questions. Leave your comment below.
Page 1 of 1 pages