Stamped Die Cuts
by Dina Kowal
Learn several methods for precise stamping on die cuts.

Supplies
- Dies (used here: Simon Says Stamp Talk Bubbles, Impression Obsession Showered With Love and Clothesline sets, Our Daily Bread Designs tag die and template)
- Stamps (used here: Simon Says Stamp Talking About You set, Impression Obsession Showered With Love and Clothesline sets, Wind in Your Hair)
- Ink (Impression Obsession black hybrid ink used here)
- Stamp positioner (MISTI used here)
- Washi tape
- Die cutting machine
- Scrap cardstock
- Other supplies as needed to complete the project (Sizzix Bigz Animal Dress Ups Kitty, foam tape, istencils BAM 2036 Cloud, Polychromos pencils, Copic markers, Whimsy Stamps enamel dot, Impression Obsession Kite die)
Step-by-Step
-
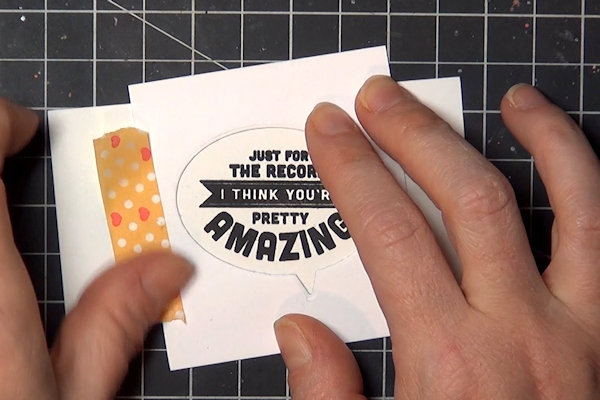
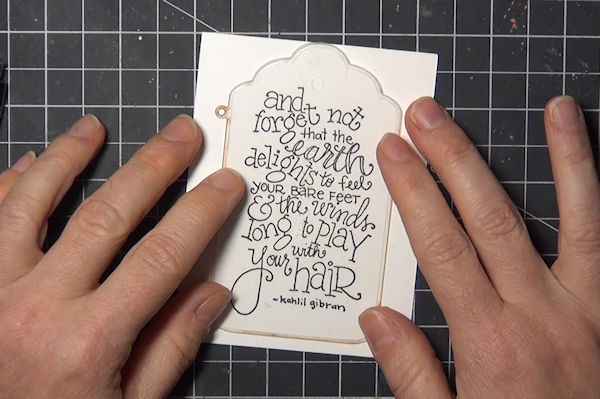
Step 1
For positioning with a solid die, stamp a coordinating image first.
-
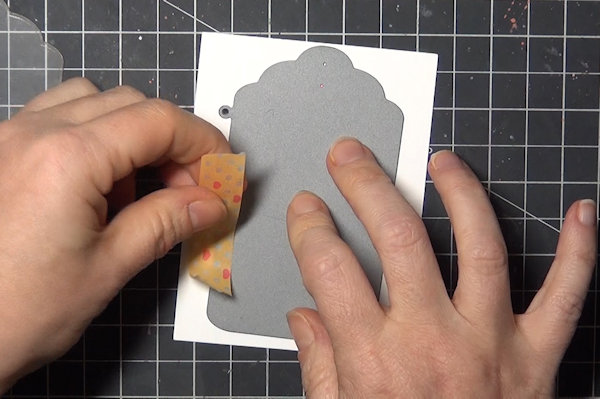
Step 2
Create a template for the die, cutting it out of a piece of scrap cardstock. Position the die cut opening around the stamped image and tape it into place.
-
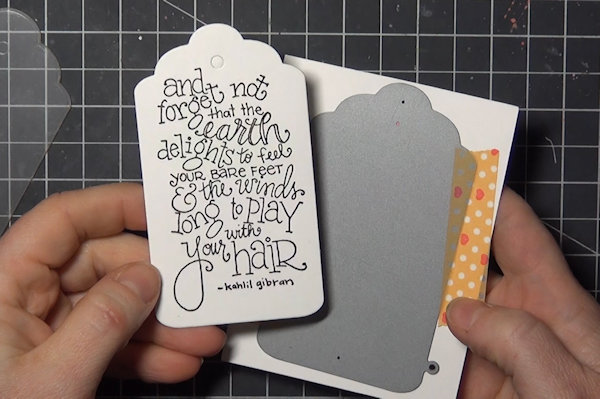
Step 3
Fit the die into the opening and secure it into place with tape.
-
Die cut according to your machine’s instructions.
-
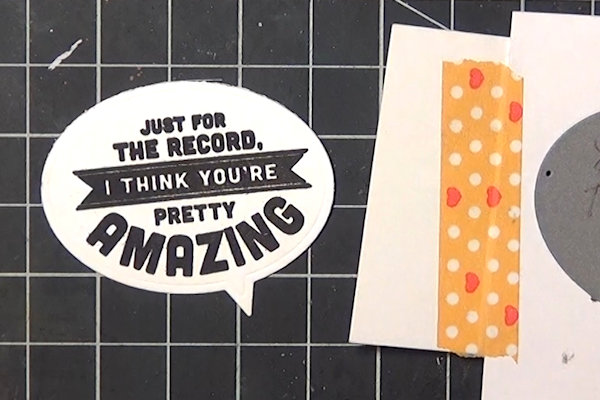
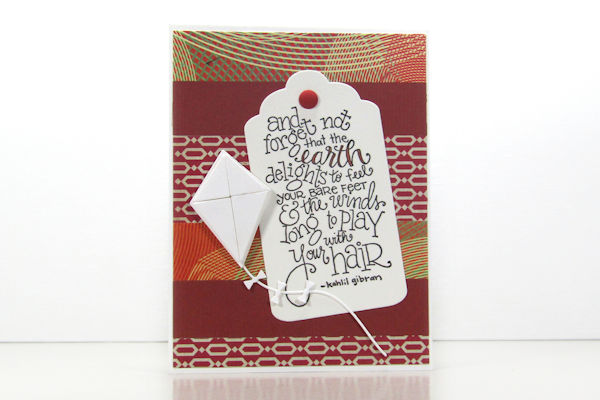
Step 4
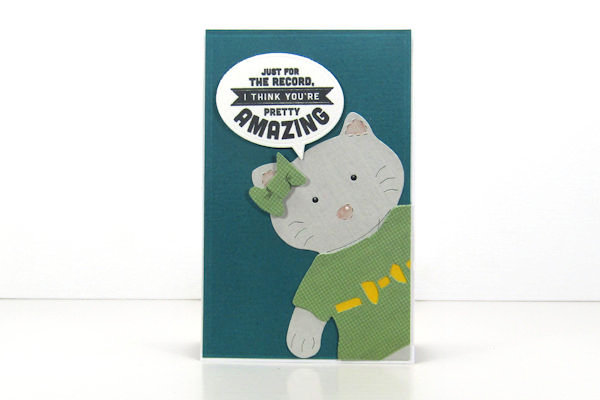
Use the stamped die cut to complete a card or other project.
-
Step 5
For positioning with an open die, you may stamp the image first. This is most practical for single cuts and coordinating dies that leave a border around the stamped image.
-
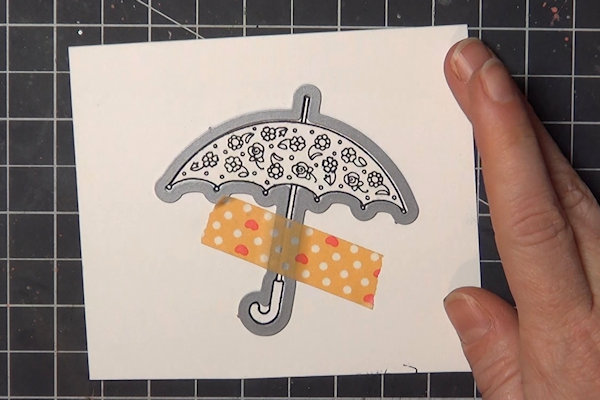
Step 6
Position the die with an even border around the image. Tape the die into position.
-
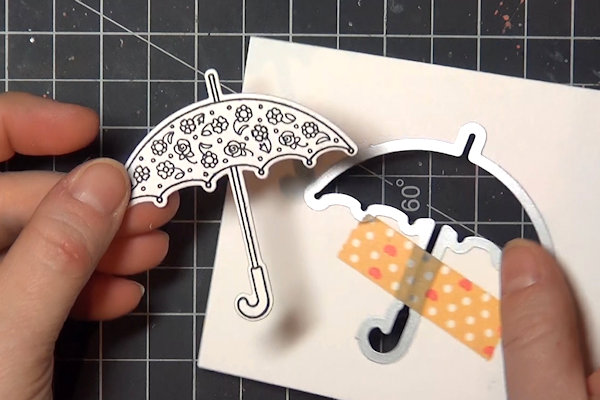
Die cut according to your machine’s instructions.
-
Step 7
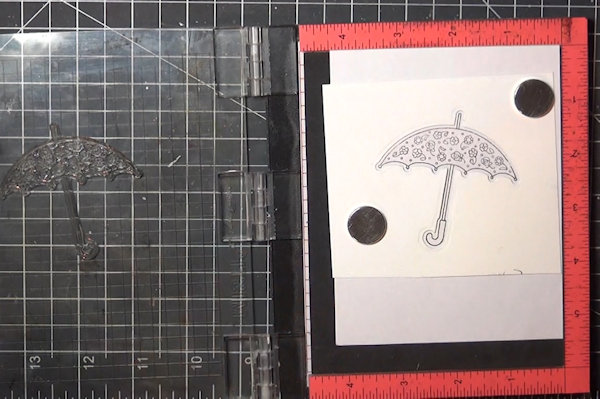
If making multiple stamped die cuts, use a stamp positioner. Stamp the desired image on a piece of scrap paper.
-
Die cut a template, and secure it into place around the image with magnets.
-
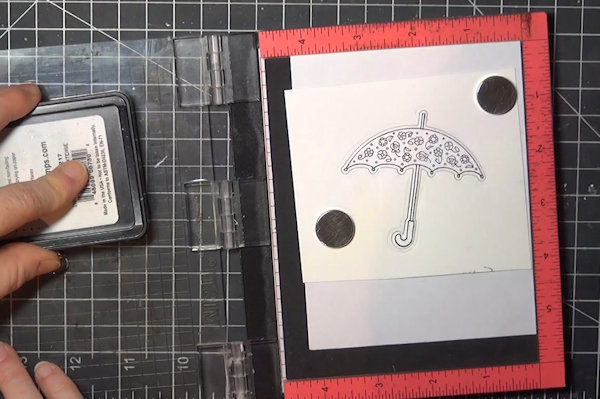
Step 8
Place a die cut shape into the template opening.
-
Stamp as usual.
-
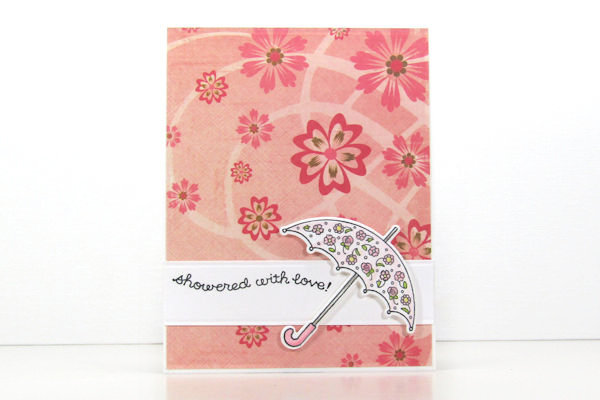
Step 9
Use the stamped die cut to complete a card or other project.
-
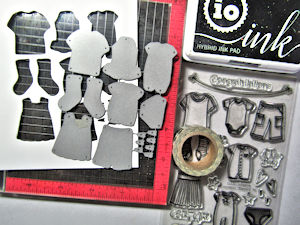
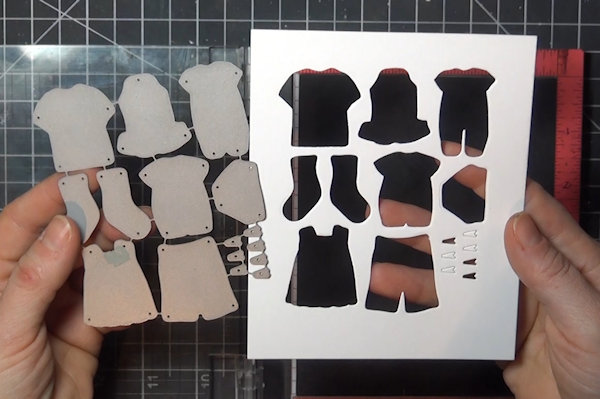
Step 10
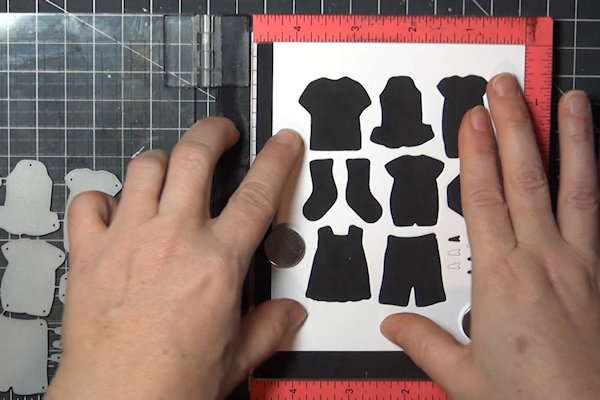
To stamp a group of dies at once, start by cutting a template.
-
Position and secure the template in your stamp positioner.
-
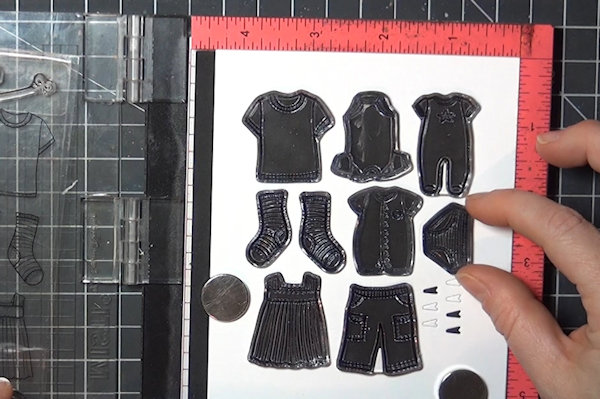
Step 11
Position each stamp in the openings, and close the stamp positioner to attach the stamps to the lid.
-
Tuck a scrap of paper underneath the template for a test run. Ink and stamp the images. Adjust the stamps to center them as needed.
-
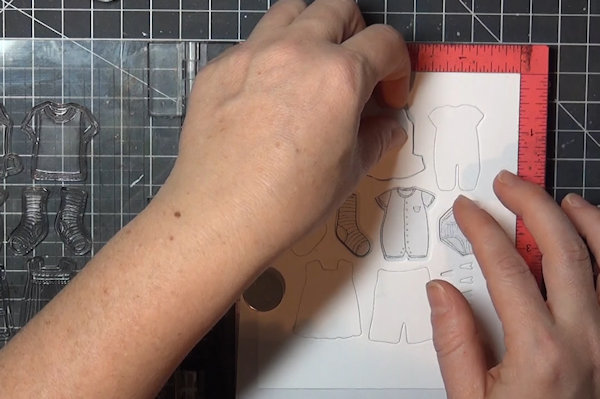
Step 12
Replace the die cuts in the template openings.
-
Stamp as usual.
-
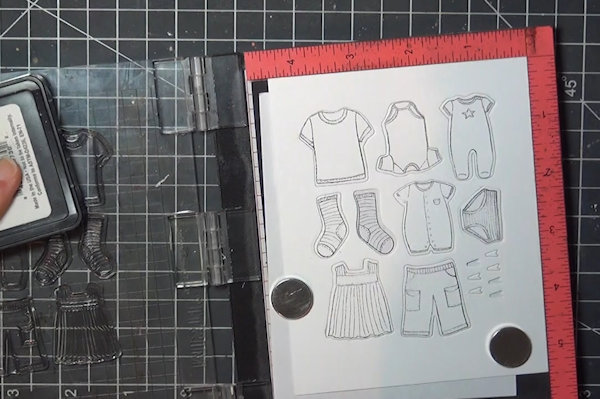
Step 13
Use the stamped die cuts to complete a card or other project.
-
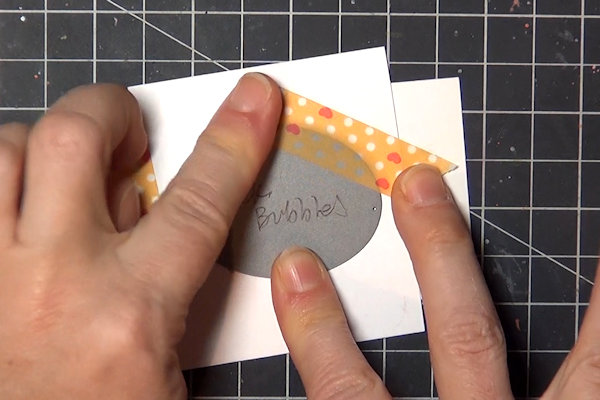
Step 14
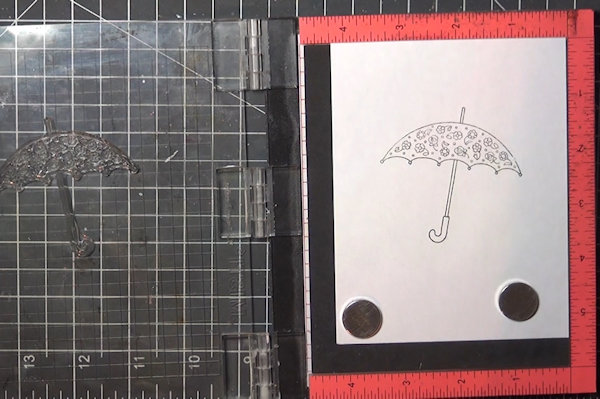
Some solid dies have registration marks and a matching plastic template. Use the template to find the best position for the die.
-
Using a pen or pencil, completely fill in both circles on the outside of the template.
-
Step 15
Align the registration marks on the die with the circles made in step 11b. Tape the die in place.
-
Die cut according to your machine’s instructions.
-
Step 16
Use the stamped die cut to complete a card or other project.


Video!
Your Turn
You've seen the tutorial, now you try it! We've got a section of the gallery set aside for Stamped Die Cuts. Try this technique, then upload your artwork to the gallery. Show us your creations!
***Please note - Internet Explorer/Edge is not a supported browser, and will not allow you to see the videos. Please use Chrome, Firefox or Safari to view our tutorial videos.

Questions and Comments
We'd love to get your feedback or questions. Leave your comment below.
I am very interested in the sentiment stamp you used at the end-the quote about bare feet etc. Is that yours with IO?
Mrs Noofy
And super clear instructions - will be helpful to many. Thank you!
Beth
Page 1 of 1 pages