Stair Step Fold

by Beate Johns

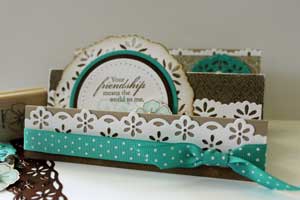
Create this special fold card to show off your landscaping, patterned paper or die cuts.

Supplies
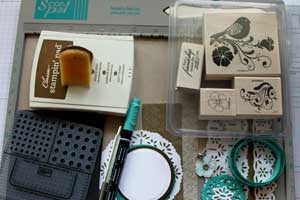
  • One 5 1/2" x 10 1/2" piece of cardstock for card base

  • Scor-Pal™ or other scoring tool

  • Adhesive

  • Stamps

  • Ink

  • Additional cardstock, patterned paper and embellishments for decoration

Step-by-Step

  1. Step 1

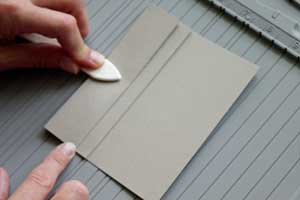
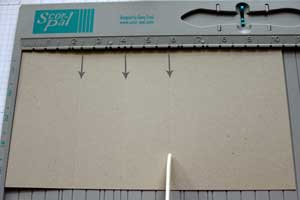
    Line cardstock up on Scor-Pal and score at 2 1/2", 4 1/4" and 6".

    Hint:
    If you are using a paper trimmer or different scoring tool, score at 1 1/4", 2 1/2", 4 1/4", 6" and 8 1/4".
  2. Step 2

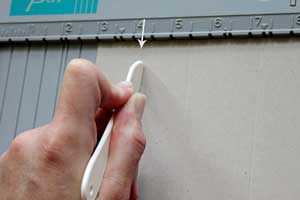
    Align the left edge of the cardstock at 3" score groove of the Scor-Pal and score at 4 1/4".
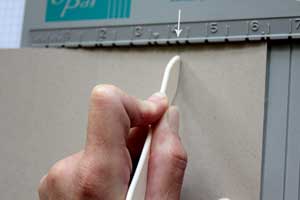
  3. Slide your 6" score line on your cardstock to the 2" score groove of your Scor-Pal™ and score again at 4 1/4"

    Why the extra steps?
    The Scor-Pal doesn't have markings at 1 1/4" or 8 1/4", but with the adjustments shown here, you can use it for scoring at these measurements.
  4. Step 3

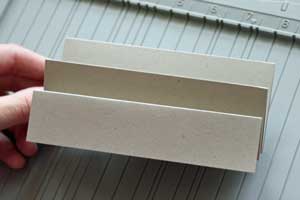
    Prefold all score lines.

  5. Fold the cardstock mountain/valley style (up and down) to create the card base.
  6. Step 4

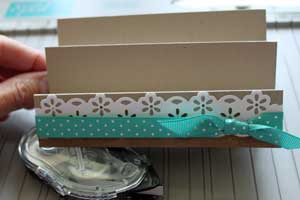
    Start decorating the stair steps.
    The first one measures 1 1/4" x 5 1/2".

    Hint:
    I cut, embossed and stenciled white cardstock with Eyelet Borderabilities from Spellbinders.
  7. Step 5

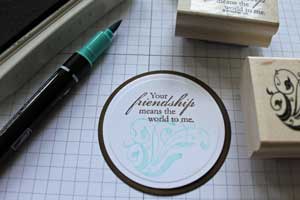
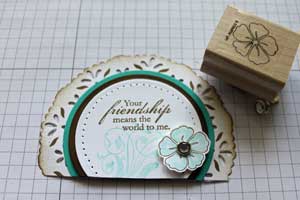
    Stamp your main focal point.

  8. Embellish if desired. (Eyelet Pendant templates from Spellbinders were used for the last layer.)
  9. Step 6

    Decorate your second stair step. This one measures 1 3/4" x 5 1/2".
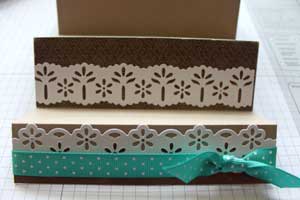
  10. I added my focal point to this stair step.
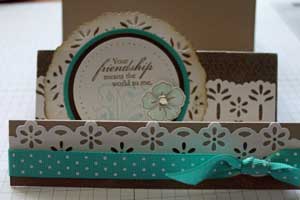
  11. Step 7

    Decorate your last stair step. This fold measures 2 1/4" x 5 1/2".
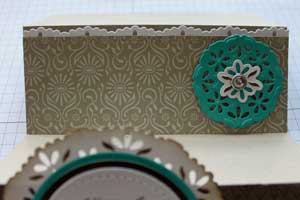
  12. Finished card.

Video!

Variations

    Clear Choice
    Create your card base in Acetate for a different look.

    Landscape it
    Use this fold as a base for wonderful landscape scenes.

    Fancy Settings
    Create beautiful place settings with this fold.

Your Turn

You've seen the tutorial, now you try it! We've got a section of the gallery set aside for Stair Step Fold. Try this technique, then upload your artwork to the gallery. Show us your creations!

***Please note - Internet Explorer/Edge is not a supported browser, and will not allow you to see the videos. Please use Chrome, Firefox or Safari to view our tutorial videos.

Questions and Comments

We'd love to get your feedback or questions. Leave your comment below.

wow i am going to have a go at this card lovely.Loved the video and love my scor pal
dinkydoo  |  Wed Aug 5, 2009 at 6:01 AM
What a beautiful card Beate!! It really show cases everything
Sara  |  Wed Aug 5, 2009 at 9:36 AM
Beate,
you rock again! it was just like being with you!

beautiful card and awesome video!

Elizabeth
elizabeth mccarty  |  Wed Aug 5, 2009 at 10:44 AM
I love the video.... I do much better with video's and I'm off to give this a try
Ms Cookie  |  Wed Aug 5, 2009 at 10:53 AM
Thanks for the great cute idea. I love doing
different cards.
Patti  |  Wed Aug 5, 2009 at 10:58 AM
Lots of applications for this beautiful techique. Love it!
Leanne  |  Wed Aug 5, 2009 at 12:15 PM
OMG love this card heard your voice for the first time are you from Germany?
Kathy  |  Wed Aug 5, 2009 at 12:20 PM
Thanks for all the time you spend taking the brain work out of the measurements and for such great directions. I appreciate all you do for us. Keep stamping them out for us, I love seeing all your creations.Tonda
Tonda Baldwin  |  Wed Aug 5, 2009 at 2:04 PM
Wow, this is a wonderful card!!!! I'm going to make this for my mom for her birthday, so beautiful, thanks for sharing!!!
L2L  |  Wed Aug 5, 2009 at 2:20 PM
Another fabulous card with great instructions, Beate! Thanks so much for sharing your expertise with us. It's greatly appreciated.
Mary  |  Wed Aug 5, 2009 at 3:11 PM
You're amazing, Beate!! This is gorgeous and so inspiring!! Thank you!
Rose Ann  |  Wed Aug 5, 2009 at 3:19 PM
Beate, I love the card and the video rocks. Thanks again for all your super card ideas that make us all better.
auntiearchive  |  Wed Aug 5, 2009 at 5:20 PM
Just a fabulous card. Love the colors and the elements used. The lacy border was the icing on the cake!
Darlene L  |  Wed Aug 5, 2009 at 5:54 PM
Love your cards and the video are such a big help.
What is the name of the things you used to make the lace type of design, and where can you get them.
Keep up the good work
thanks
Bon
Bonnie Robinson  |  Thu Aug 6, 2009 at 3:11 AM
Bon,
I used Eyelet Pendant Shapeabilities and Eyelet Borderabilities from Spellbinders.
Hugs and smiles
Beate  |  Thu Aug 6, 2009 at 3:46 AM
Beate --wonderful video! I got on here this morning needing to see something new --and I sure did! My wish list just expanded beyond SU! products! --I assume I can use the Borderabilities in my Big Shot?
thanks again!
Jan
Jan Bonka  |  Fri Aug 7, 2009 at 4:58 AM
Beate: You are doing fantastic with the videos...keep up with the good work...I appreciate your extra mile of doing this....I'm a visual person and the video is better....
Linda  |  Fri Aug 7, 2009 at 5:48 PM
I love your tutorials. They make me want to go right out and create a card. Thanks so much!
Karen Hetherington  |  Sat Aug 8, 2009 at 9:15 AM
just posted a stair-step card in the gallery...FUN! thanks for the "spark" to get me going on this one!
Pam Sparks  |  Sat Aug 8, 2009 at 11:29 AM
What a gorgeous card you designed. Love that you showed the new Nesties. TFS!
HomeGrownArt  |  Sat Aug 8, 2009 at 1:09 PM

Page 1 of 2 pages  1 2 >

You need to be logged in to comment

GET OUR NEWSLETTER


Splitcoaststampers's privacy policy