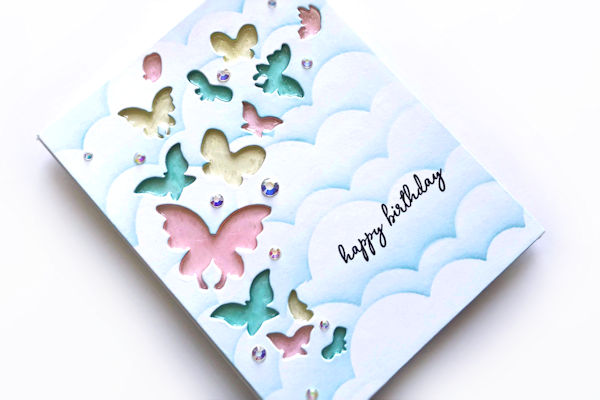
Stained Glass Panels
by Lindsay Adreon
Create a stained glass effect on layered die cut cardstock.
Supplies
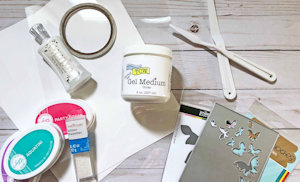
- Gloss gel medium
- Palette knives
- Heavy weight cardstock
- Acetate
- Background dies (Kat Scrappiness Butterfly Backdrop used here)
- Die cutting machine
- Adhesive
- Additives (Catherine Pooler Inks & Glitter used here)
Step-by-Step
-
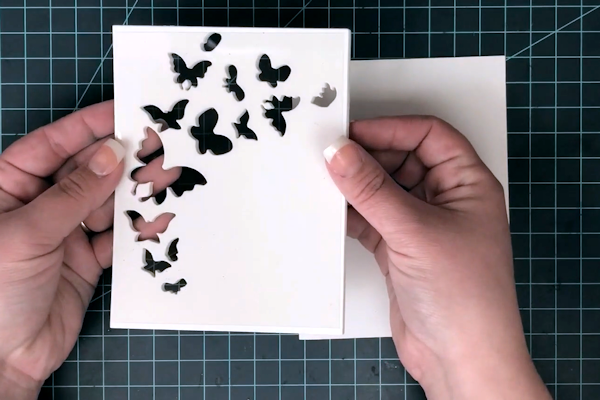
Step 1
Die cut the die from white cardstock four times.
-
Step 2
Cut acetate to fit over all die cut openings.
-
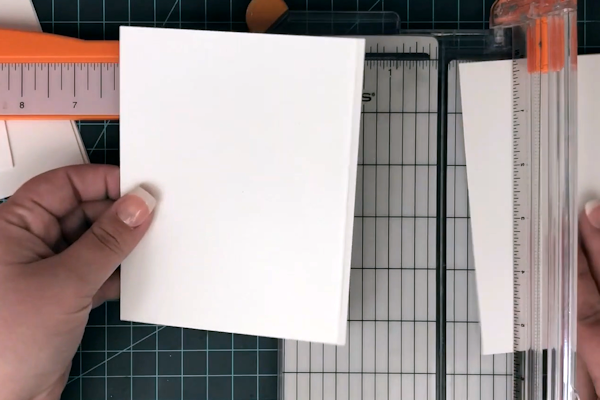
Step 3
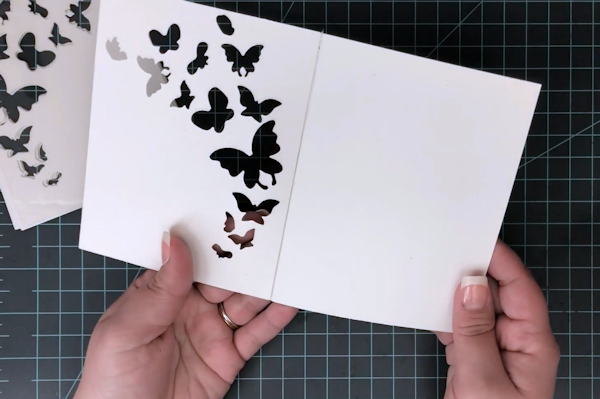
Cut the front off of an A2 card base. Leave a small overhang (about 1/4") to attach the first die cut panel.
-
Step 4
Adhere the first die cut panel to the overhang.
TIP:
Put the overhang on top of the die cut panel for a more finished look. -
Step 5
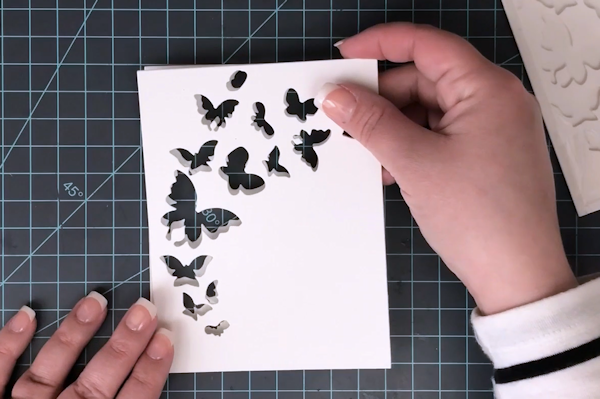
Adhere acetate to the front of the panel. Be sure to cover all of the openings fully.
-
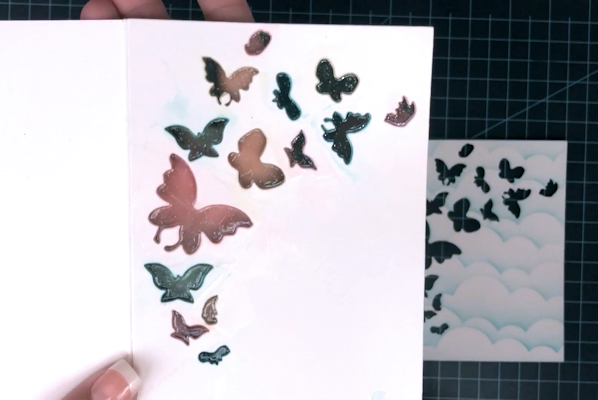
Step 6
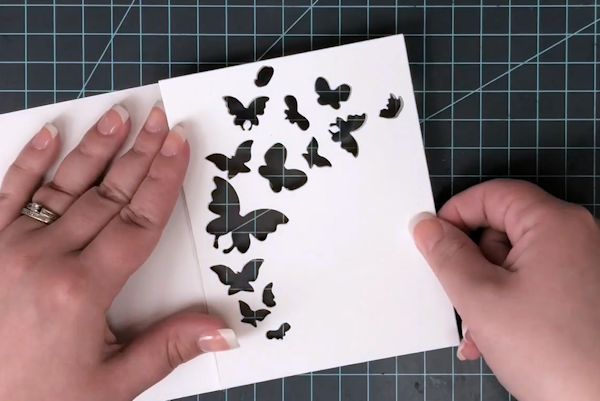
Adhere two die cut panels together.
TIP:
Use a liquid glue here for best adhesion. -
Step 7
Adhere the two die cut panels to the front of the card base, over the acetate.
-
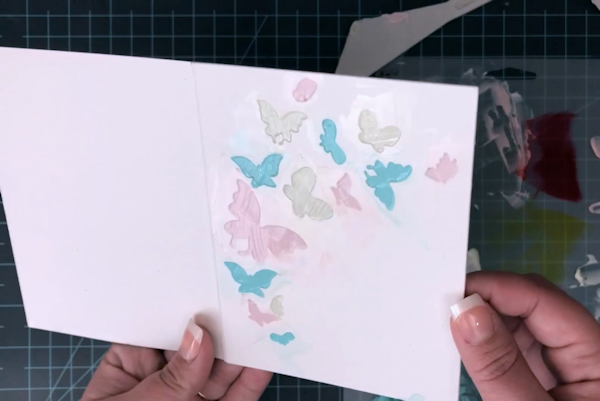
Step 8 (Optional)
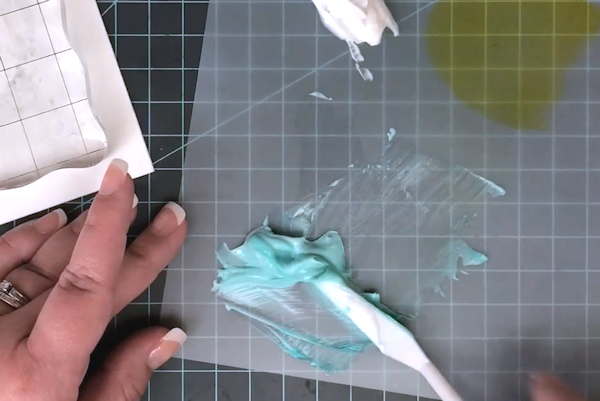
Mix any additives into the Gloss Gel Medium. Catherine Pooler inks were used here.
-
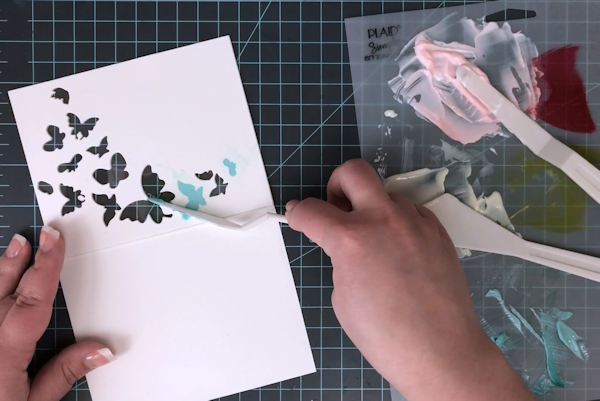
Step 9
Fill the die cut openings with gloss gel medium. Use a palette knife for easy application.
-
Use the palette knife around the die cut areas to be sure any excess medium is removed from the cardstock.
-
Step 10
Allow the gel medium to completely dry.
NOTE:
This does take some time. I like to let mine dry overnight. -
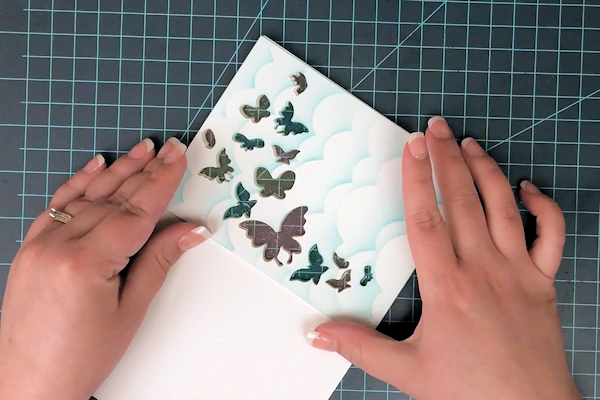
Step 11
Adhere the last die cut panel to the front of the card base.
-
Step 12
Complete the project.


Video!
Your Turn
You've seen the tutorial, now you try it! We've got a section of the gallery set aside for Stained Glass Panels. Try this technique, then upload your artwork to the gallery. Show us your creations!
***Please note - Internet Explorer/Edge is not a supported browser, and will not allow you to see the videos. Please use Chrome, Firefox or Safari to view our tutorial videos.

Questions and Comments
We'd love to get your feedback or questions. Leave your comment below.
If I understand this right, the front of the card has all 4 layers of the card stock. Isn't that getting a bit thick? Can it mail on a single stamp?
Thanks, Ann
@RufsMom Yes, four layers of cardstock. They mail just as well as any other card and they really aren't that thick. The four layers end up being about as thick as a single layer of foam adhesive!
Page 1 of 1 pages