Stacked Stencils
by Dina Kowal
Use two stencils together to create a pattern within a pattern.
Supplies
- Card panel (Canson XL Series Recycled Bristol Paper – smooth side – used here)
- Stamp positioner (MISTI used here)
- Stencils (A Colorful Life Designs stencils used here: 018119 Sweater Knit, 017120 Grunge Dots; 018141 Stencil Stacker Rectangle, 017115 Doodle Wheels)
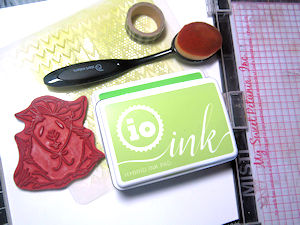
- Inks (Impression Obsession Hybrid inks (Chartreuse, Lime) and Colorbox Premium Dye inks (Dandelion, Coral) used here)
- Applicators (toothbrush style makeup brushes used here)
- Washi tape
- Other supplies as needed to complete the projects (Impression Obsession F13749 Fascinator Guinea Pig, WP898 Chocolate Builder clear set, F13755 Girlfriends Silhouette, C13760 Being There, Versafine Onyx Black ink, foam sheet, Spellbinders shape dies, Copic markers, Stampendous detail white embossing powder, Scor-Pal)
Step-by-Step
-
Step 1
Cut a card-sized panel (the panel here is 4 1/2” x 6”).
(Optional) Brush or sponge an even layer of color over the panel with your lightest ink. -
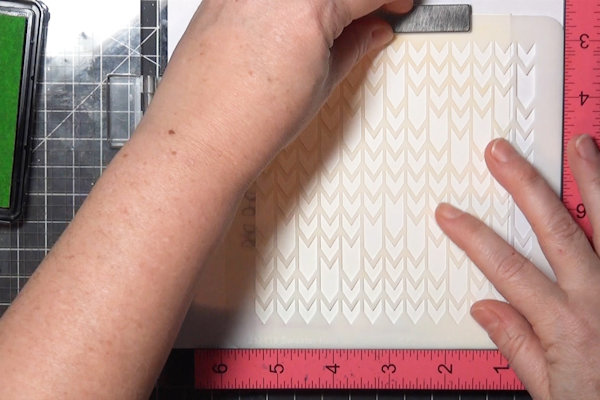
Step 2
Select two stencils, one with a more open design and one with a smaller pattern.
Tape the cardstock panel to the back of the more open stencil. -
Step 3
TIP:
Place and secure the stencil in the corner of a stamp positioner using magnets or tape – this helps keep the stencil in place and will help line up the stacked stencils in later steps. -
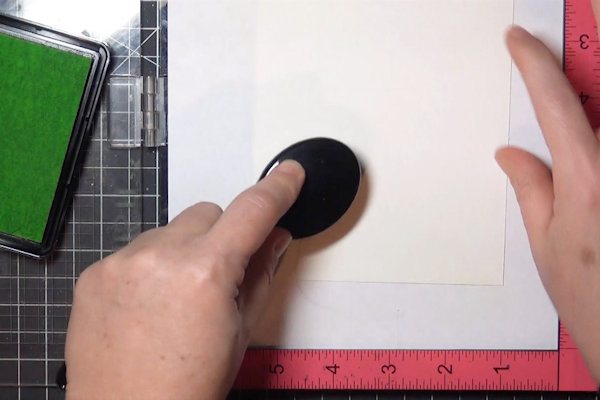
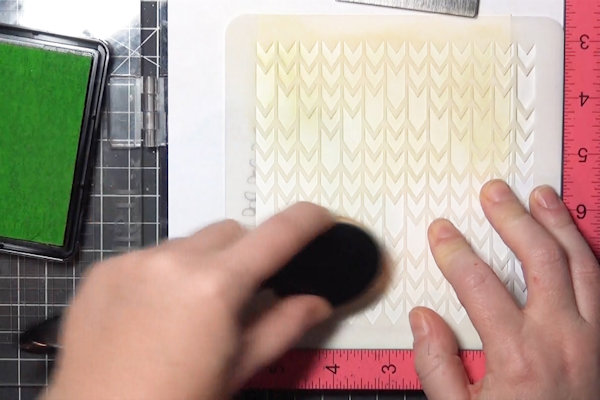
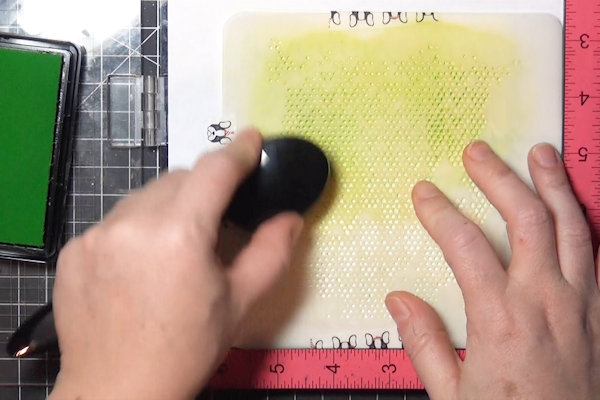
Step 4
Brush or sponge over the stencil using a light ink to fill the panel.
-
The sample panel looks like this.
-
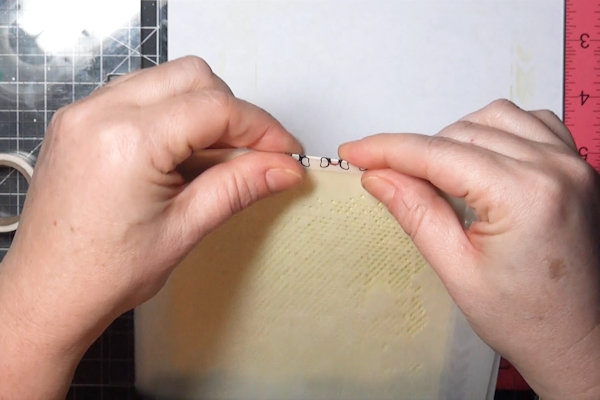
Step 5
Keeping the paper panel taped in place, line up the second stencil on top of the first stencil and tape them both together.
-
Place and secure the stacked stencils in the corner of a stamp positioner using magnets or tape.
-
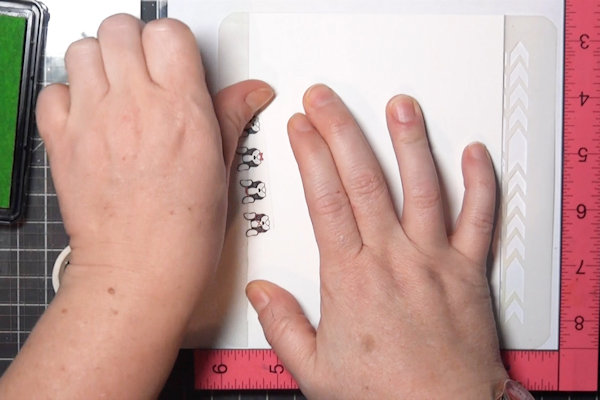
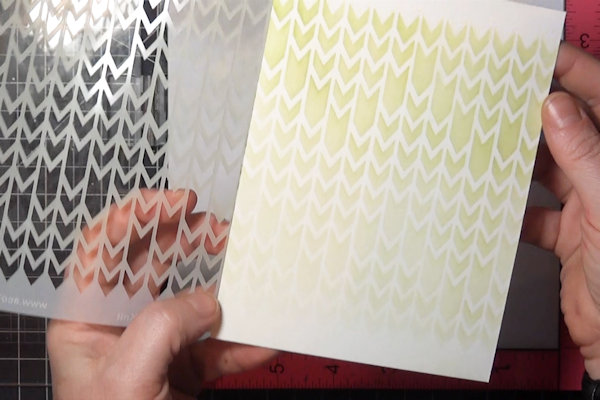
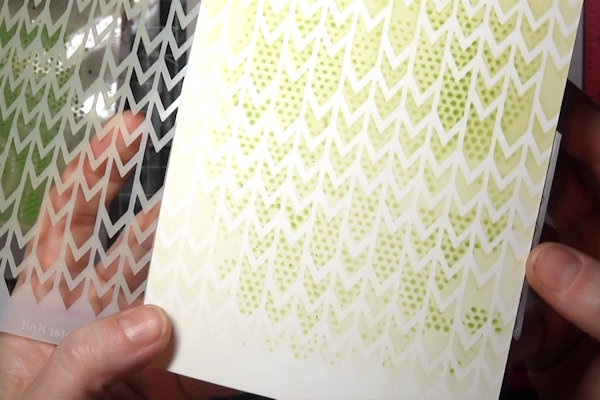
Step 6
Brush or sponge a darker or contrasting ink through both stencils at once.
-
The second stencil pattern will appear inside the first stencil openings.
-
Step 7
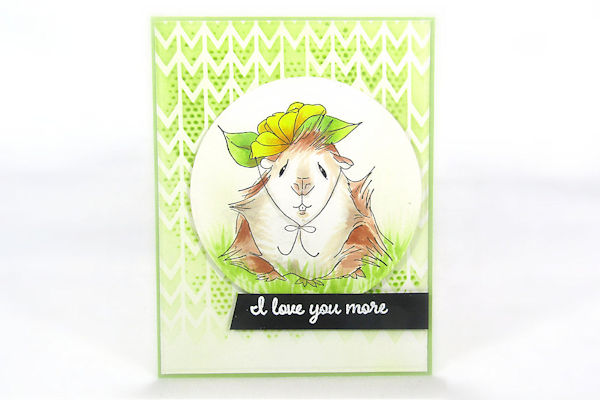
Use the panel to complete a card or other project.

Video!
Variations
-
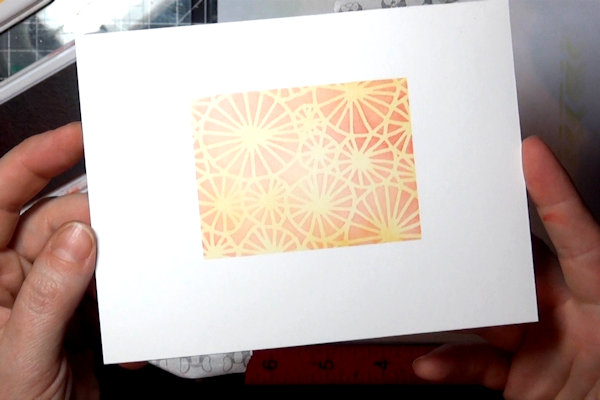
Instead of a patterned stencil, use an open shape stencil or substitute a die cut opening for the first layer.
-
Use the panel to complete a card or other project.

Your Turn
You've seen the tutorial, now you try it! We've got a section of the gallery set aside for Stacked Stencils. Try this technique, then upload your artwork to the gallery. Show us your creations!
***Please note - Internet Explorer/Edge is not a supported browser, and will not allow you to see the videos. Please use Chrome, Firefox or Safari to view our tutorial videos.

Questions and Comments
We'd love to get your feedback or questions. Leave your comment below.
Page 1 of 1 pages