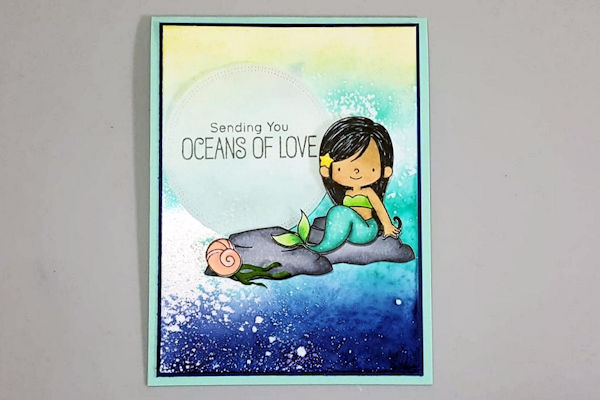
Spray Resist
by Shannon Smith
Use an acrylic spray for a resist technique.
Supplies
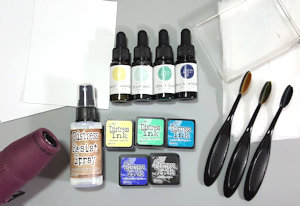
- Photo paper
- Distress Resist Spray (Ranger brand used here. Editor's note: a substitute can be made using a 1:1 mixture of water and acrylic glaze (ex: Glossy Accents, Diamond Glaze, 3D Crystal Lacquer)
- Water-based ink (RG Avenue Sugar Drop ink - Sweet Banana, Sour Mist, Tangy Gum and Rich Blueberry used here)
- Blending brushes
- Baby wipes
- Heat tool (Marvy Uchida heat tool used here)
- Other supplies as needed to complete the project (used here: My Favorite Things "Mermazing" stamp and die set, Gina K. Amalgam ink pad, Copic markers, Gina Marie Designs Stitched Circle Dies, vellum, navy and light turquoise cardstock, foam squares, FSJ tape runner, craft glue)
Step-by-Step
-
Step 1
To make an A2 card, cut photo paper to 3 7/8" x 5 1/8”.
-
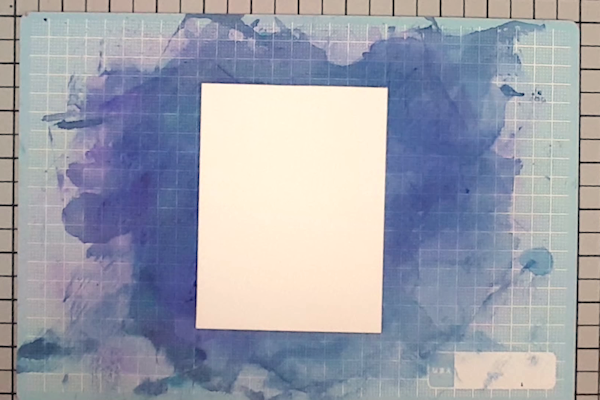
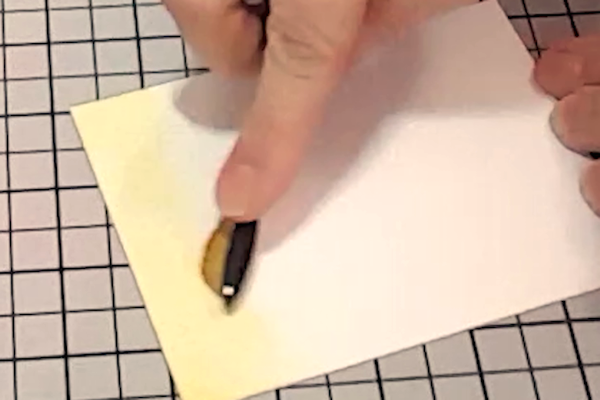
Step 2
Spray Distress Resist Spray in a loose, spotty pattern on the shiny side of the photo paper.
-
Step 3
The paper will dry pretty fast, but a heat tool can be used to speed things up. Be careful to keep the heat tool moving and back from the paper - photo paper will scorch easier than normal paper. Make sure any spots made by spraying the paper are dry.
-
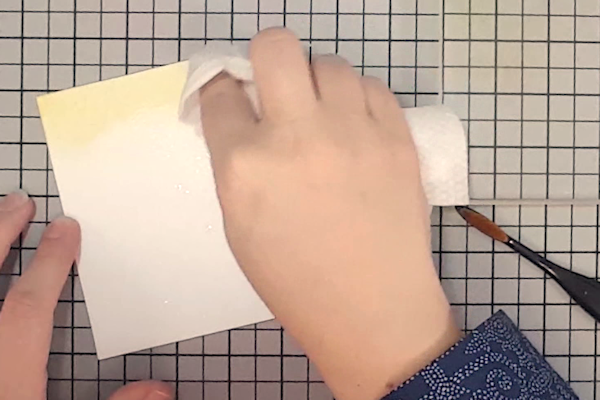
Step 4
Begin inking the panel with the lightest dye ink.
TIP:
An acrylic block can easily be used as a palette. -
Step 5
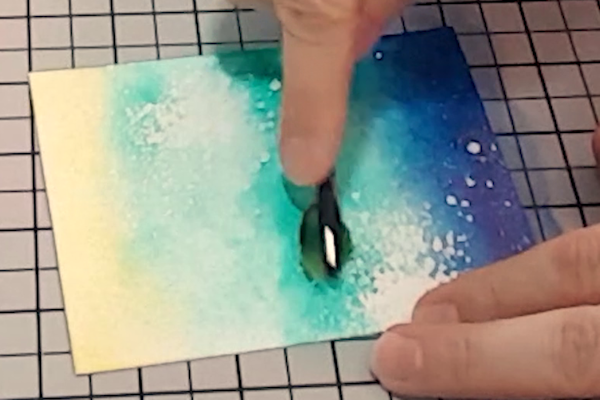
Use a baby wipe to dab gently away ink in resist spray areas so distress comes through.
-
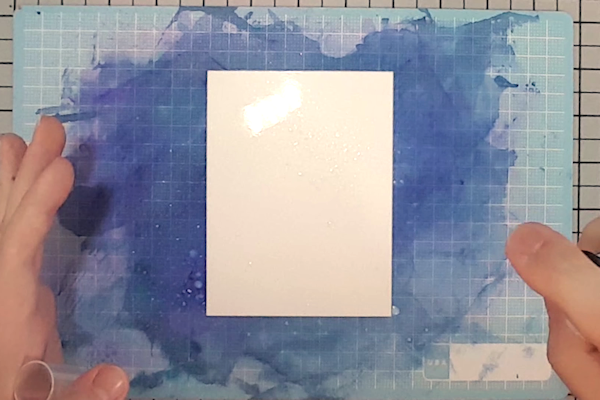
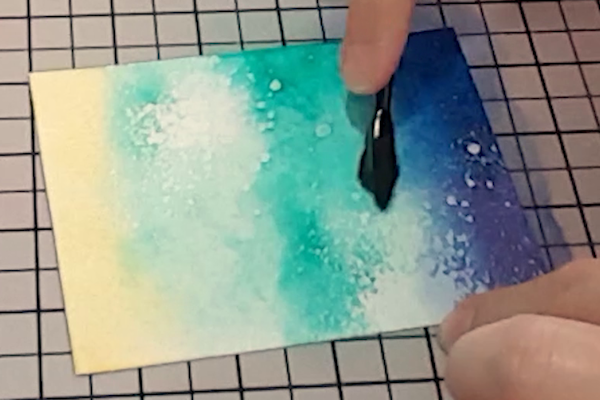
Step 6
Apply the next ink using circular motions, make sure to go off the edge of the card to avoid any white edges. Blend into the lighter ink a bit to avoid any harsh lines. The Distress Resist Spray will start showing through giving it a sea foam look.
-
Step 7
Continue to add ink as before. Apply using circular motions off the paper a bit and blending into the darker layer.
-
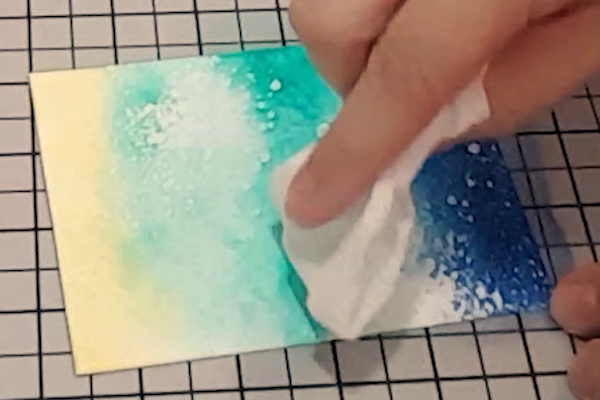
Step 8
Use the baby wipe again to remove any color on the resist spray areas. It’ll wipe right off because it’s water-based ink.
-
Step 9
Play with the blending until you are happy with the card.
-
Step 10
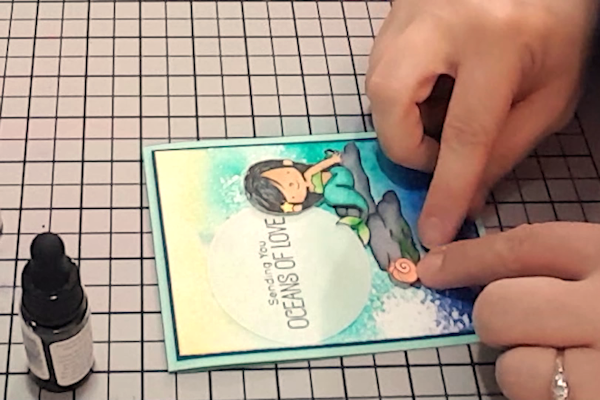
Assemble and embellish the card as desired.
For the sample, the image was colored with Copic markers and popped up with foam squares. The sentiment is stamped on vellum, adhered strategically so the adhesive remains hidden. -
Step 11
Complete the project.


Video!
Your Turn
You've seen the tutorial, now you try it! We've got a section of the gallery set aside for Spray Resist. Try this technique, then upload your artwork to the gallery. Show us your creations!
***Please note - Internet Explorer/Edge is not a supported browser, and will not allow you to see the videos. Please use Chrome, Firefox or Safari to view our tutorial videos.

Questions and Comments
We'd love to get your feedback or questions. Leave your comment below.
Page 1 of 1 pages