Sponged Sky
by Jeanne Streiff author
Create a sky in no time at all with a few dabs of your sponge.
Supplies
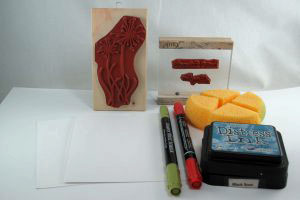
- Cardstock (Simply Smooth White, Prismatics White cardstock – Prism papers, used here)
- Ink (Broken China, Black Soot Ranger Distress inks used here)
- Stamps (Unity Stamps Wish Sticks used here)
Sponge
Step-by-Step
-
Step 1
Ink the rounded part of a sponge by pressing directly on an ink pad. Ranger Distress Broken China was used here.
Important Hint:
Before moving on to the next step, remove extra ink by rubbing sponge on scrap paper. The soft look is achieved with very little ink.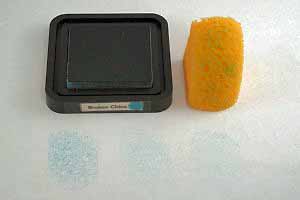
-
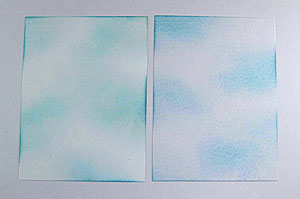
Step 2
Use a circular motion to apply ink, leaving many white open spaces. Re-ink your sponge, remove excess ink and continue sponging ink randomly.
Different cardstocks will give different looks - the cardstock on the left is smooth white and on the left is textured white.
-
Continue adding color until you have the color that you want.

-
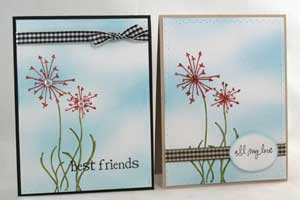
Step 3
Finish your card using your Sponged Sky.
Your Turn
You've seen the tutorial, now you try it! We've got a section of the gallery set aside for Sponged Sky. Try this technique, then upload your artwork to the gallery. Show us your creations!
***Please note - Internet Explorer/Edge is not a supported browser, and will not allow you to see the videos. Please use Chrome, Firefox or Safari to view our tutorial videos.

 *
*
Questions and Comments
We'd love to get your feedback or questions. Leave your comment below.
same look for less $$ !
**Milu**
Thank you!
Page 1 of 2 pages 1 2 >