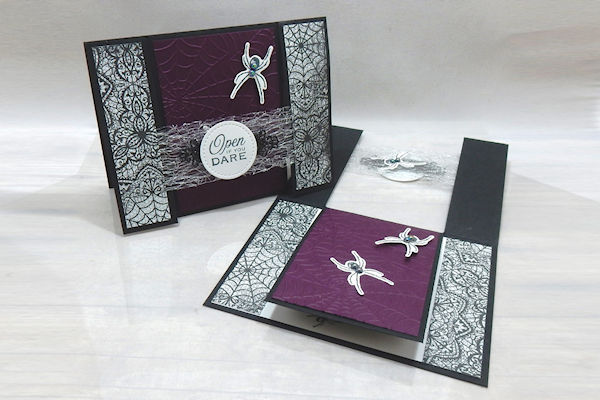
Spanner Panel Card
by Wendy Lee
With some simple cuts, create a fun layered card.
Supplies
- Cardstock – 5 1/2” x 8 1/2” (Stampin’ Up!® Basic Black cardstock used here)
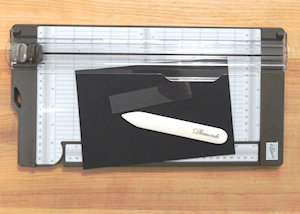
- Paper Trimmer
- Bone Folder
- Other supplies as needed to complete the project (SU supplies used here: Blackberry Bliss & Whisper White cardstock, Black Glitter Paper, Window Sheet, Magic In This Night Designer Series paper, Blackberry Bliss ink, Tuxedo Black Memento Ink, Ornate Frames dies, Stitched Shapes dies, Halloween Magic dies, Metallic Mesh Ribbon, Iridescent Pearls, Stampin’ Seal, Black Dimensional Combo Pack, Multipurpose Liquid Glue)
Step-by-Step
-
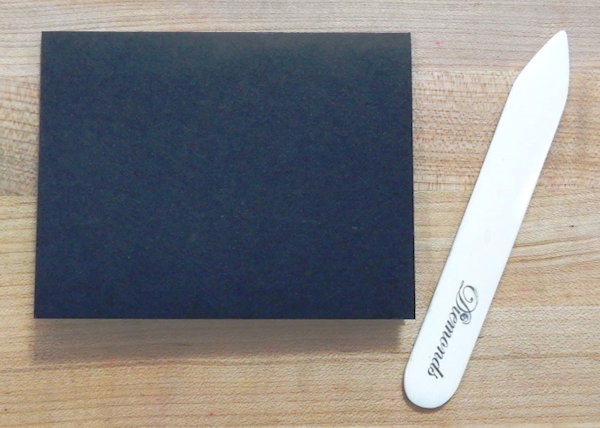
Step 1
Fold 5 1/2” x 8 1/2”cardstock in half.
-
Step 2
Open the cardstock and cut in 1-1/4” from the left and right edge, stopping at the center fold.
-
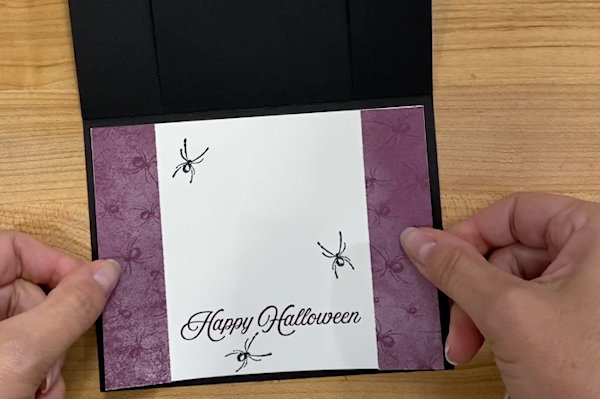
Step 3
Embellish the inside of the card as desired.
-
Step 4
Flip down the center section and embellish as desired.
-
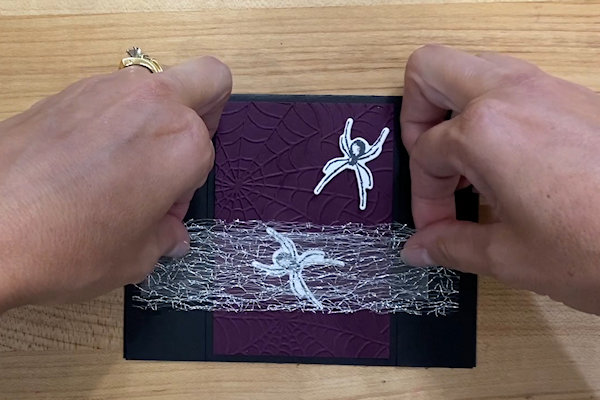
Step 5
Fold down the side panels. Attach a diecut or an acetate or cardstock panel from side to side, and embellish.
-
Add layers of cardstock to the sides to cover the ends of the spanning panel. (For an 1/8" border, cut these panels to 4" x 1".)
-
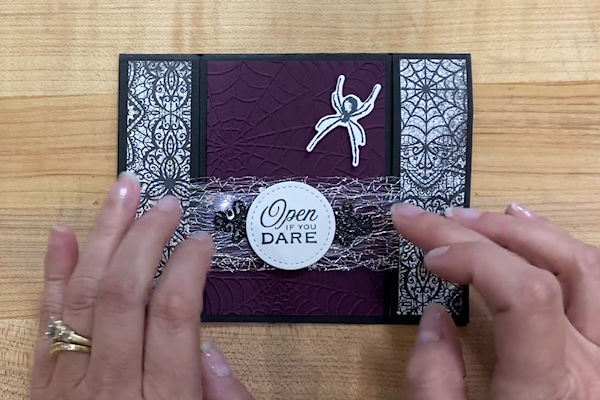
Step 6
Complete the project. This card will fold flat and fit into an A2 envelope.


Video!
Your Turn
You've seen the tutorial, now you try it! We've got a section of the gallery set aside for Spanner Panel Card. Try this technique, then upload your artwork to the gallery. Show us your creations!
***Please note - Internet Explorer/Edge is not a supported browser, and will not allow you to see the videos. Please use Chrome, Firefox or Safari to view our tutorial videos.

Questions and Comments
We'd love to get your feedback or questions. Leave your comment below.
Page 1 of 1 pages