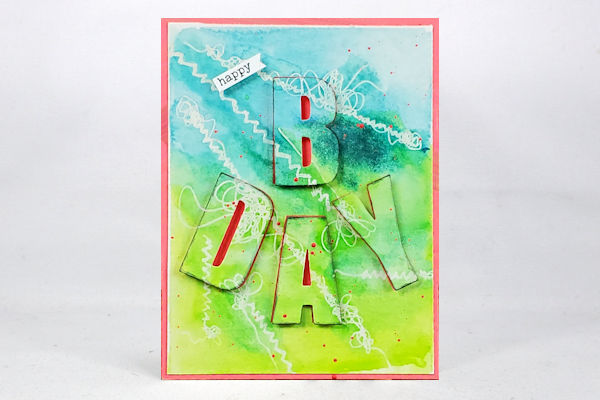
Smoosh Resist
by Ana Reese
Combine familiar techniques for a unique background every time.
Supplies
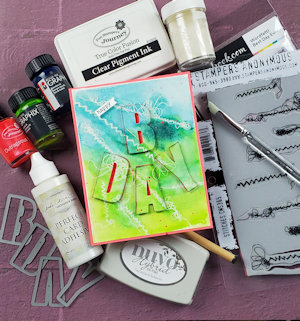
- Clear embossing powder (Stampendous Clear Embossing Powder used here)
- Embossing ink (Fun Stampers Journey Clear Pigment used here)
- Heat tool
- Watercolor paper
- Small paint brush
- Ink blending tool
- Acetate Sheet
- Water soluble medium (Aqua Inks by Graphix in Roseda & Petrol used here)
- Black ink (Nuvo Hybrid Black Shadow used here)
- Stamps(Stitches by Tim Holtz, Wordfetti Best Day Ever by Scrapbook.com used here)
- Other supplies as needed to complete the project (used here: foam squares, Outrageous Pink cardstock and Silk by FSJ, scissors, Perfect Card Adhesive, , Purple tape, Mini Guillotine cutter)
Step-by-Step
-
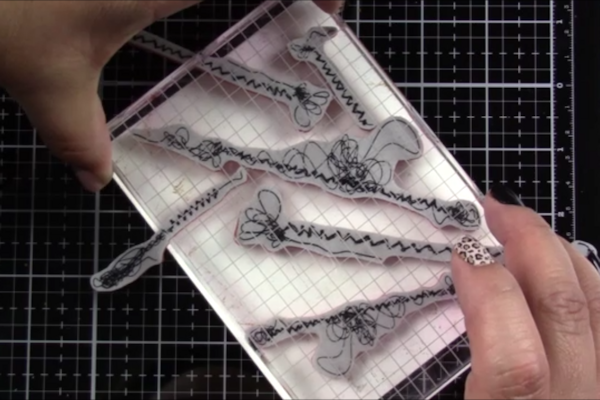
Step 1
On a piece of watercolor paper, stamp images using a clear pigment ink. Make sure you cover a large portion of the background area.
-
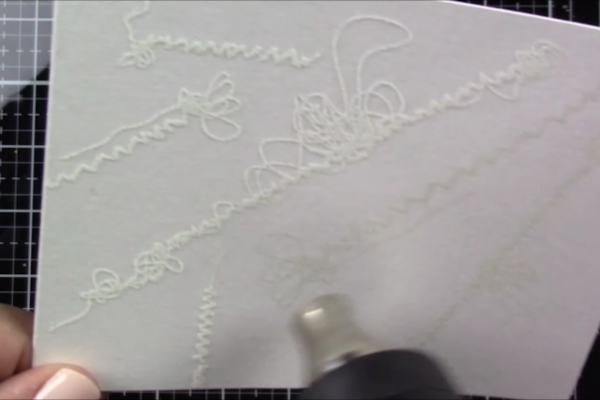
Step 2
Promptly cover the stamped area with clear embossing powder. Use your heat gun to melt the powder.
-
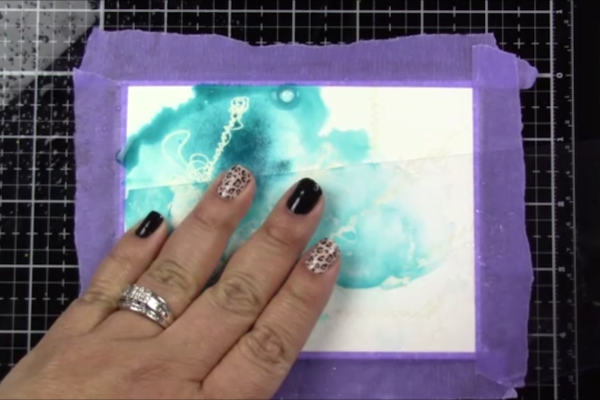
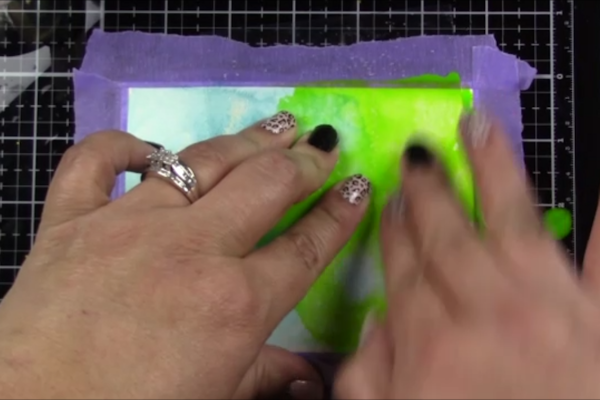
Step 3
Tape watercolor paper panel to secure it to your work surface.
Add a couple of drops of watercolor onto an acetate sheet (some recycled packaging was used here). Wet your watercolor paper with water and bring the acetate sheet with watercolor to it, smooshing color onto paper. Add the first color to just one half of the panel, reserve the other half for the second color. You can drag the acetate sheet across to disperse the watercolor, keep moving it until you are satisfied with color placement. Dry the first color by using your heat tool. Repeat this step with the second color -
Dry the first color by using your heat tool.
Repeat with the second color ink. -
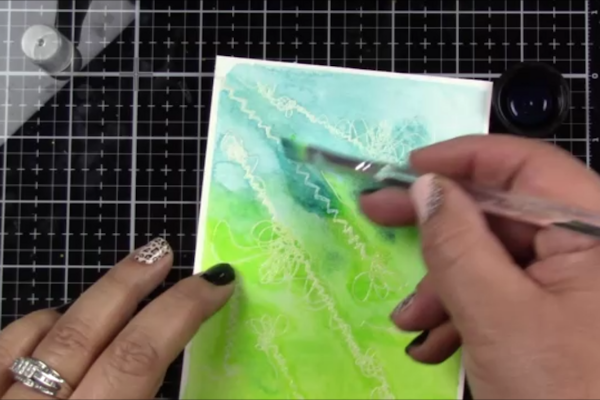
Step 4
Make sure your embossed images are very visible. If they need to be accentuated, wet a clean brush with water and run it across edges of image. This will make the ink behind the image to move and create a shadow around the image. If you need even more contrast you can use a little more of the watercolor ink to emphasize the edges. Heat dry.
-
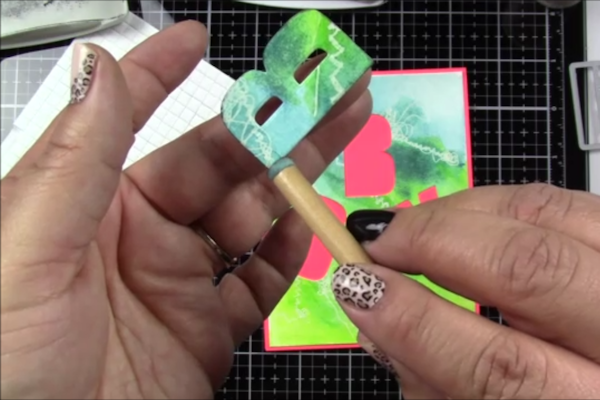
Step 5
Embellish the panel as desired.
For a tutorial on the Eclipse technique used on this project, click HERE. -
Step 6
Complete the project.
Video!
Your Turn
You've seen the tutorial, now you try it! We've got a section of the gallery set aside for Smoosh Resist. Try this technique, then upload your artwork to the gallery. Show us your creations!
***Please note - Internet Explorer/Edge is not a supported browser, and will not allow you to see the videos. Please use Chrome, Firefox or Safari to view our tutorial videos.

Questions and Comments
We'd love to get your feedback or questions. Leave your comment below.
The smooshed technique is an easy way to play with watercolors and you can create color patterns that are delightful!
I love dies, and this is a fun way to incorporate them to work with a fun background!
Thanks for watching the video tutorial!
Ana
Page 1 of 1 pages