Slit Latch Gift Card Holder
by Jane Matsumoto
Create a gift card holder out of one strip of heavy patterned paper.
Supplies
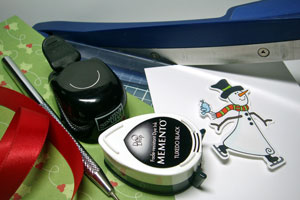
- One 2-3/4" x 10" piece of sturdy patterned paper
- Paper trimmer
- Pencil
- Paper piercer
- Slit punch
- Stamps
- Ribbon
Step-by-Step
-
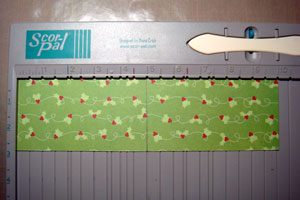
Step 1
Score the 2 3/4" x 10" piece of sturdy patterned paper at 5".
Hint:If the patterned paper is thin, then simply layer the paper onto a piece of cardstock for added thickness.
-
Step 2
The next step is to create the latch for the gift card.
To find where to cut, find the middle of the short side (which is 1-3/8" for this project) and measure down about an inch. Mark the center with a pencil. Use a paper piercer to mark that center point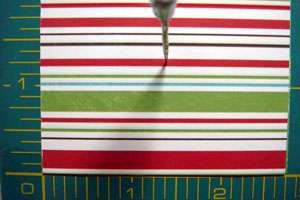
-
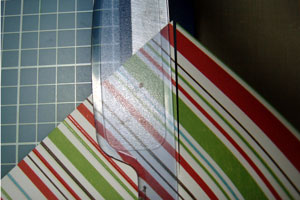
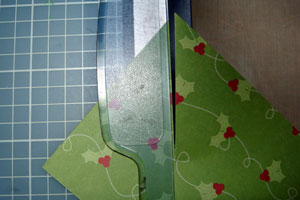
Step 3
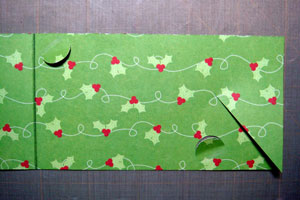
Use a paper trimmer to slice the top flap of the holder from left to center at approximately a 45 degree angle.
-
Slice the bottom flap from right to center.
-
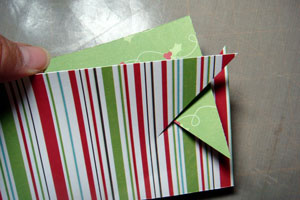
Step 4
You can now close the gift card holder by overlapping the flaps as shown.
-
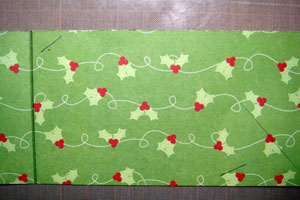
Step 5
Place gift card in the center of the back of the gift card holder. Mark two corners for where you will punch the slits to hold the gift card.
-
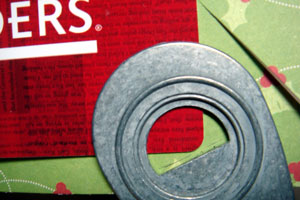
Step 6
Use a slit punch to create the notches at the marked spots.
-
-
Step 7
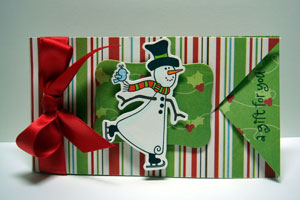
Decorate the front to complete the gift card holder
Video!
Variations
-
No punch neccessary:
Adhere a 1 1/8" x 5" strip to the inside of the card before cutting the slit. Make sure you only add adhesive to the bottom and the left hand side of the strip. Once you cut the slit, add adhesive to the right side. The strip can hold the gift card and makes the gift card holder sturdier.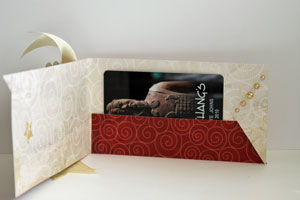
Your Turn
You've seen the tutorial, now you try it! We've got a section of the gallery set aside for Slit Latch Gift Card Holder. Try this technique, then upload your artwork to the gallery. Show us your creations!
***Please note - Internet Explorer/Edge is not a supported browser, and will not allow you to see the videos. Please use Chrome, Firefox or Safari to view our tutorial videos.

 *
*
Questions and Comments
We'd love to get your feedback or questions. Leave your comment below.
Thanks so much for sharing.
Hugs and smiles
TFS!!
Hugs~
Thanks, everyone, for the wonderful comments. Can't wait to see your samples!
I will be making my card in just a few moments, I just hope it turns out!
Page 1 of 2 pages 1 2 >