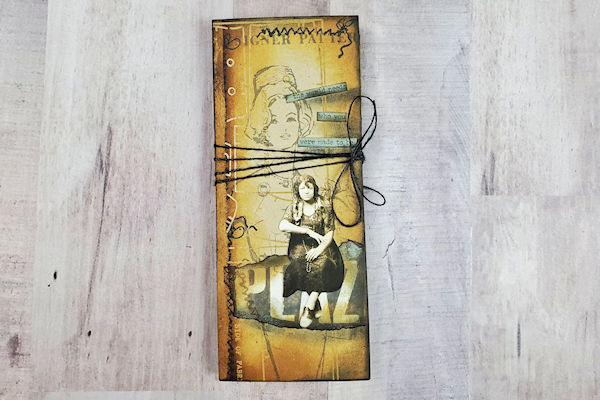
Slimline Mini Book
by Ana Reese
Create a mini book in your own style with this popular size.
Supplies
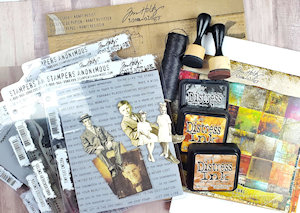
- Cardstock (Neenah 80# & 110# Classic Crest Solar White Cover used here)
- Designer cardstock (Kraft Resist, Abandoned, Collage Paper Stash by Tim Holtz used here)
- Paper trimmer
- Inks (Nuvo Hybrid Black, Distress Inks in Vintage Photo, Brushed Corduroy & Black Soot used here)
- Mini Ink Blending Tool
- Heat tool
- Stamps (Tim Holtz Distress Damask, Craze & Planks, Tiny Text, Curiosities, Haberdashery, Stitches used here)
- Other supplies as needed to complete the project (used here: foam squares, Art Glitter Glue)
Step-by-Step
-
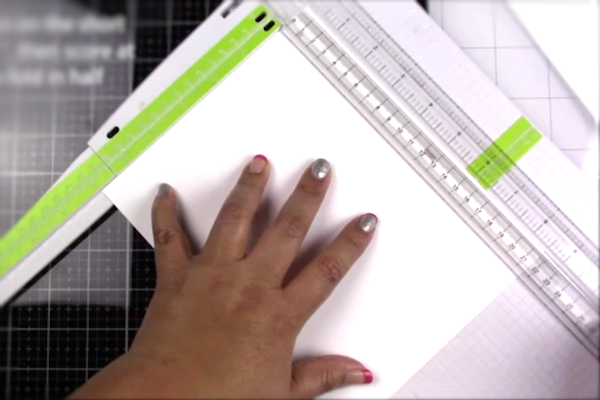
Step 1
Using 8.5” x 11” cardstock sheets create 6 slimline cards. Cards for the sample measure 7" x 8.5" and are scored at 3.5" on the short side. Four (80# weight card) will be used for the pages of the mini book and two (110# weight) for the front and back cover of the mini book.
-
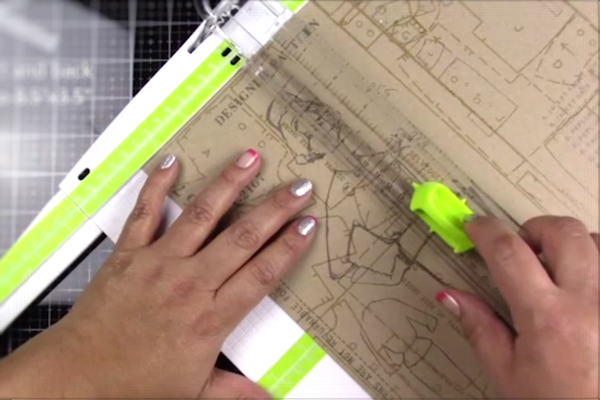
Step 2
Using designer cardstock cut 2 pieces measuring 8.5” x 3.5”. These will be used for the front and back covers. Also cut 8 pieces measuring 8” x 3.25” for the inside pages.
-
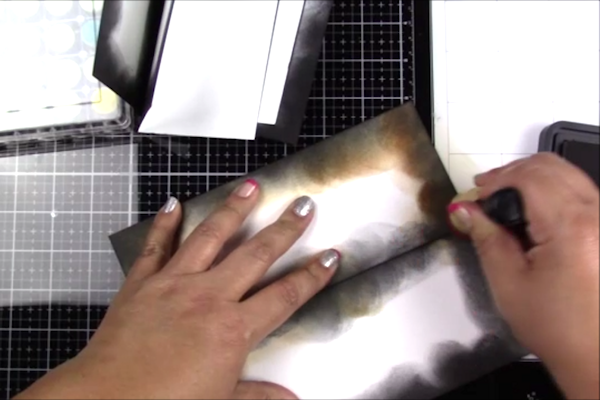
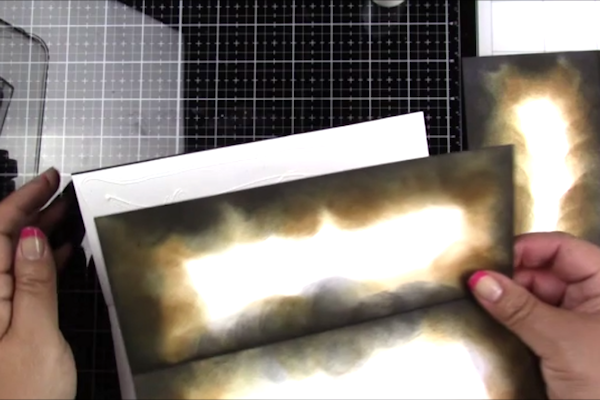
Step 3
Ink edges of all cardstock layers.
-
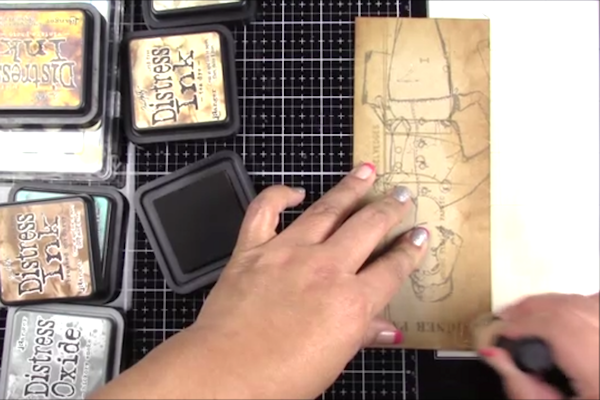
Step 4
Ink edges of one side only of the cards you created in step 1. (Note that only the front of the cards needs to be inked since the back of the card will be used to adhere to other cards to form the book. Also ink the 2 cards used for the front and back covers. These just need one side of the card to be inked since the rest will not show.
-
Step 5
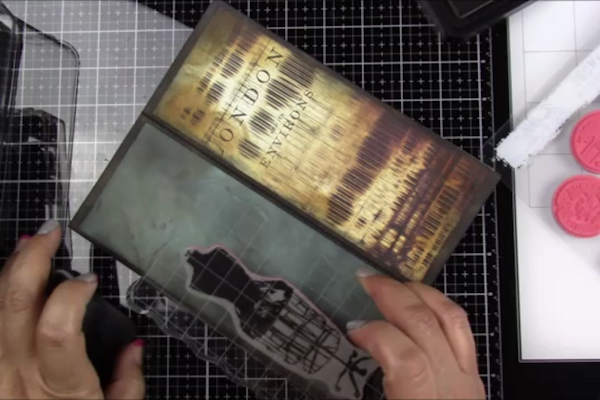
Adhere the cards together to form the book. Fold each card over with the inked sides facing up and add glue to one of the back blank side. This back side will be glued to the next back side of one side of the next card. Repeat this process until all 4 cards have been glued together. Then get the two cards you made for the covers, add glue inside each card to shut it close and then add glue to the back of the card and adhere each card to the front and back of the book.
-
Step 6
Adhere the pieces you cut in step 2 to each page and the front and back covers.
-
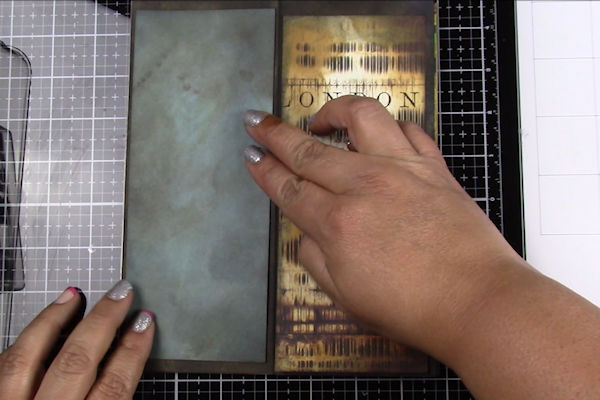
Step 7
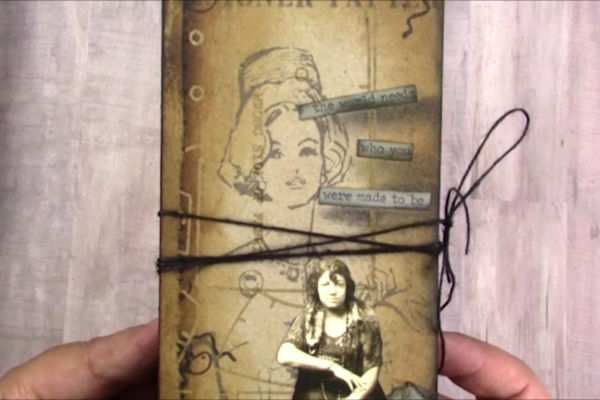
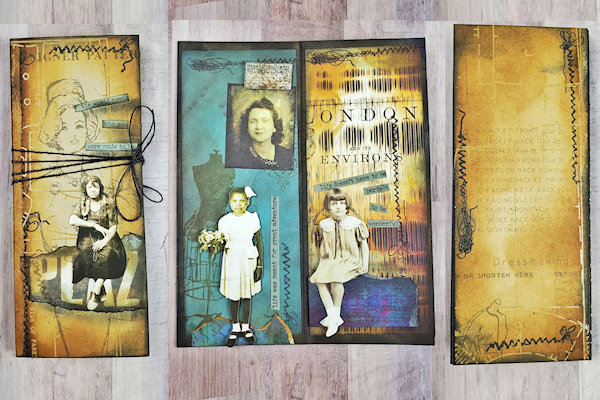
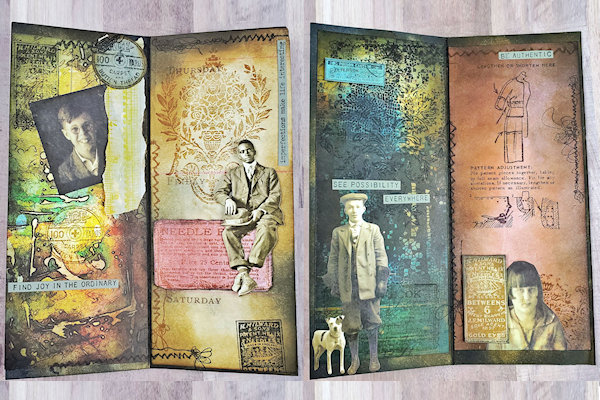
Embellish your book with stamps, ephemera and any other embellishments you wish to use.
-
Step 8
Wrap black twine around book to provide a closure for the book.
-
Step 9
Your Slimline Mini Book is now complete!
-
Video!
Your Turn
You've seen the tutorial, now you try it! We've got a section of the gallery set aside for Slimline Mini Book. Try this technique, then upload your artwork to the gallery. Show us your creations!
***Please note - Internet Explorer/Edge is not a supported browser, and will not allow you to see the videos. Please use Chrome, Firefox or Safari to view our tutorial videos.

Questions and Comments
We'd love to get your feedback or questions. Leave your comment below.
Nanie here is my youtube channel, if I made a video it will be here: https://www.youtube.com/c/anareese
thank you!
I am impressed with the book you made! I love it!! It is a doable project for the craft challenged and I would have never thought that the theme would turn out so gorgeous. Love how you made your embellishments too
Page 1 of 1 pages