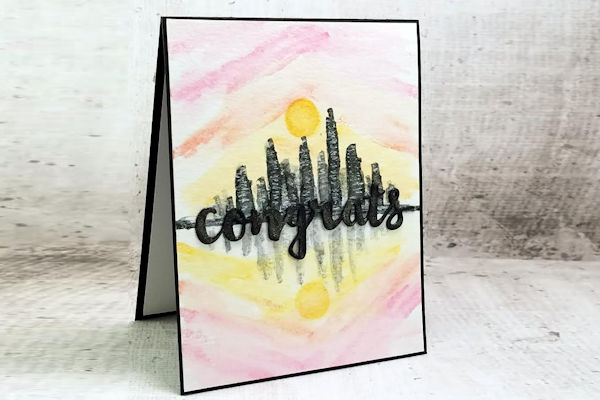
Skyline Stamping
by Kim Jolley
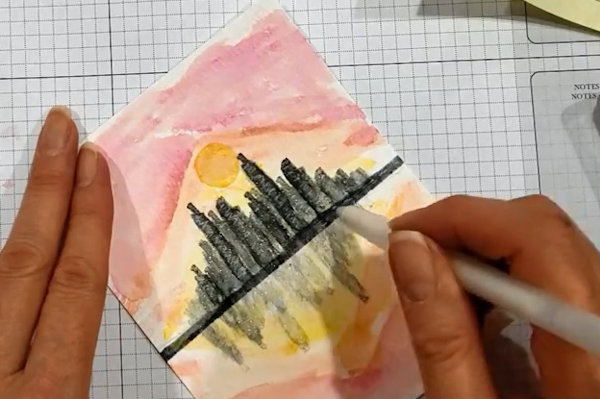
Use stamps to create an abstract cityscape.
Supplies
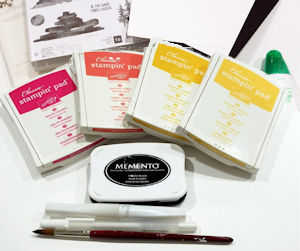
- Water-based inks (Memento Tuxedo Black, Stampin’ Up!® Daffodil Delight, Crushed Curry, Calypso Coral and Melon Mambo used here)
- Watercolor paper
- Stamps (SU Waterfront stamp set used here)
- Heat tool
- Watercolor brush
- Clear Wink of Stella brush pen
- Other supplies as needed to complete the project (SU Sunshine Wishes Thinlits dies, die cutting machine, black and white cardstock, multipurpose liquid glue)
Step-by-Step
-
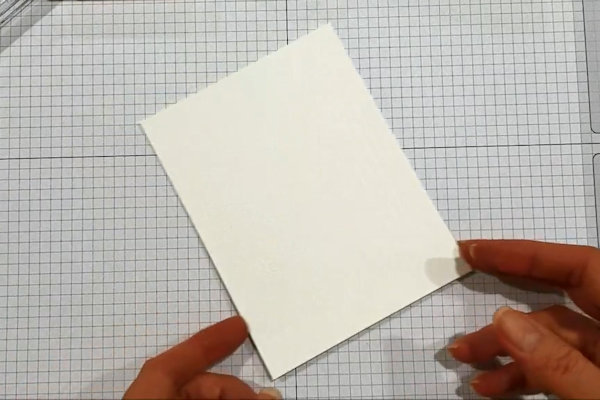
Step 1
Prepare a piece of watercolor paper (4 1/8” by 5 3/8” here).
TIP:
140 lb. paper works well for card projects. -
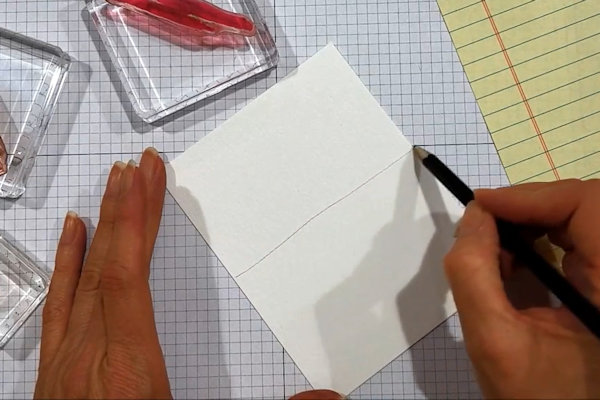
Step 2
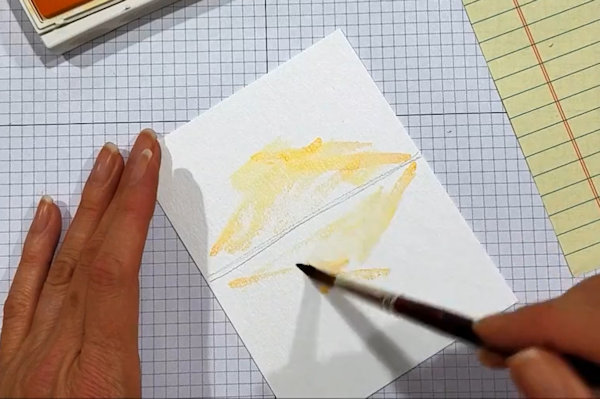
Draw a pencil line across the paper where you wish your horizon line to be. This will be the “ground” the bottom of your buildings will rest on.
-
Step 3
Using a stamp similar to the one shown, ink and stamp repeatedly with a light color using first and second generation images (Daffodil Delight ink used here).
-
Stamp above and below the horizon line as shown.
TIP:
If you don’t have a similar stamp, use a wet brush to apply ink directly to the paper. -
Step 4
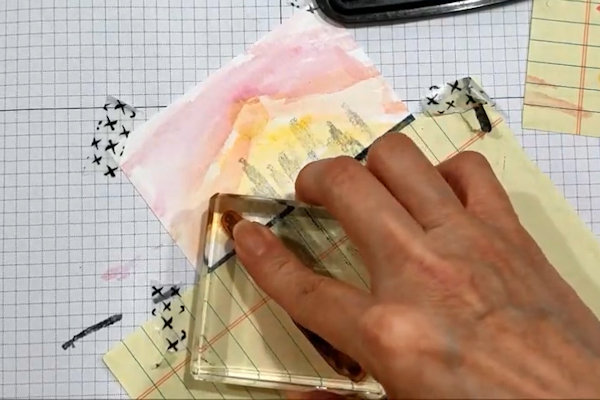
Soften the stamped images with a brush that is slightly wet with water.
-
Dry the area using heat tool.
-
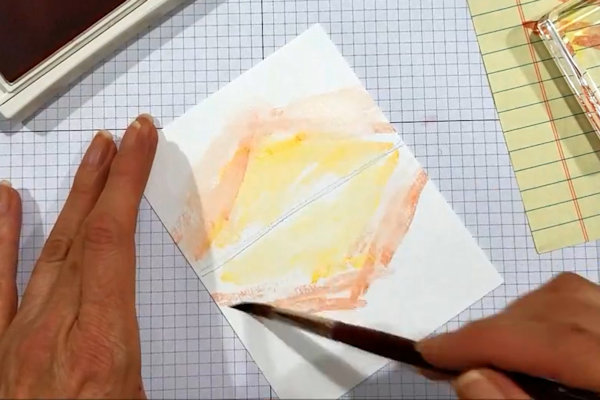
Step 5
Repeat steps 3 and 4, using second and third generation images above the previous stamping (Calypso Coral and Melon Mambo ink used here).
NOTE:
The second and third generation images keep the sky a bit lighter than stamping with first generation (first inking of stamp). -
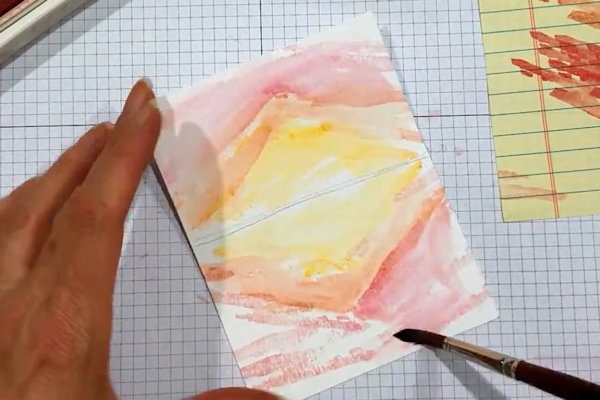
Soften the colors as you go, using a brush that is slightly wet with water.
-
Step 6
Make sure images are dry after using heat tool.
Before proceeding, determine which way is “up” on the panel. -
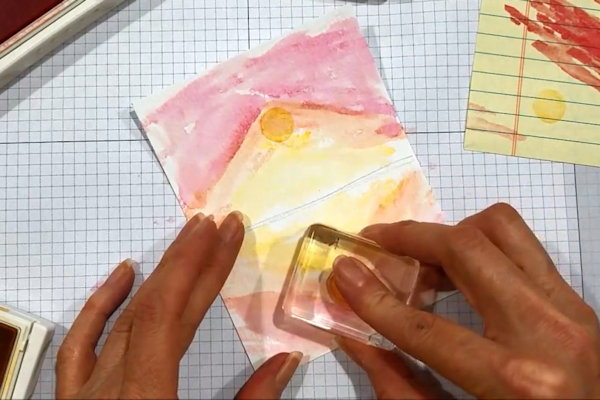
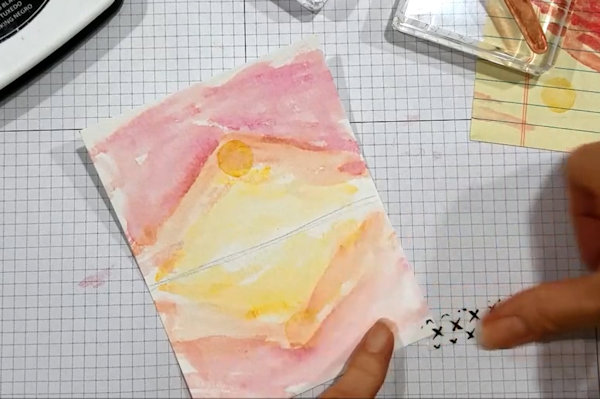
Step 7
Stamp a sun in the upper sky with a first generation inked stamp and the reflection below with second generation inked image (Crushed Curry ink used here).
-
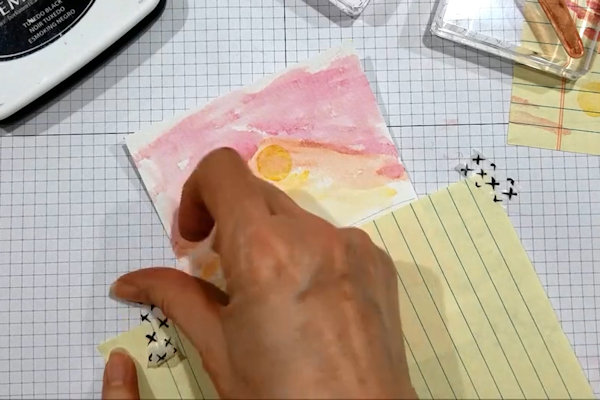
Step 8
Using washi tape, secure the watercolor paper to your stamping surface.
-
Secure a piece of scrap paper on top of watercolor paper, using the horizon line as your guide.
-
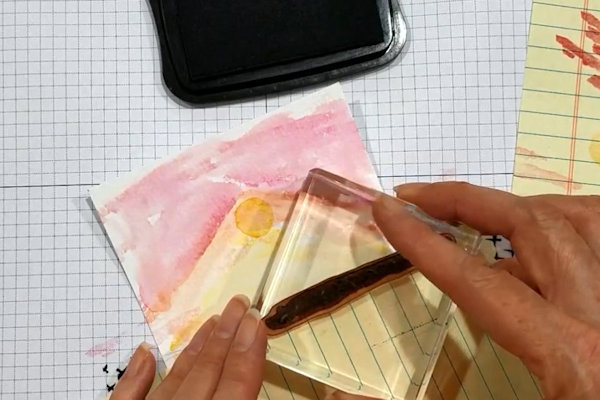
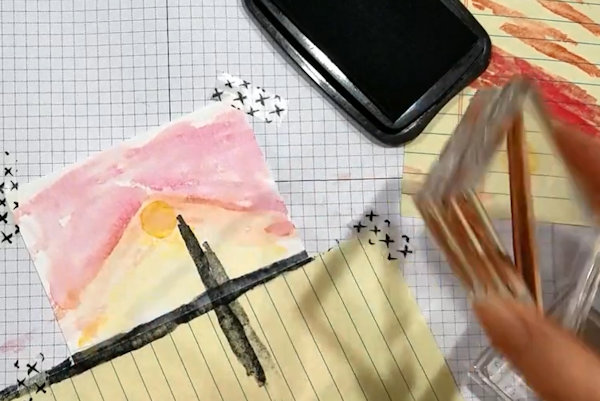
Step 9
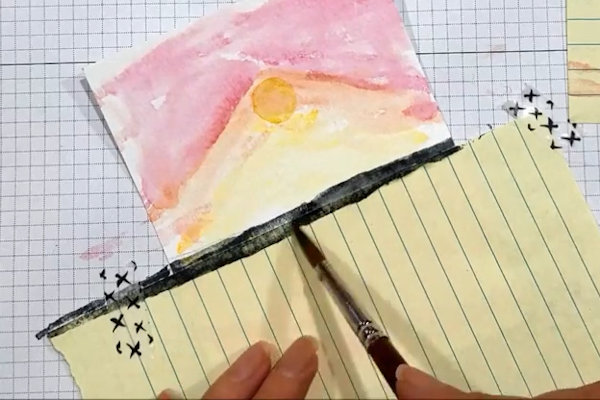
Ink up a stamp similar to the one shown with black dye ink. Stamp along the horizon line/edge of scrap paper. Approximately half of the lower edge of image will be on your scrap paper, as the scrap paper acts as a mask.
-
Blend the ink with your slightly wet brush.
-
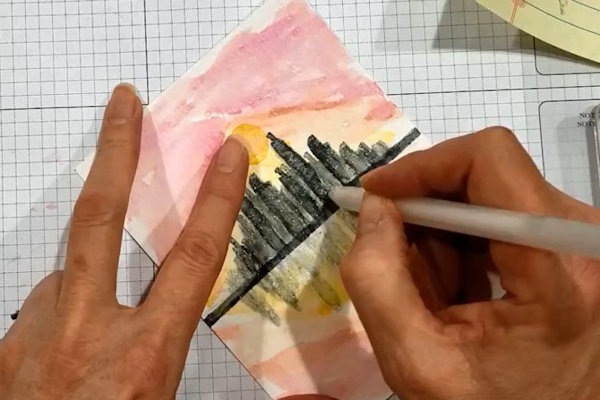
Step 10
Keeping the scrap paper in place, use a stamp like the one shown to stamp first and second generation (and sometimes 3rd generation) images to create the look of tall buildings.
-
The second and third generation images give the illusion of buildings in the distance.
TIP:
If you don’t have a similar stamp, use the back side of a long, narrow clear stamp. -
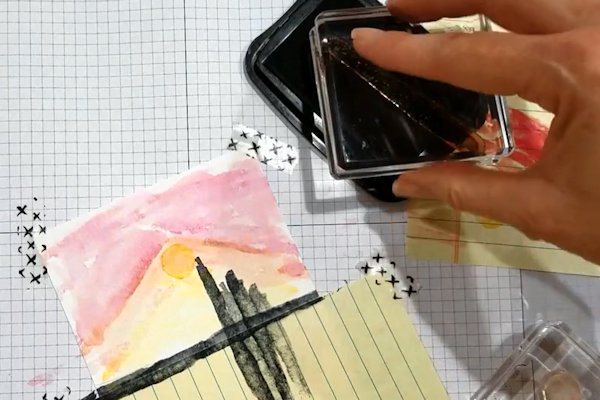
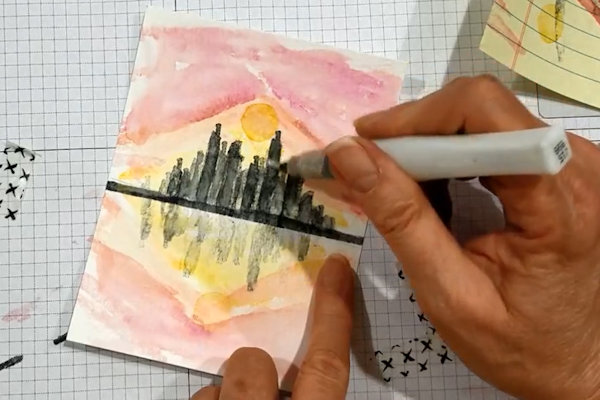
Step 11
Stamp as many images as you want to create your skyline. Use a damp brush to go over some of the buildings to alter the appearance a bit.
Dry with a heat tool and remove the scrap paper. -
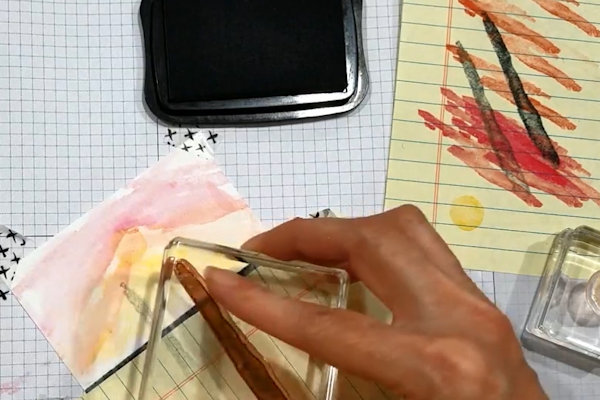
Step 12
Turn the watercolor paper upside down. Place scrap paper over the buildings you have just stamped, along the same horizon line, and secure with washi tape.
-
You will be using second and third generation images to create the reflection.
NOTE:
Don’t worry about making the buildings “match” the top buildings exactly. -
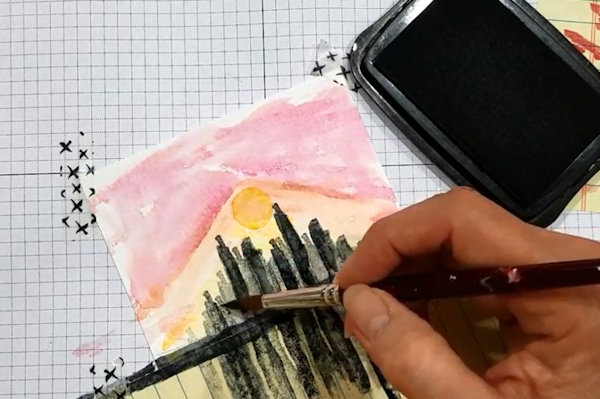
Step 13
Go over the buildings a bit to smooth or soften them with a slightly wet brush.
-
Step 14
Brush Clear Wink of Stella over all buildings. Use a heat tool after this step to make sure the buildings are dry.
-
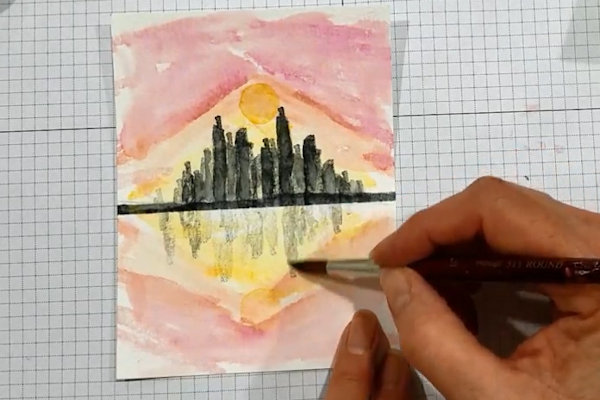
Step 15
Use a white gel pen to create the suggestion of windows. No precision is necessary for this step, just make little dashes with your pen on the buildings. Do this on the top buildings and lightly on the reflection.
-
Using the same gel pen, go over the horizontal stamped image a few times with long horizontal lines. It almost gives the suggestion of sidewalks.
-
Step 16
Embellish as desired.
For the sample, two layered die cuts were added. Clear Wink of Stella was applied to the word before adhering to the card front. -
Step 17
Complete the project.
For the sample, black cardstock was used as a base, with a piece of Whisper White cardstock for the interior.


Video!
Your Turn
You've seen the tutorial, now you try it! We've got a section of the gallery set aside for Skyline Stamping. Try this technique, then upload your artwork to the gallery. Show us your creations!
***Please note - Internet Explorer/Edge is not a supported browser, and will not allow you to see the videos. Please use Chrome, Firefox or Safari to view our tutorial videos.

Questions and Comments
We'd love to get your feedback or questions. Leave your comment below.
Shirl
Page 1 of 1 pages