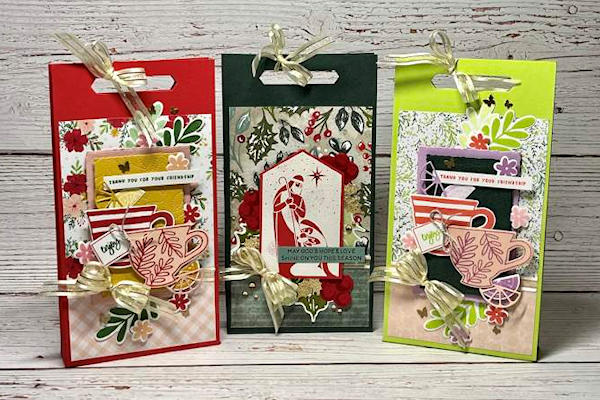
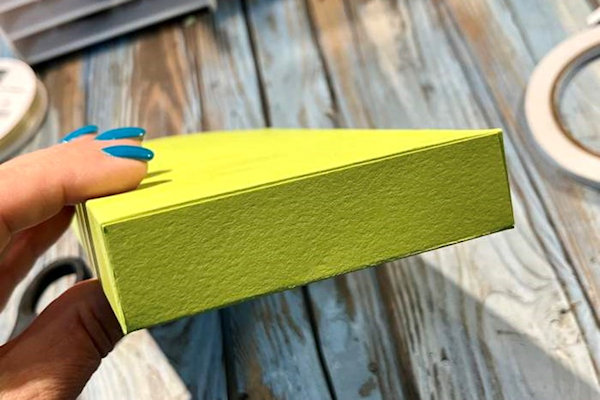
Skinny Gift Bag
by Debbie Henderson
Use a single sheet of cardstock as a base for this slim gift presentation.
Supplies
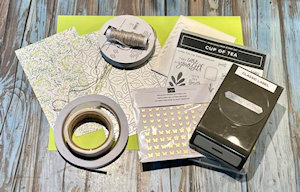
- Cardstock (Stampin’ Up!® cardstocks used here)
- Coordinating papers (Tea Boutique Designer Paper and additional coordinating colored cardstock scraps used here)
- Adhesives (SU Tear & Tape, Tombow Multipurpose Liquid Glue, Mini Glue Dots used here)
- Paper Trimmer
- Scoring Tool
- Scissors
- Punch for handle (SU Classic Label Punch used here)
- Embellishments of your choice
- Other supplies as needed to complete the project (SU products used here: Deckled Rectangles Dies, Stitched Greenery Die, Stampin’ Dimensionals; Poppy Parade, Parakeet Party, Fresh Freesia, Petal Pink inks; Cup Of Tea stamp set and Tea Cup Dies, Linen Thread, Gold & Vanilla Satin Edged Ribbon)
Step-by-Step
-
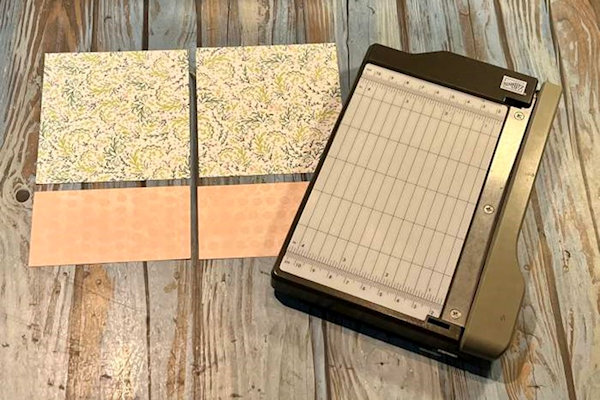
Step 1
Cut two pieces of double-sided designer paper to measure 6” x 3 3/4”. Cut 2” off the long side of each designer paper and flip to the opposite side.
-
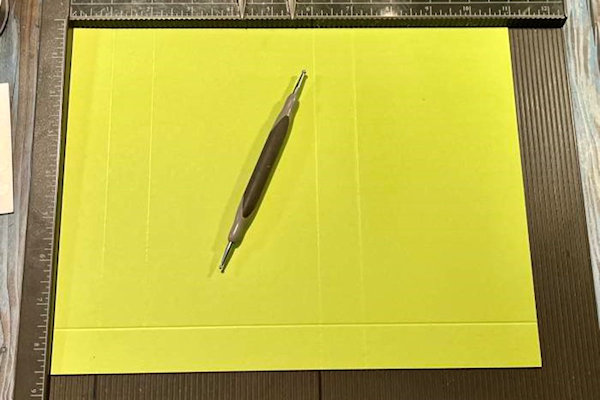
Step 2
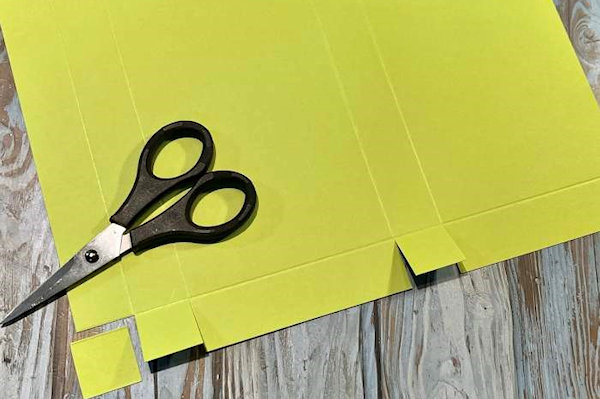
Score and fold a colored cardstock sheet measuring 11” x 8 1/2” as follows:
On the long side, score at 4”, 5”, 9” and 10”. On the short side, score at 1”. -
Step 3
Use scissors to cut off the small scored square in the corner. Also cut slits at each scored section up to the 1” scored lines to form tabs.
-
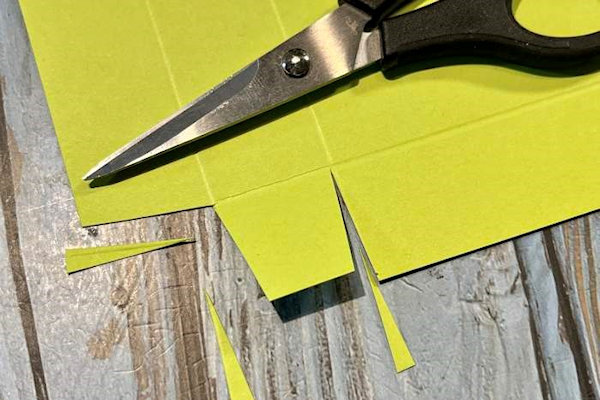
On each tab, cut off an angled section to make it easier for folding & gluing.
-
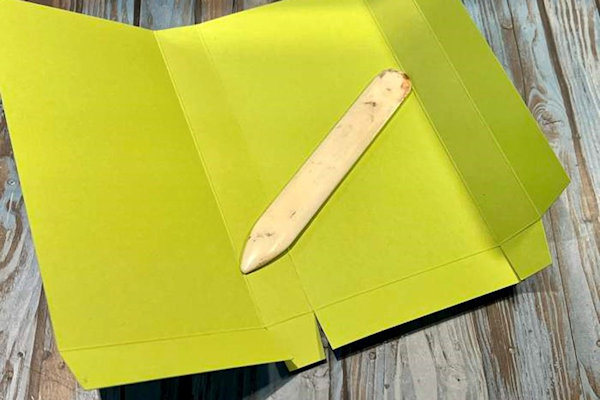
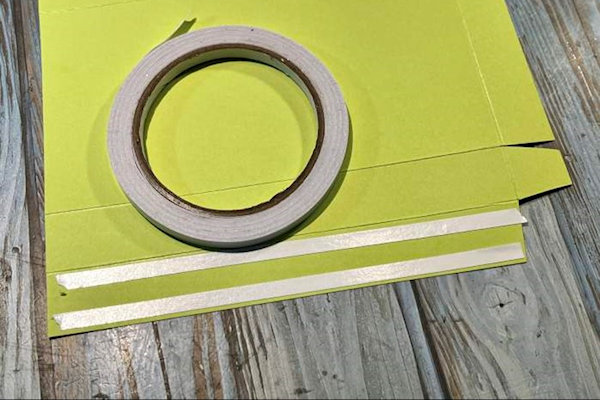
Step 4
Fold on all scored lines.
-
Add two strips of double-sided tape on the long tab.
-
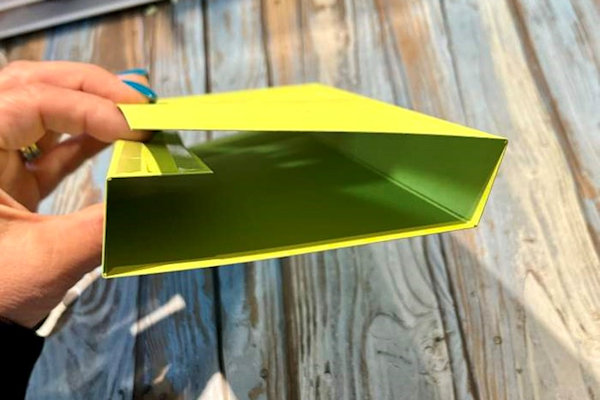
Step 5
Remove backing from tape and fold as shown in the photo.
-
Press in place to form the gift bag shape.
-
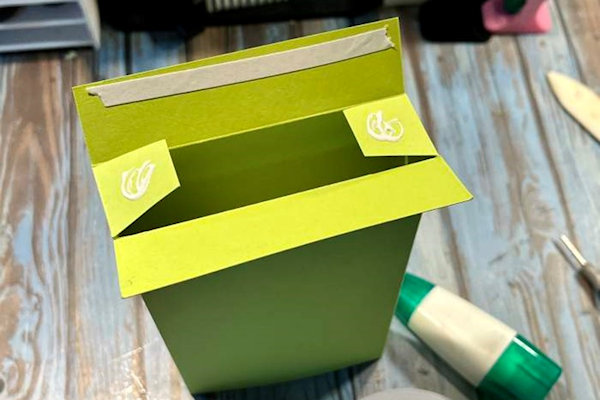
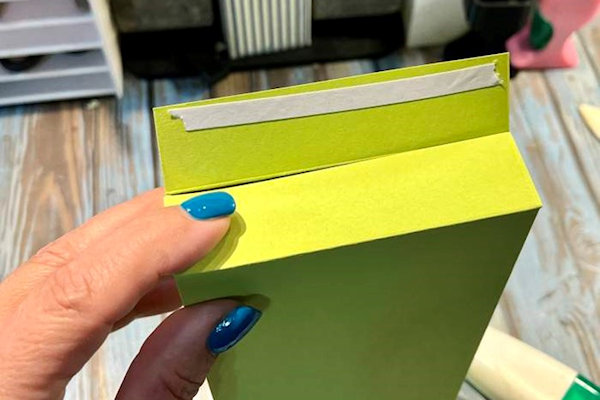
Step 6
Add double-sided tape on the inside of one long flap and add liquid glue to the two small tabs. Fold the flap without adhesive over the two small tabs.
-
Remove tape backing and press the 2nd long flap in place.
-
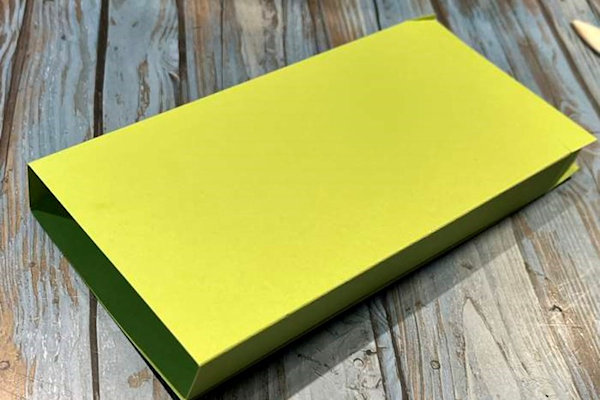
Step 7
Use a pencil or bone folder on the inside to press the tabs in place.
-
Pinch and fold each side of the gift bag to create a fold in the center on each side of the bag.
-
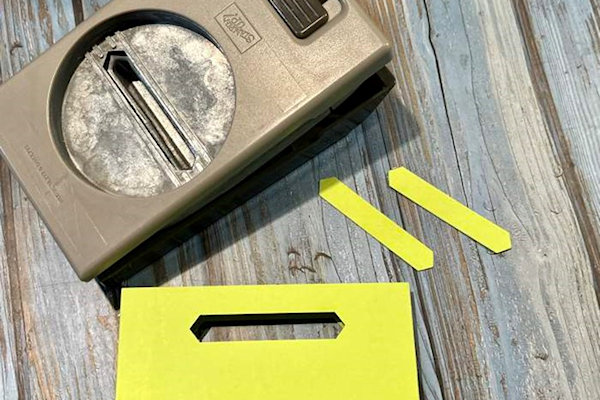
Step 8
Use the punch to create a hole through both cardstock layers about 1/2” from the top.
-
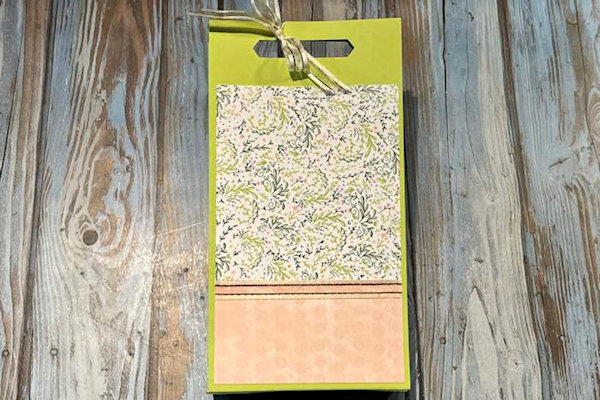
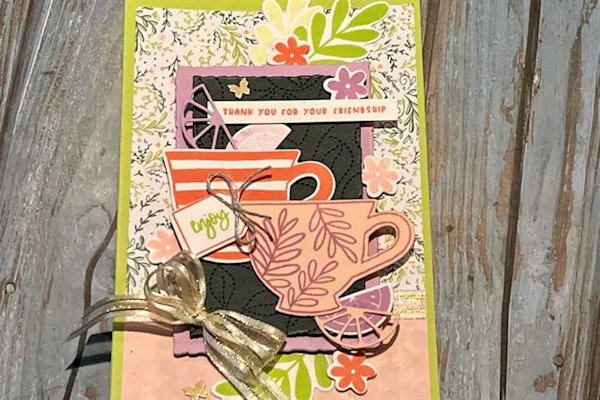
Step 9
Decorate the bag as desired. For the sample:
Designer paper was glued the front and the back of the gift bag with a border of ribbon and a bow through the handle opening. -
Additional layers and stamped die cuts were used to create a little scene.
-
Step 10
Complete the project.

Video!
Your Turn
You've seen the tutorial, now you try it! We've got a section of the gallery set aside for Skinny Gift Bag. Try this technique, then upload your artwork to the gallery. Show us your creations!
***Please note - Internet Explorer/Edge is not a supported browser, and will not allow you to see the videos. Please use Chrome, Firefox or Safari to view our tutorial videos.

Questions and Comments
We'd love to get your feedback or questions. Leave your comment below.
Page 1 of 1 pages