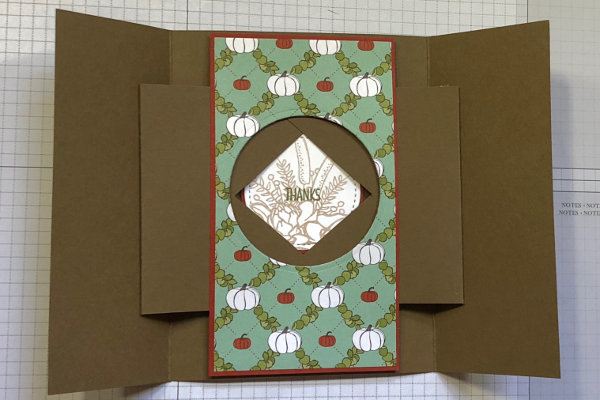
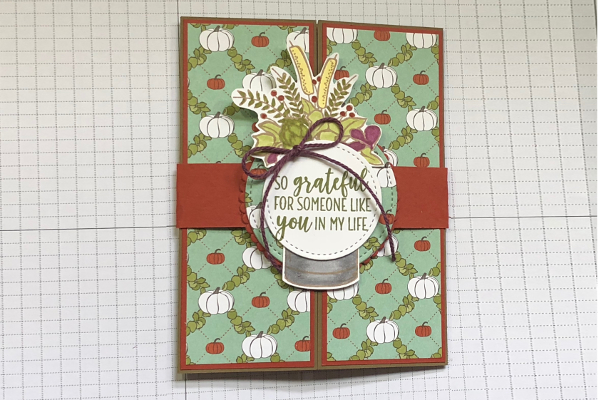
Shutter Gate Fold
by Mary Deatherage
This gate fold opens to reveal a hidden panel.
Supplies
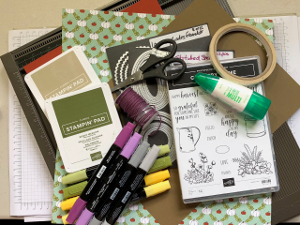
- Cardstock (Stampin’ Up!® Soft Suede and Cajun Craze used here)
- Patterned paper (SU Festive Farmhouse Designer Series Paper used here)
- Paper trimmer
- Score tool (optional - Simply Scored used here)
- Bone folder
- Adhesive (SU Liquid Glue, Tear & Tape Adhesive and Stampin’ Dimensionals used here)
- Scissors
- Die cutting machine
- Circle dies or punches
- Craft ruler and/or grid paper
- Other supplies as needed to complete the project (SU supplies used here: Country Home stamp set; Layering Circles and Stitched Shapes Framelits; Crumb Cake and Mossy Meadow inks, Stampin’ Blends – Old Olive, Daffodil Delight, Blackberry Bliss, Smoky Slate; Nature’s Twine in Blackberry Bliss)
Step-by-Step
-
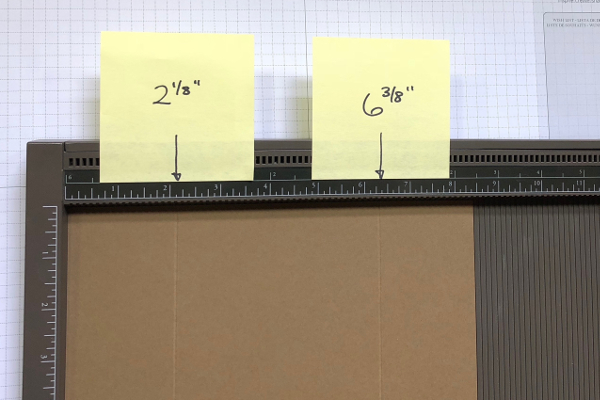
Step 1
Cut the card base to 5 1/2" x 8 1/2". Score from the long side at 2 1/8” and 6 3/8”.
-
Step 2
Cut 2 pieces of cardstock to 3 1/2” x 4”. These will be for the two shutters. Score from the long side at 3 1/2”.
-
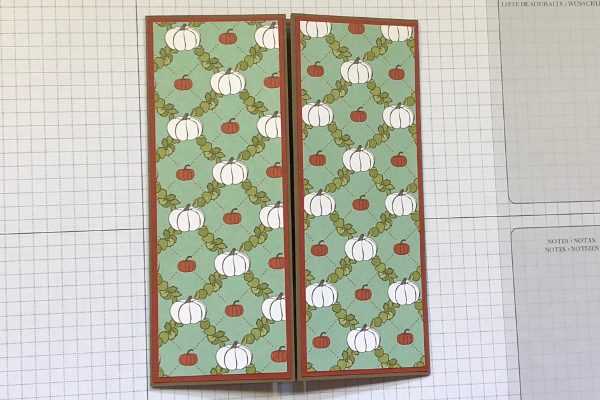
Step 3
Cut 2 pieces of patterned paper to 1 7/8” x 5 1/4”. Layer onto 2 pieces of cardstock cut to 2” x 5 3/8”. These will be layered onto the front gate panels.
-
Step 4
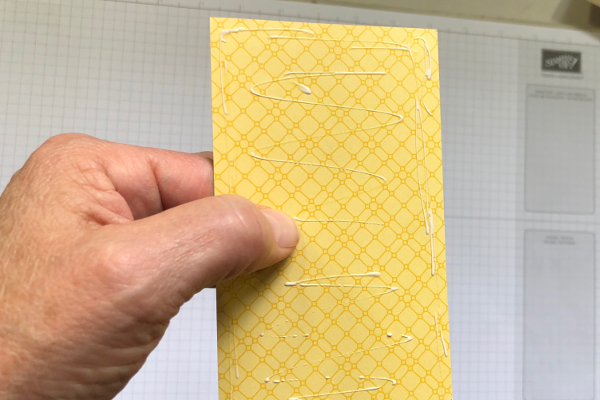
For the inner panel, cut patterned paper to 2 7/8” x 5 1/4". Layer onto a 3” x 5 3/8” mat, ensuring that glue is distributed all over the paper panel. Allow the glue to dry completely before the next step.
-
Step 5
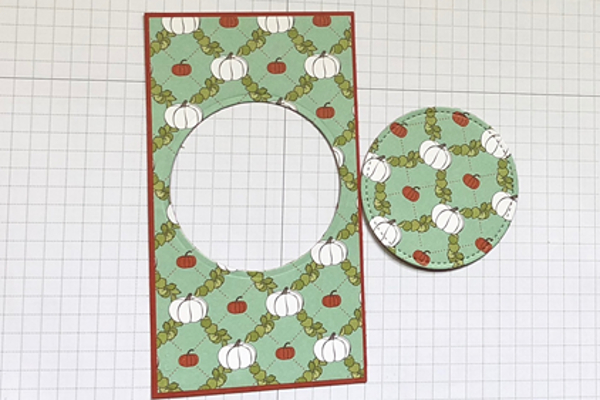
Cut a 2 3/8” hole in the middle of the matted panel. Save the cutout to use on the front decoration if desired.
-
Step 6
Place dimensional foam adhesive along the top and bottom of the panel.
Adhere the panel in the middle of the center panel of the card base – center left-to-right between the folds and up-and-down. -
Step 7
Stamp the inside sentiment/art on a 1 7/8” circle. Mat onto a 2” circle die cut and adhere the matted circle inside the center of the cut-out circle in the panel.
-
Step 8
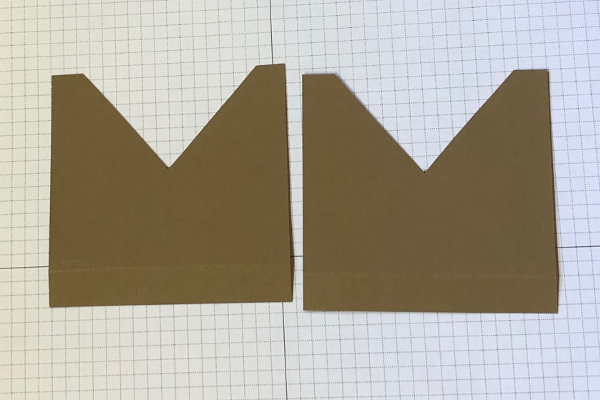
Measure as shown to find the point 1 3/4” up the short side and 2” down the long side of each shutter. Mark with a pencil.
-
Step 9
Draw lines from the point to each corner (opposite the score line) and cut.
NOTE:
Ensure that you cut the lines out so they aren’t visible on the finished card. -
Cut about 1/2” off each point.
-
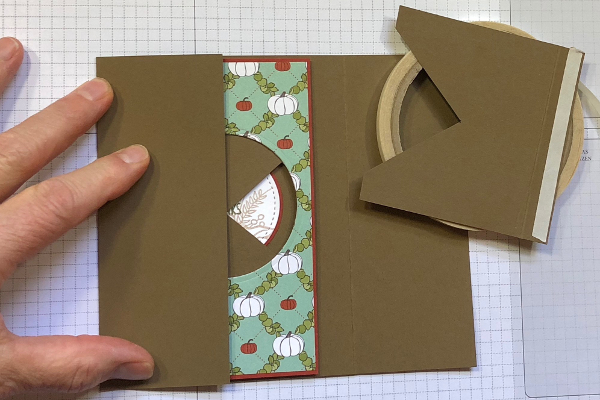
Step 10
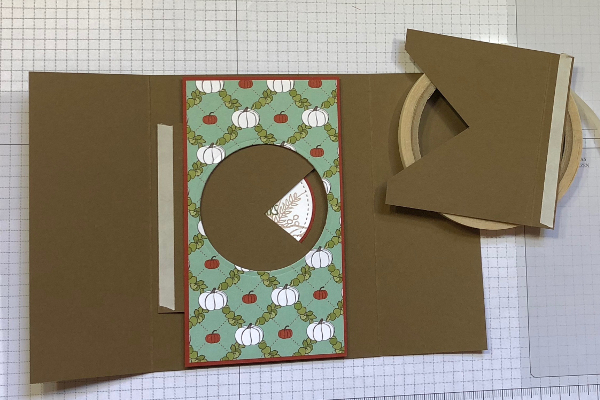
Fold each shutter at the scored line.
Place the first shutter under the middle panel, placing the middle point of the V-cut in the middle of the circle cutout, over top of the sentiment. Place the shutter such that the fold is a “mountain”. Add double-sided tape to the edge of the shutter. -
Remove the liner from the tape on one shutter and carefully close the panel over top. Rub to secure.
-
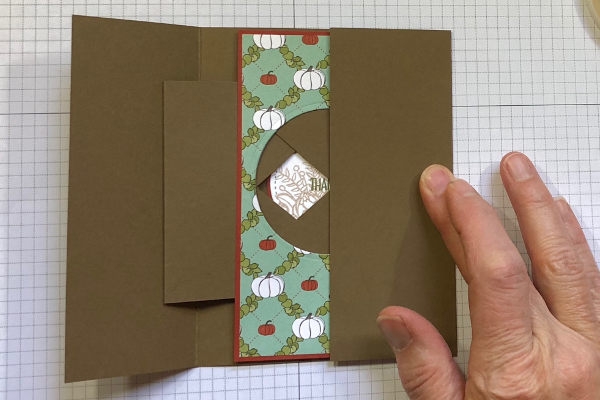
Step 11
Place the second shutter in similarly, coming in from the opposite side of the panel. Ensure either both points go under or both points go over the other shutter points.
-
Remove the liner from the tape on the second shutter and carefully close the panel over top. Rub to secure.
-
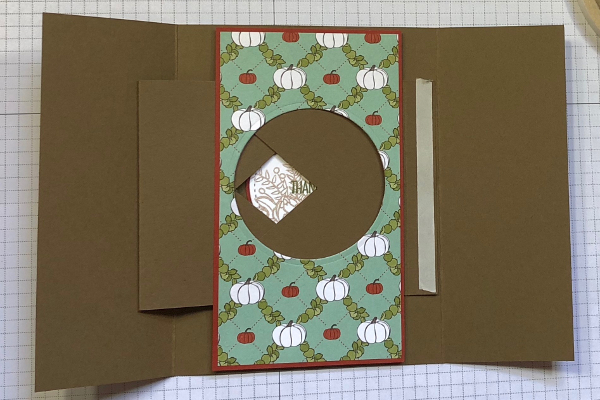
Step 12
Open and close the card to admire your work and ensure the mechanism is working correctly.
-
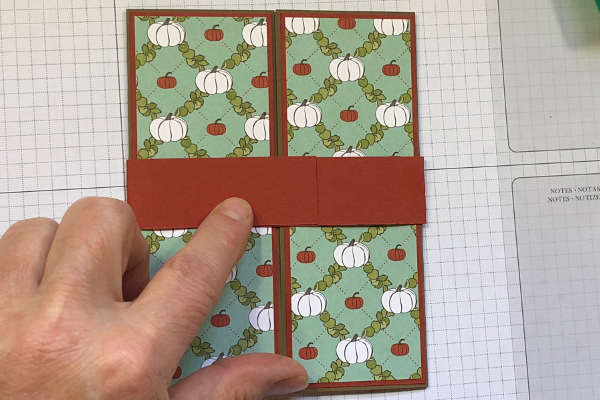
Step 13
Create a belly band by lightly folding a 1” x 10” strip of cardstock around the closed card. Use a short strip of double-sided tape to close the belly band in the front.
-
Decorate the belly band as desired to complete the project.


Video!
Your Turn
You've seen the tutorial, now you try it! We've got a section of the gallery set aside for Shutter Gate Fold. Try this technique, then upload your artwork to the gallery. Show us your creations!
***Please note - Internet Explorer/Edge is not a supported browser, and will not allow you to see the videos. Please use Chrome, Firefox or Safari to view our tutorial videos.

Questions and Comments
We'd love to get your feedback or questions. Leave your comment below.
Great tutorial...think I may teach this one at next club day...
Page 1 of 1 pages