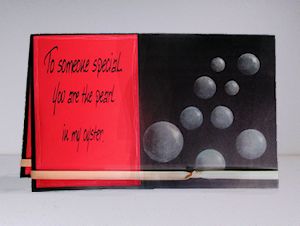
Shining Spheres
by Helen Hannum
Learn realistic shading for inked moons, bubbles, pearls, and more.
Supplies
.JPG)
- Dark, smooth cardstock
- Makeup brush or other soft stencil brush
- Black ink (Stazon Jet Black used here)
- Metallic ink (Brilliance Galaxy Gold used here)
- White ink (Brilliance Moonlight White and Stampin’ Up! ink used here)
- Cotton swabs
- Circle stencil
- Other supplies as needed to complete the project (Stampin' Up!® cardstock, sentiment generated with Silhouette Cameo)
Step-by-Step
-
Step 1
Place a circle stencil on dark cardstock.
TIP:
If you don’t have a stencil, punch or die cut a circle from cardstock or stencil film.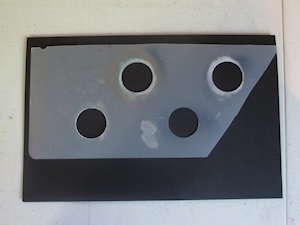
-
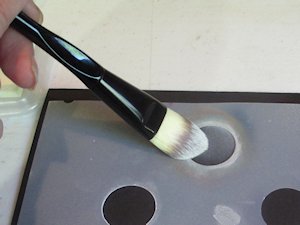
Step 2
Brush white ink through the stencil opening with a soft brush, making one side of the image a little heavier with color. Also, highlight around the edges.
-
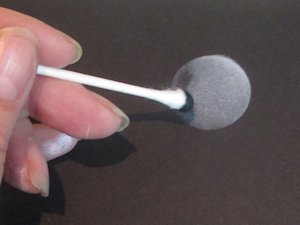
Step 3
Remove the stencil. With a cotton swab, use black ink to add a shadow to one side of the image. (Either side is fine.)
-
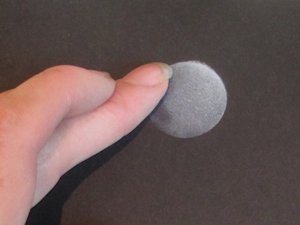
Step 4
Soften the lowlight with your finger tip by gently tapping or smearing.
-
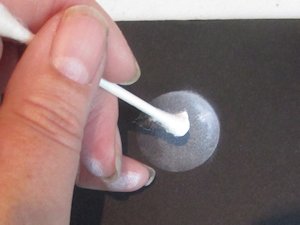
Step 5
Using a second cotton swab, add a highlight with the white ink, then gently tap or use your finger tip to soften any hard edges.
-
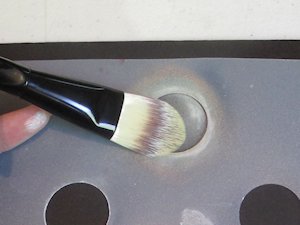
Step 6
Place the stencil back over the image.
-
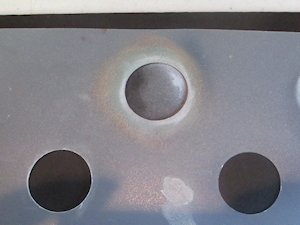
Brush metallic ink over the image to give it a little more color and dimension.
-
Step 7
Remove the stencil to reveal the image.
Repeat the process if desired, to add more spheres to your design.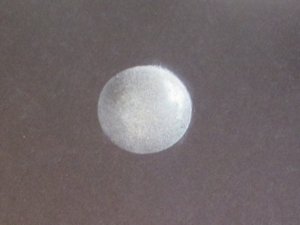
-
Step 8
Use the panel to complete a card or other project.
Video!
Your Turn
You've seen the tutorial, now you try it! We've got a section of the gallery set aside for Shining Spheres. Try this technique, then upload your artwork to the gallery. Show us your creations!
***Please note - Internet Explorer/Edge is not a supported browser, and will not allow you to see the videos. Please use Chrome, Firefox or Safari to view our tutorial videos.

Questions and Comments
We'd love to get your feedback or questions. Leave your comment below.
Page 1 of 2 pages 1 2 >