Shaker Card
by Beate Johns
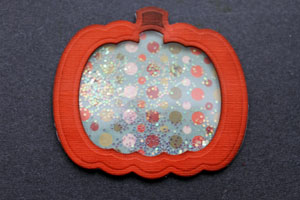
This is a fun and easy way to shake things up a little. ![]()
Supplies
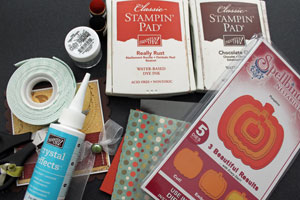
- Cardstock, for frame
- Acetate Window sheet or other acetate such as overhead transparencies, a little bit (1/8") smaller then your frame
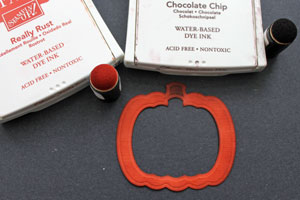
- Die Cut Templates, Spellbinders Pumpkin Nestabilities™
- Patterned Paper, or light colored cardstock for back of shaker
- Glitter, sand or small beads for shaker mix (Chunky Crystal used here)
- Mounting Tape
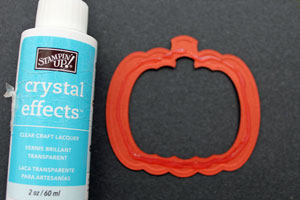
- Strong Adhesive, Crystal Effects™ used here
- Ink and Sponges, optional
- Scissors
Step-by-Step
-
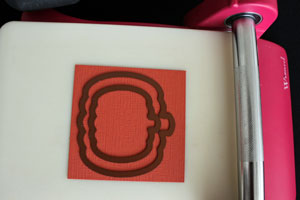
Step 1
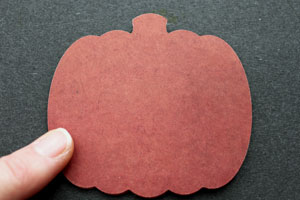
Use die templates to cut a frame out of cardstock.
-
Hint:
You can also use punches or a paper cutter to create a frame.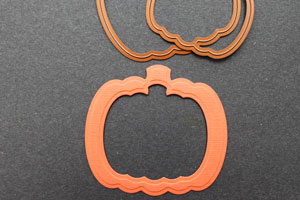
-
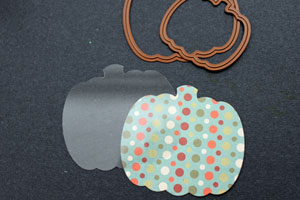
Step 2
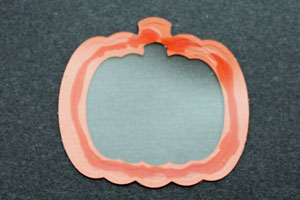
Use the larger die to cut the acetate and patterned paper to the same size as the frame.
-
Step 3 (Optional)
Sponge or stamp the frame if needed.
-
Step 4
Apply strong adhesive to the back of the frame.
-
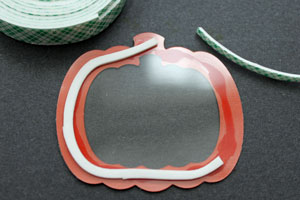
Place acetate over your frame. Let dry.
-
Step 5
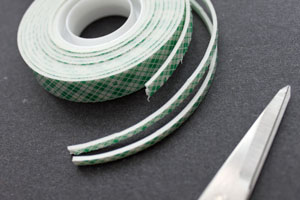
Cut the mounting tape into thin strips.
-
Step 6
Create a frame with the mounting tape strips.
-
Make sure you leave no gaps between the strips where your shaker card "filling" might escape through.
Hint:
The mounting tape is flexible and easy to form into shape if you take the paper backing off before adhering it to your frame.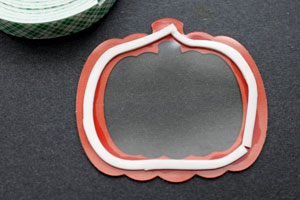
-
Step 7
Add glitter or other filling carefully to the shaker card frame.
Hint:
If you need a higher frame for your filling because of the filling thickness, add another layer of mounting tape over this one.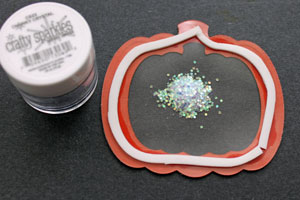
-
Step 8
Line patterned paper up face down over your frame. Press down.
-
Step 9
Your shaker is done.
-
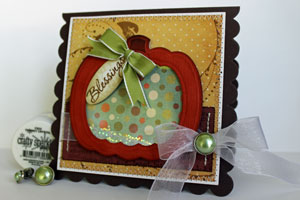
Finish your card.
Video!
Variations
Coluzzle it
Try using your coluzzle to make round and oval windows.
Punch it
Use punches to create a differently-shaped window.
Shaker boxes
Find or purchase templates to make shaker boxes.
More shaker
Try doubling the mounting tape (two layers) for adding bigger shaker items. Be creative, the possibilities are endless for different shaker items to accompany your card themes!
Your Turn
You've seen the tutorial, now you try it! We've got a section of the gallery set aside for Shaker Card. Try this technique, then upload your artwork to the gallery. Show us your creations!
***Please note - Internet Explorer/Edge is not a supported browser, and will not allow you to see the videos. Please use Chrome, Firefox or Safari to view our tutorial videos.
Questions and Comments
We'd love to get your feedback or questions. Leave your comment below.
Eveline.
Hugs and smiles
Thanks
marlene
Page 1 of 2 pages 1 2 >