Shadow Stamping
by Lindsay Adreon
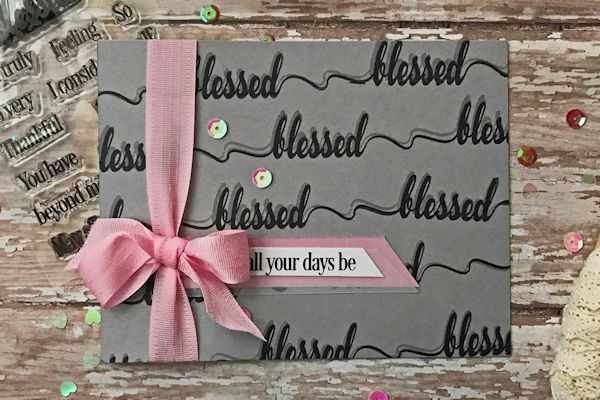
Create a dimensional effect with two colored inks and a tiny shift with your stamp or cardstock.
Supplies
- Cardstock
- Two colors of dye ink - one light, one dark
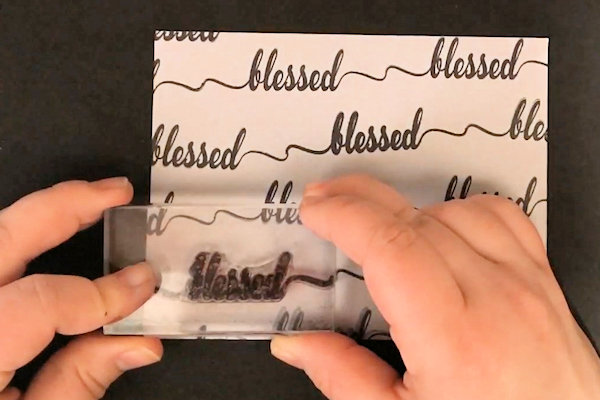
- Stamps - clear/acrylic/photopolymer stamps work best
- Stamp positioner (optional, MISTI used here)
- Other supplies as needed to complete the project
Step-by-Step
-
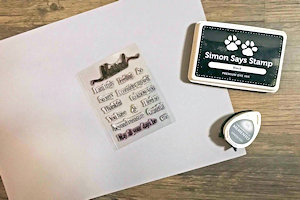
Step 1
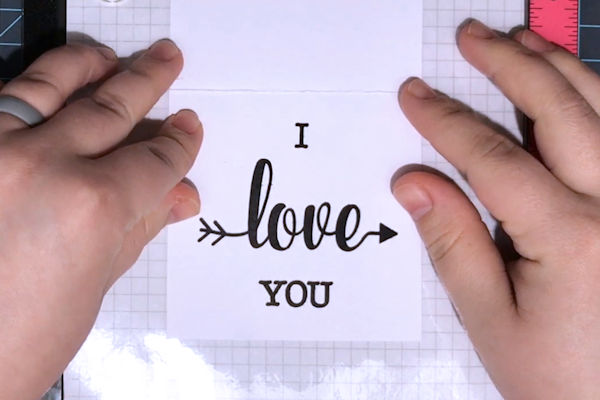
Beginning with the darker ink color, ink up a clear stamp and stamp onto the cardstock. You can stamp as many or as few times as you would like.
-
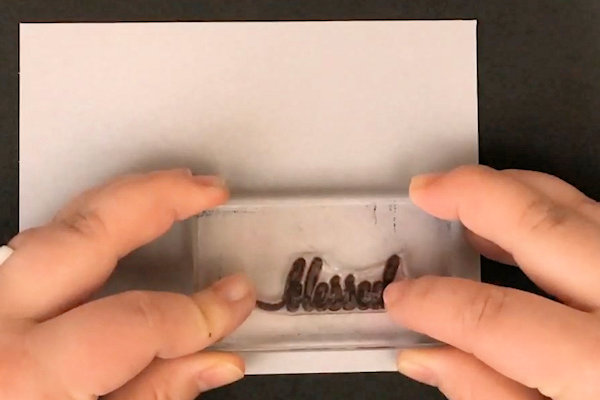
Step 2
Clean the stamp well and ink it up with a lighter dye ink.
-
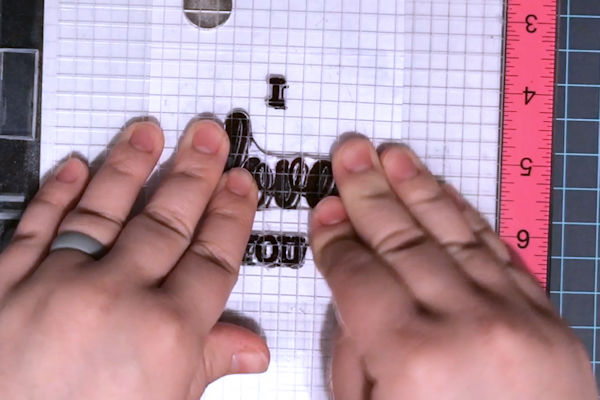
Looking straight down through the clear stamp, line it up with a previously stamped darker image and shift it slightly in any direction (for the sample, the shadow was shifted up and to the left). Stamp it down.
-
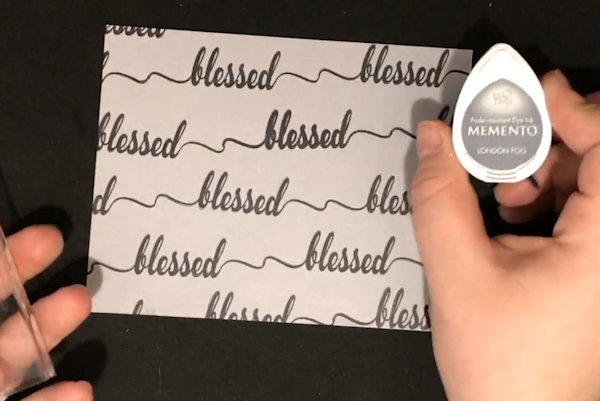
Step 3
Continue to add the shadows by repeating the steps above on each previously stamped darker image. Be sure to shift in the same direction each time.
-
Step 4
If using a stamp positioner, align and stamp the first image(s) with the darker ink as usual.
-
Step 5
For the shadowed impression, move the cardstock opposite of where you want your shadow to appear. For example, if you want the shadow to be up and to the left, move the cardstock that distance down and to the right.
Ink the stamp with the lighter ink and stamp down. -
TIP:
If you don’t have a lighter ink that matches, use the same darker ink – just stamp it off first onto another paper before creating the shadow. -
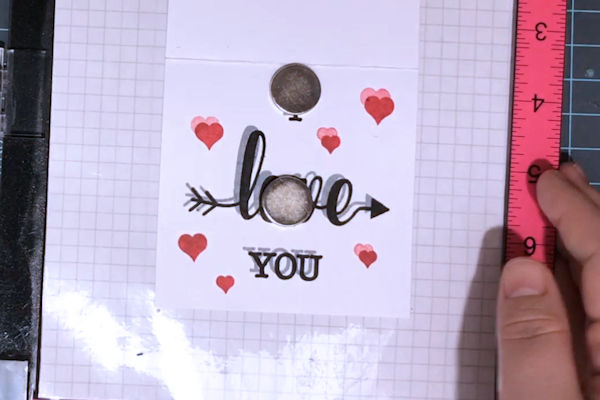
Step 6
Use the stamped panels to complete cards or other projects.

Video!
Your Turn
You've seen the tutorial, now you try it! We've got a section of the gallery set aside for Shadow Stamping. Try this technique, then upload your artwork to the gallery. Show us your creations!
***Please note - Internet Explorer/Edge is not a supported browser, and will not allow you to see the videos. Please use Chrome, Firefox or Safari to view our tutorial videos.

Questions and Comments
We'd love to get your feedback or questions. Leave your comment below.
https://joannamunster.com/product/blessed/
Linda D.
I really thought this technique was so effective and the second generation stamping (stamping off) really helps if you don't have that lighter colour available.
Will give this a go, TFS.
Page 1 of 1 pages