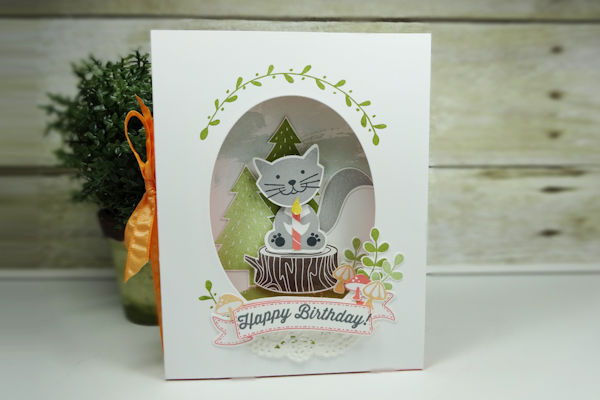
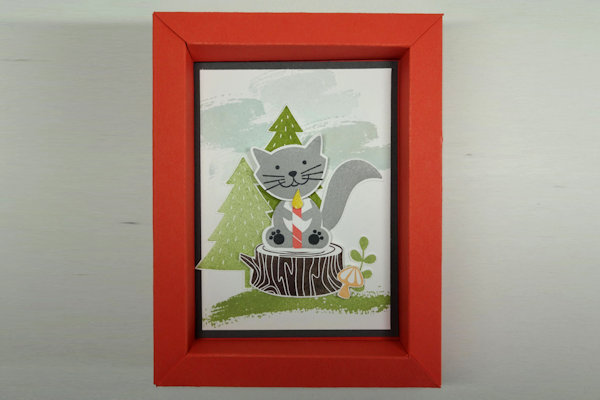
Shadowbox Frame Card
by Becky Roberts
Create a dimensional card with a shadowbox frame inside.
Supplies
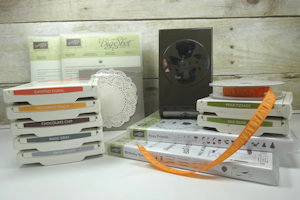
- Cardstock (Stampin’ Up!® Whisper White, Calypso Coral, and Basic Gray cardstock used here)
- Paper trimmer
- Scoring tool
- Adhesive (Tombow Mono Multipurpose Liquid Glue, Stampin’ Dimensionals, and Tear n Tape used here)
- Scissors
- Shaped diefor cardfront window (Layering Ovals Framelits dies used here)
- Die cutting machine
- Other supplies as needed to complete the project (Stampin’ Up! products used here: Ink Pads: Smokey Slate, Basic Gray, Chocolate Chip, Basic Black, Pear Pizzazz, Old Olive, Peekaboo Peach, Calypso Coral, Crushed Curry, Soft Sky; Stamp Sets: Foxy Friends, Birthday Banners, Work of Art (ground), Sheltering Tree (sky); Punches/Die Cuts: Bunch of Banners Framelits, Fox Builder Punch; Peekaboo Peach Ruched Ribbon)
Step-by-Step
-
Step 1
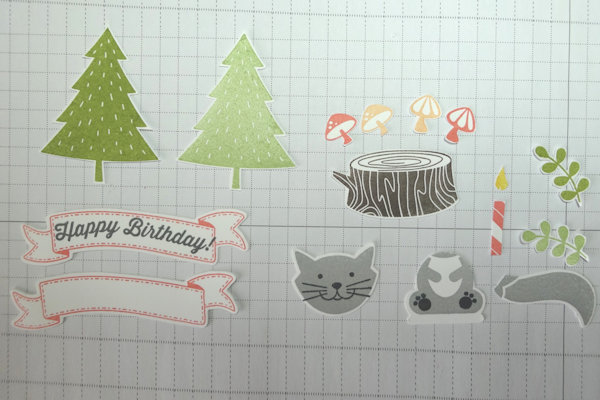
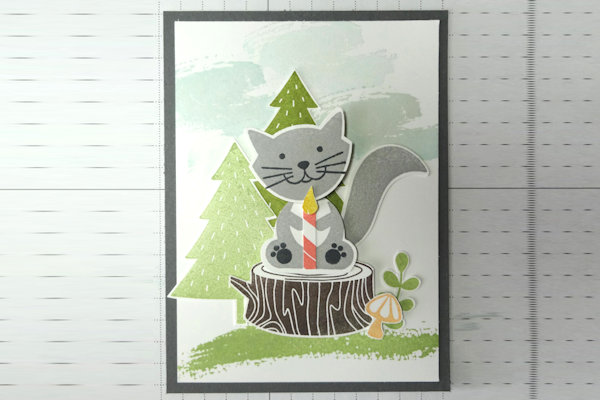
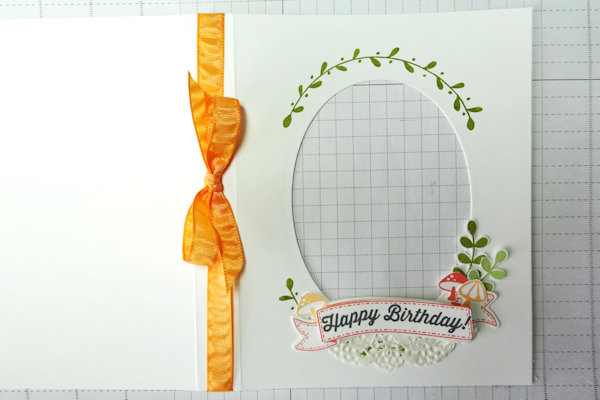
Cut cardstock for the inside card panel to 3” x 4 1/8”. Cut a backing panel to 3 1/4" x 4 3/8”. Stamp and/or prepare images or other embellishments for the inside of the card.
-
Step 2
Layer the cardstock panels. Adhere die cut pieces or stamp directly on the panel to create a scene for the inside of the card.
TIP:
Take advantage of the depth of this card and add dimension inside. -
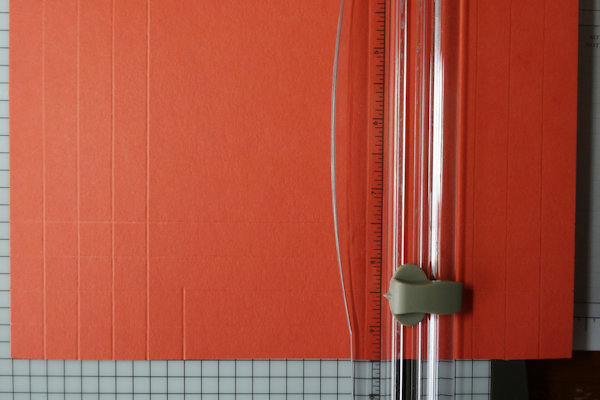
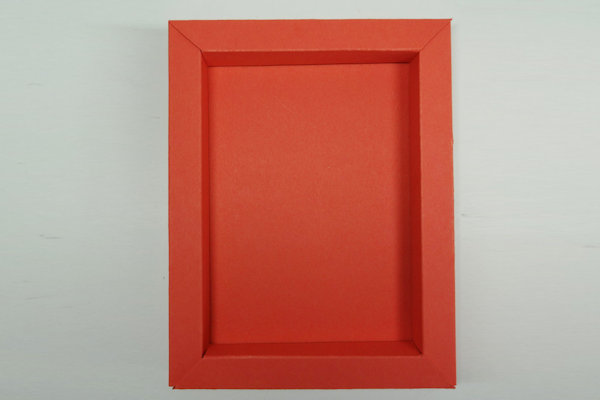
Step 3
To make the box frame, cut a piece of cardstock to 8 1/4" x 9 1/2". Score at 1/2” increments 4 times on all four sides. (Diagram is not to scale.)
-
On the 8-1/4” side you will need 2 extra score lines on the bottom two 1/2” sections, 1/2" further in, from the 1” line to the edge.
-
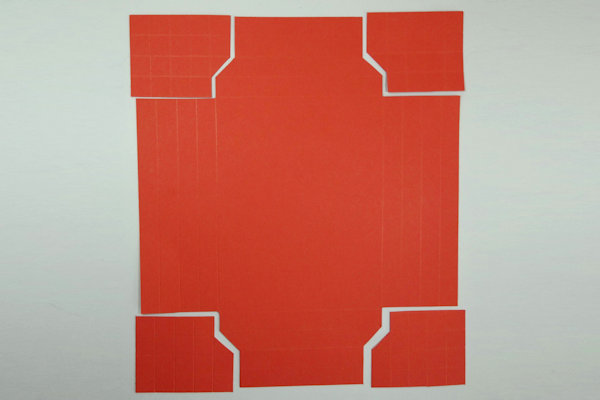
Step 4
Now that the scoring is done, it is time to cut. Start with those extra score lines that are only on the two outside sections. Cut up the score line to the 1” mark, which is all that you have scored. From there, angle your scissors on the diagonal and cut from corner to corner on one square towards the outside edge of the paper. Rotate your paper and cut up the 4th score line to cut that corner completely off. Repeat on the other three corners. Your cardstock should look like the one above. Throw those corners away.
-
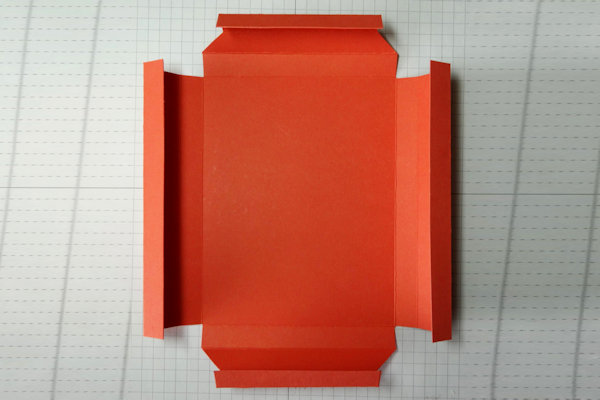
Step 5
Fold on all the score lines.
-
All four sides will fold over into squares. Fold in the two long sides first and then the short sides.
-
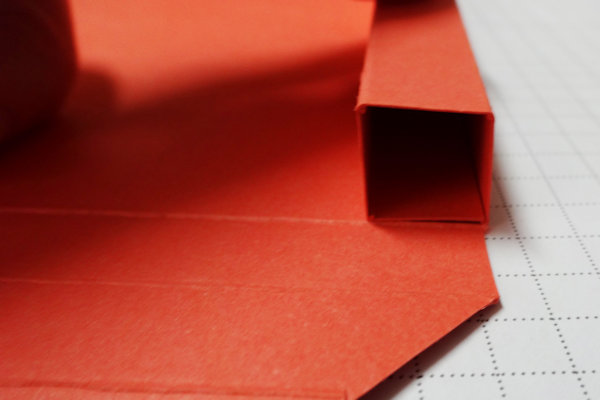
Step 6
Add adhesive to the two short sides that you fold up last.
-
Adhere the insert into the frame.
-
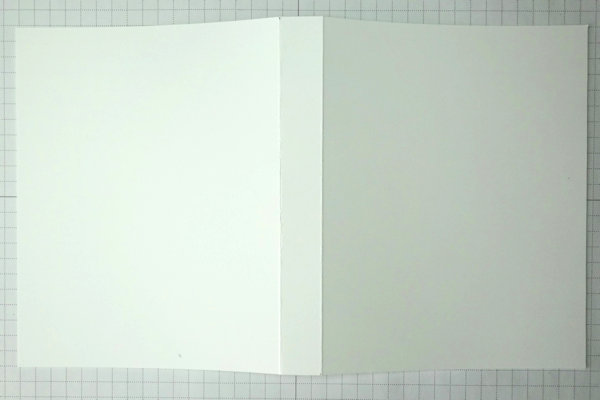
Step 7
Create a cover for the card using cardstock cut to 5 9/16” x 9 3/16”. Score at 4 5/16” and 4 7/8” or 4 5/16” from each end.
-
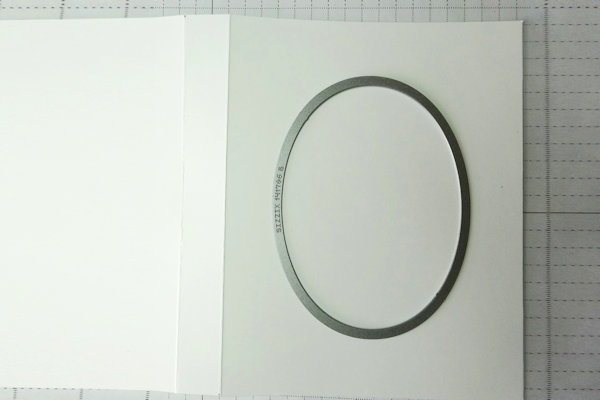
Step 8
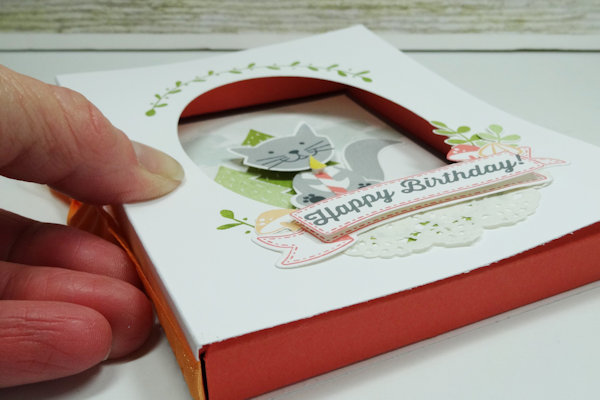
Cut an opening in the front cover of the card.
-
Decorate the card front as desired. Cut a 22” length of ribbon, and Tie it around the spine into a bow.
-
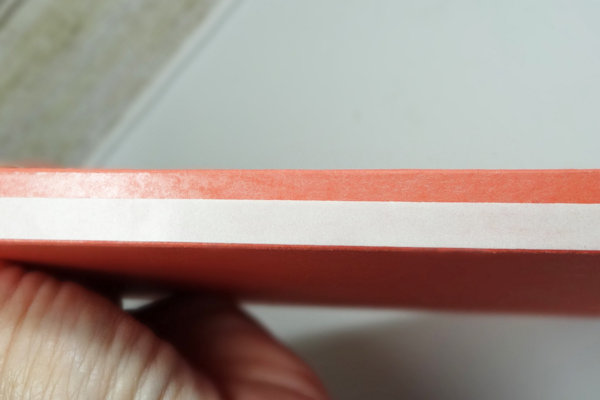
Step 9
Use two strips of double sided adhesive to cover the spine of the frame.
-
Peel the backing and secure the frame in the spine, directly on the ribbon. Hold firmly until it is secure.
-
Step 10
Complete the project.

Video!
Your Turn
You've seen the tutorial, now you try it! We've got a section of the gallery set aside for Shadowbox Frame Card. Try this technique, then upload your artwork to the gallery. Show us your creations!
***Please note - Internet Explorer/Edge is not a supported browser, and will not allow you to see the videos. Please use Chrome, Firefox or Safari to view our tutorial videos.

Questions and Comments
We'd love to get your feedback or questions. Leave your comment below.
Susan in PA
http://www.splitcoaststampers.com/gallery/photo/2798241?&cat=500&ppuser=272023
How the teacher likes it.
Could you please send to me so I can check out more of your tutorials...
Page 1 of 1 pages