Shadow Box
by Colleen Schaan
Learn how to fill a shadow box with mementos and photos of your favorite themes.
Supplies
- Shadow Box (Daily Window Design Cube used here)
- Photos of favorite memories
- Favorite quotes or sayings about theme
- Knick-knacks or doo dads that represent theme
- Items or collage materials that represent theme
- Strong adhesive
Step-by-Step
-
Step 1
Begin by choosing a theme that's important to you or evokes strong memories.
Collect supplies. It's better to have too many items to choose from than too little to fill your shadowbox. (Think 3D - so pick objects with depth.)
-
Step 2
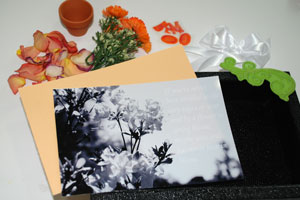
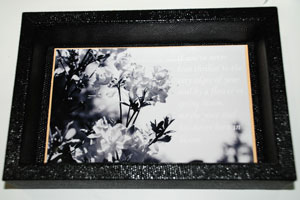
Build from the background forward. Create a backdrop for your shadowbox by including a photo, artwork or a collage.
-
Step 3
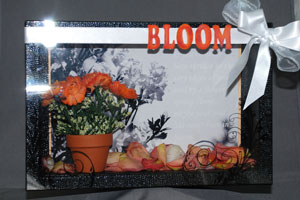
Include text. Whether it is stamped on, printed on or written on, include text that relates to the theme.
Hint:
You can even write a journal entry and include it in your shadowbox by rolling it or folding it and attaching it so it can be removed and read.
Make sure elements coordinate. Here some bright yellow flowers were colored to match the pale yellow-pink of the real flower petals that are used.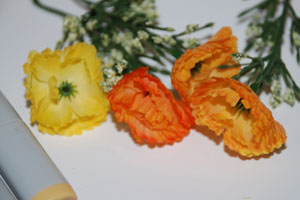
-
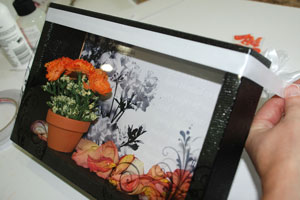
Step 4
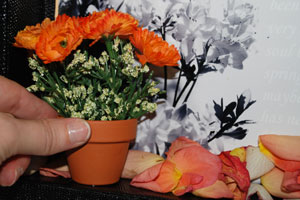
Leave room to place actual objects into the shadowbox in front of the photo and text layers.
-
Step 5
Continue to build the layers forward using foam tape, wooden blocks, or plastic straw pieces to pop each item off of the layer behind it.
Hint:
Hide the blocks or tape with strategically placed elements.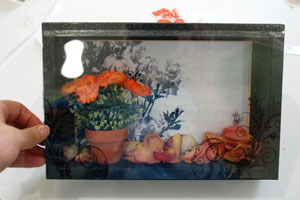
-
Step 6
Attach any objects you want secure with a strong adhesive. If you want items to be movable, attach them with ribbons, brads or wire. If you want something to be removable, gently set it into the shadowbox, not attaching it at all.
-
Step 7
Your shadow box is done.
Tips:
• Think outside the box and attach items to the front, sides or top of the box. (Photo 6)
• Get creative - have a nice mix of flat items (photos/artwork) and 3D objects (bottles, books, miniatures).
• Keep perspective and style in mind. Not all items need to be in scale, but make sure the style of each item is similar - i.e., all elegant, all whimsical, etc.
• Go for lots of layers!
Sample Themes:
Trips or vacations
Special occasions (wedding/birth/graduation)
Remembrance of someone special
Pets
Favorites (color/places/outfits/sayings/books/movies)
All About YOU

 *
*
Questions and Comments
We'd love to get your feedback or questions. Leave your comment below.
Page 1 of 1 pages