Sentiment Strip Pop-up
by Dina Kowal
Use a central pop-up fold for multiple sentiment strips.

Supplies
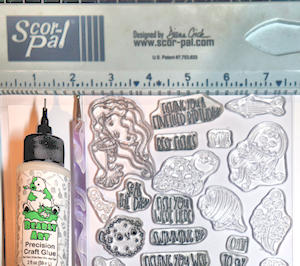
- Cardstock (Hammermill 80# Premium Color Copy used here
- Scoring tool
- Liquid adhesive (Bearly Art Glue used here)
- Sentiment stamps (Sweet 'n Sassy Stamps Fin-Tastic Friends set used here)
- Strip dies (optional) or trimmer
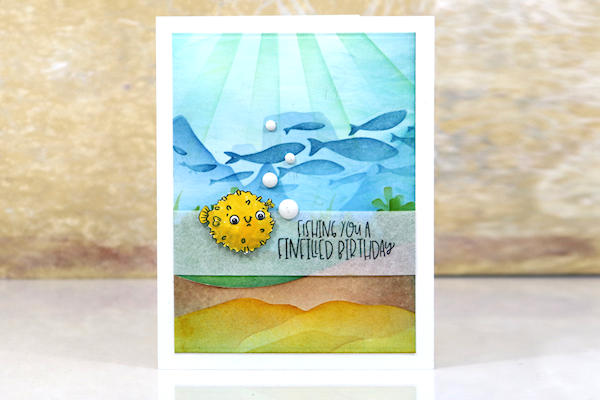
- Other supplies as needed to complete the card (used here: A Colorful Life Designs stencils, various inks and blender brushes, matte enamel dots, tracing paper, MISTI)
Step-by-Step
-
Step 1
Cut a base panel from mid-weight cardstock (80# cover used here). This tutorial will show measurements for an A2 card, but this design can be adjusted easily to other sizes (see Variations for instructions). This card base is 5 1/2" x 8 1/2".
Score the base panel at 4 1/4". -
Step 2
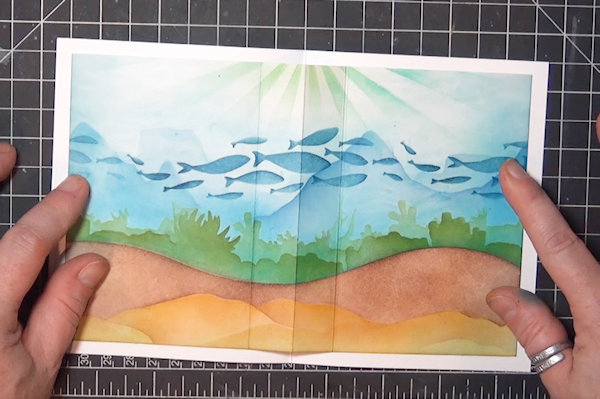
Cut the inside panel to 5” x 8”.
NOTE:
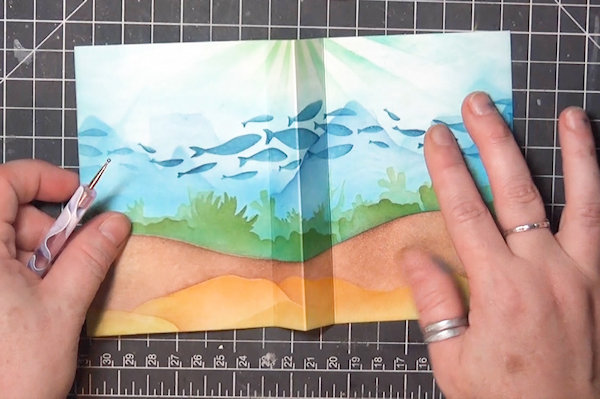
If you will be decorating the panel, do this before scoring. (The sample panel was stenciled beforehand – please see gallery entry for video link.)
Score the inside panel at 3 1/4", 4”, and 4 3/4". -
Step 3
Burnish all score lines. The inside panel will have a mountain fold in the center, and the other folds should be valley folds.
-
Step 4
Flatten the panels and lay them together so the inner panel is centered on the open base with center folds in line and the mountain fold up.
-
Holding the inside panel in place, glue down one side, keeping the glue outside the score lines.
-
Step 5
Fold up and glue the other side, leaving the center area free of glue.
-
Lay the panel back down to stick it in place.
-
Step 6
Close the card and burnish to be sure the folds are aligned and the card will fold flat.
-
It should lay flat when the card is fully open, but rise away from the base as the card is closing.
-
Step 7
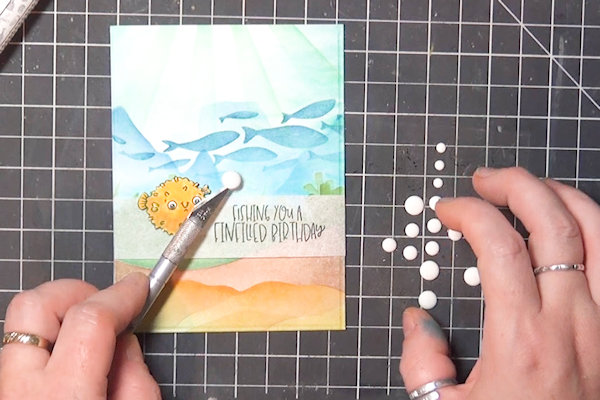
Prepare the sentiment strips, planning space and stamping as many as are needed for your card design.
Because of the pop up folds, the strips will need to be less than 3 1/2" long to be hidden when the card is closed. For the sample the strips were cut to 3” long, with mats at 3 1/8”.
Arrange the sentiment strips on the center pop up so they alternate coming from the left and right side of the pop up. -
Step 8
Glue the strips down just at the ends. The glue should not extend past the center fold when adhered.
TIP:
Glue the top and bottom strips down first, then center the others in between. -
Step 9
Close and open the card to see how the strips move with the center pop-up folds.
-
Step 10
Add embellishments and decorate the card front as desired.
-
Step 11
Complete the project.
-
This card will fold flat to fit in an A2 envelope.


Video!
Variations
To adjust the pop-up to any size card, cut the base to the desired size. Cut the inside layer 1/2" smaller each way. Score the base down the center. Score the inside layer at the center, and at 3/4" to the left and right of the center. Measure the base from center to edge and subtract 3/4" to determine the max length of your sentiment strips.
Example: for a 5" x 5" card, cut base to 10" x 5" and score at 5". Cut inner layer to 9 1/2" x 4 1/2" and score at 4", 4 3/4", and 5 1/2". Sentiment strips should be less than 4 1/4" long.
Your Turn
You've seen the tutorial, now you try it! We've got a section of the gallery set aside for Sentiment Strip Pop-up. Try this technique, then upload your artwork to the gallery. Show us your creations!
***Please note - Internet Explorer/Edge is not a supported browser, and will not allow you to see the videos. Please use Chrome, Firefox or Safari to view our tutorial videos.

Questions and Comments
We'd love to get your feedback or questions. Leave your comment below.
Page 1 of 1 pages