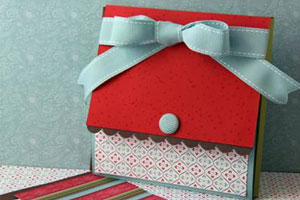
Scrapbook Wallet
by Makeesha Byl
Create an adorable foldout album to show off your favorite photos.
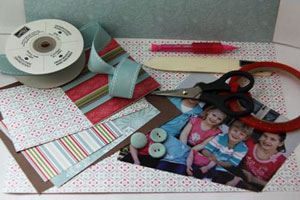
Supplies
- One 6 1/4" x 10 1/2" piece of cardstock
- One 6 1/4" x 5 3/4" piece of cardstock
- One 6 1/4" x 12" piece of cardstock
- Four 6 1/4" x 6 1/2" pieces of cardstock
- Pencil
- Ruler
- Strong Adhesive
- Bone Folder, or other scoring tool
- Patterned Paper
- Photos
- Embellishments
- Journaling Marker
- Velcro Dot
Step-by-Step
-
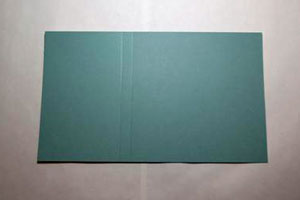
Step 1
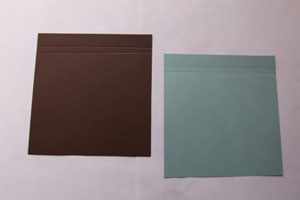
Score the 6 1/4" x 10 1/2" piece of cardstock at 6 1/4" and 6 3/4".
This will create a 1/2" spine.
-
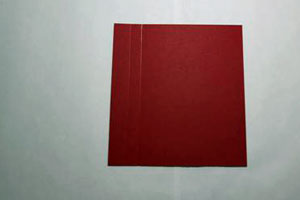
Step 2
Score the 6 1/4" x 5 3/4" piece of cardstock at long side at 3/4" and 1 1/4" to create another 1/2" spine.
-
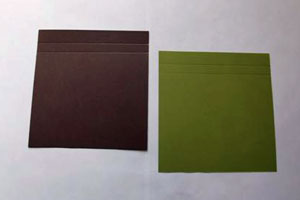
Step 3
On two of the 6 1/4" x 6 1/2" pieces of cardstock, score the 6 1/4" side at 3/4" and 1 1/4" to create a 1/2" spine.
-
Step 4
Take the last two cardstock pieces measuring 6 1/4" x 6 1/2" and score at 3/4" and 1" to create a 1/4" spine.
-
Step 5
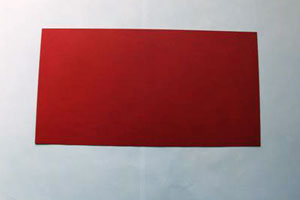
Score the 6 1/4" x 12" piece of cardstock at 6 1/4" and 6 1/2" to create a 1/4" spine.
-
Step 6
Adhere the 6 1/4" x 5 3/4" piece of cardstock to the 6 1/4" x 10 1/2" piece of cardstock.
Adhere to the side furthest away from the score lines at the ¾” score mark.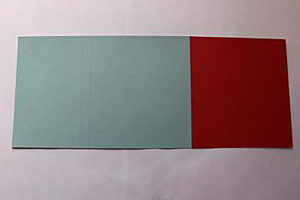
-
Step 7
Adhere the 6 1/4" x 6 1/2" pieces of cardstock with the 1/2" spine to the top and bottom of the cardstock strip.
Line up the 3/4" score lines of the 6 1/4" x 6 1/2" pieces with the edge of the cardstock strip.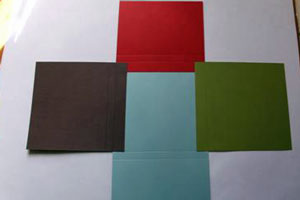
-
Step 8
The two 6 1/4" x 6 1/2" pieces of cardstock with the 1/4" spine will be adhered right over of the two pieces you have just attached.
Again, adhere it at the 3/4" score line.
-
Step 9
Add adhesive to the 6 1/4" x 6 1/4" side of the 6 1/4" x 12" strip and adhere to the central base of the wallet.
Be sure to have the scored lines at the bottom side of the wallet ready to be filled upwards into the wallet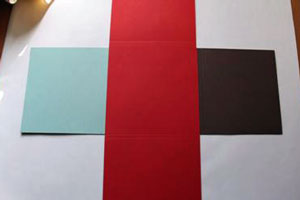
-
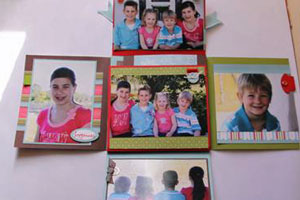
Step 10
Scrapbook all your pages with your photographs and patterned paper.
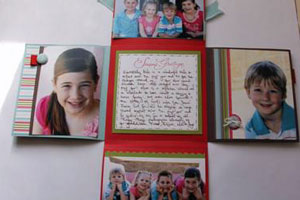
-
You can use the base as a place to journal.
-
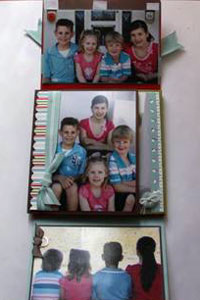
Step 11
Be sure to keep the embellishments simple so that the wallet isn’t too bulky.
-
Add Velcro dots to the underside of the top lid so that your wallet can be fastened closed.
Video!
Your Turn
You've seen the tutorial, now you try it! We've got a section of the gallery set aside for Scrapbook Wallet. Try this technique, then upload your artwork to the gallery. Show us your creations!
***Please note - Internet Explorer/Edge is not a supported browser, and will not allow you to see the videos. Please use Chrome, Firefox or Safari to view our tutorial videos.

Questions and Comments
We'd love to get your feedback or questions. Leave your comment below.
Dot
x
Thanks!
Take Care,
Kylie X
Thank you for sharing this project with us
Thanks for this wonderful tutorial.
Page 1 of 2 pages 1 2 >