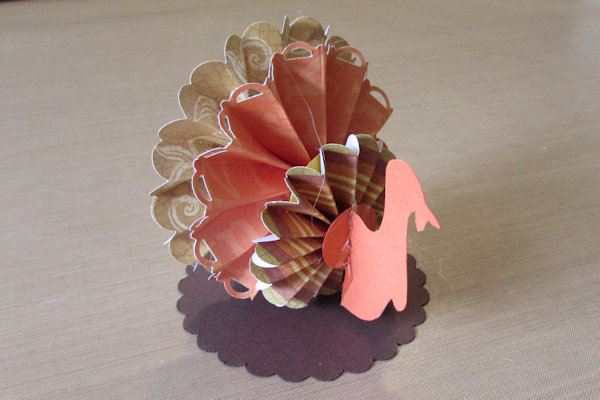
Rosette Turkey
by Jean Cross
Create an adorable Thanksgiving decoration.
Supplies
- Scallop or other border punch (Stampin’ Up!® punch used here)
- Scoring board or ruler and stylus
- 3/4" and 1” circle punches
- 3” scallop or plain circle punch or die (Fiskars brand used here)
- Hot glue gun
- 12” x 12” patterned paper in autumn colors (double-sided paper suggested)
- Cardstock in complementary colors
- Paper trimmer
- Paper clamps or hair clips (optional)
- Printable turkey head template
- If using an e-cutter, cut all pieces using this downloadable svg cut file
Step-by-Step
-
Step 1
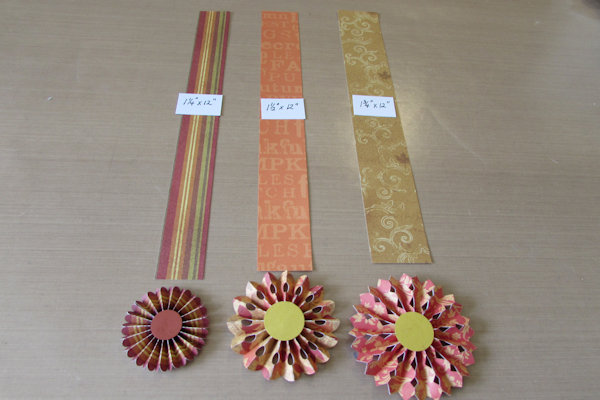
Cut three strips from the patterned paper:
One at 1 1/4” x 12”
One at 1 1/2” x 12”
One at 1 3/4” x 12”
-
Punch two 3/4" circles and four 1” circles from cardstock. Punch or die cut a 3” circle from cardstock.
If using the downloadable svg cut file, cut all pieces. Skip to step 3b, and accordion fold the strips. For the largest rosette, 2 strips are provided. Glue them end to end. -
Step 2
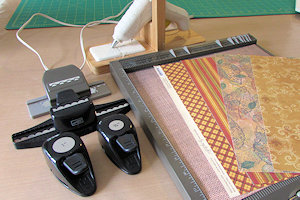
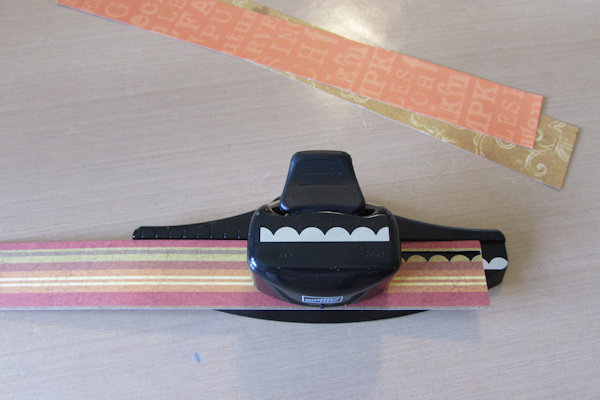
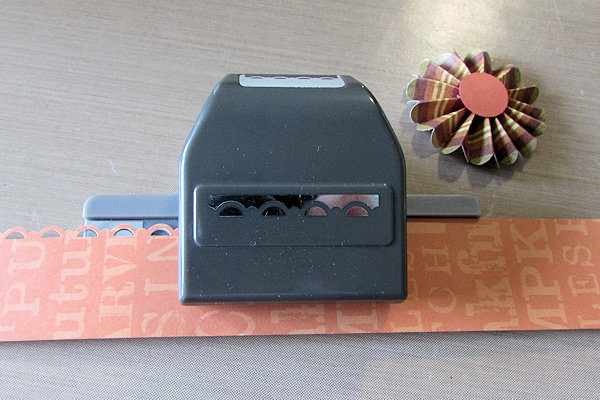
Use a border punch or die to scallop the top of each strip.
TIP:
Turn the punch over to start, so you can line up the edge of the paper with the first cut blade. -
You can use different design scallop punches to add a little interest to your project.
NOTE:
If you do not have a border punch, just leave this step out. -
Step 3
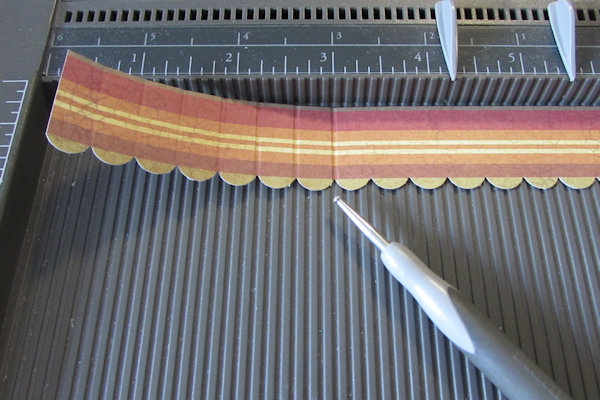
Use a scoring tool or a ruler and stylus to score each strip between scallops. On the scoring board, be sure to shift the strip as needed to line up with a groove on the board.
-
If you did not punch your strips, then score the strips every 1/4".
Accordion- or fan-fold each strip.
IMPORTANT:
An ODD number of scallops or blades is necessary for the next step to work properly. Use scissors to trim off any excess. -
Step 4
Glue the two ends together with hot glue, blade over blade (or mountain fold over valley fold.) Let dry.
-
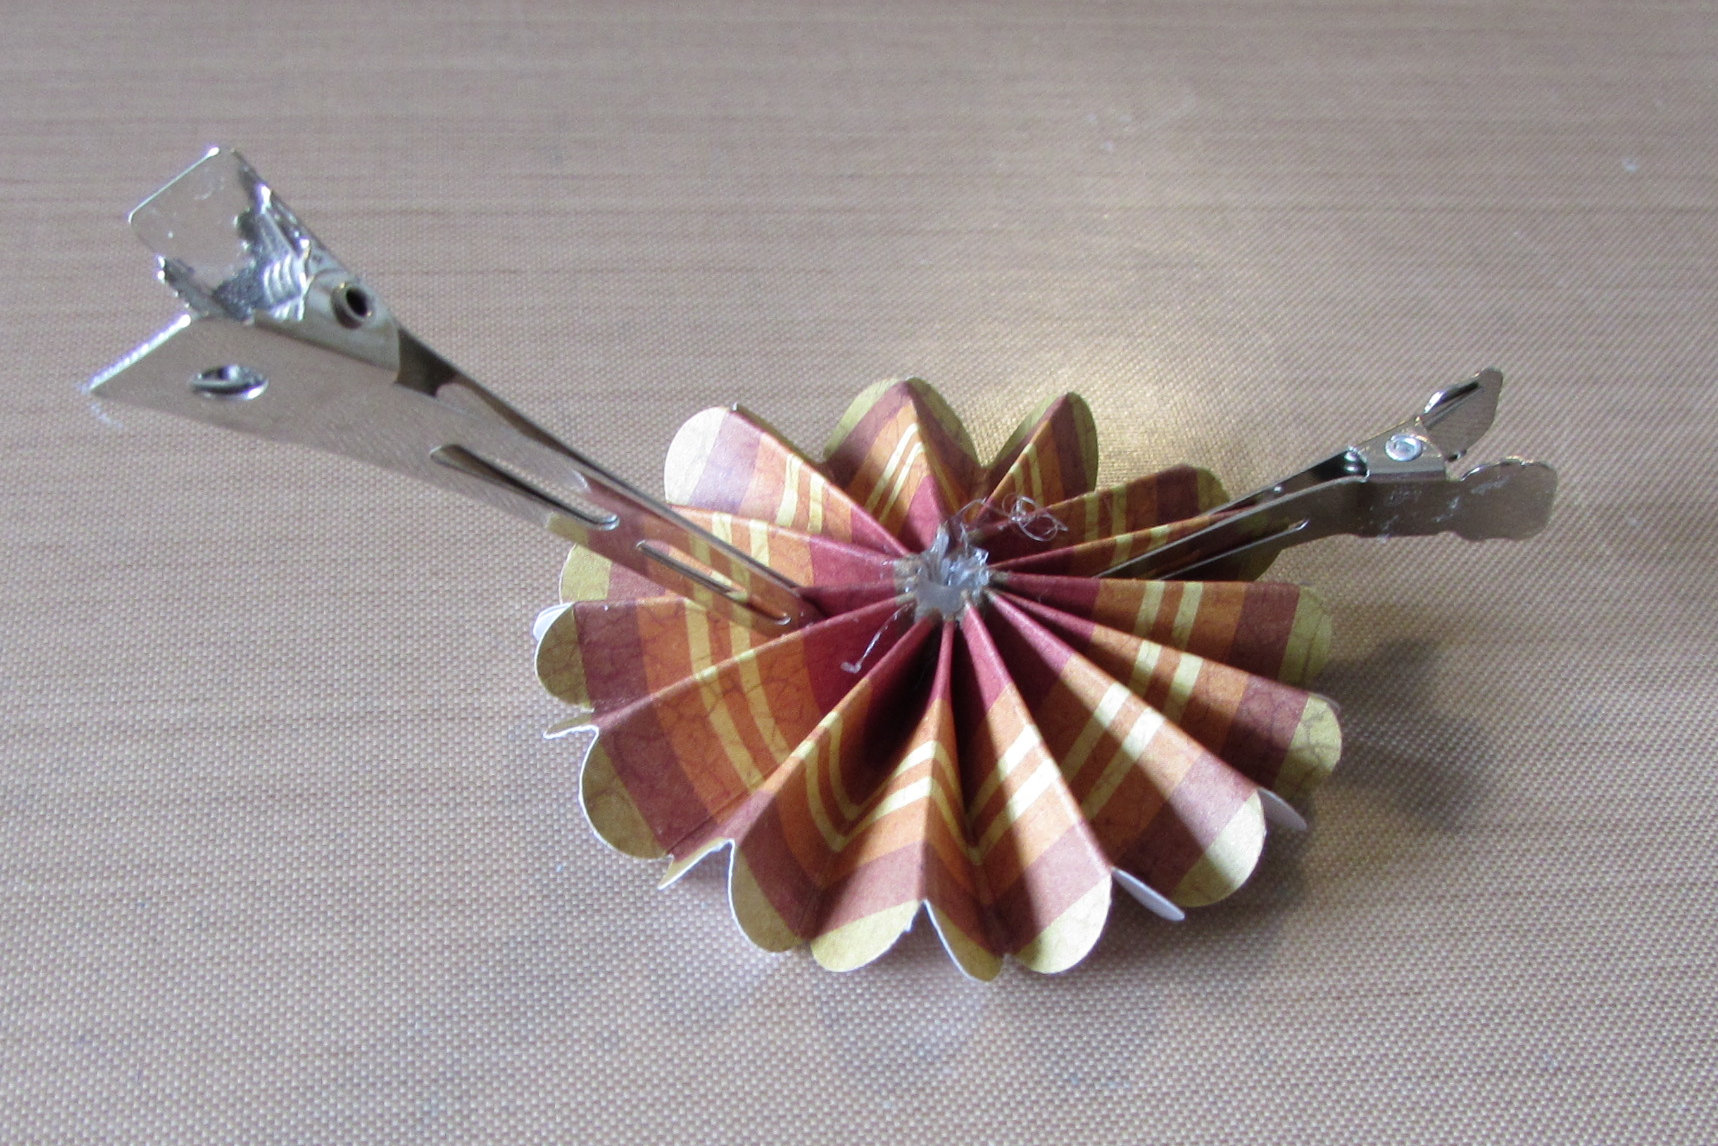
Step 5
Working on a nonstick surface like a craft mat or ceramic tile, gather the non-scalloped edge of a strip and hold it vertically with the scalloped edge against the work surface. Push down, flattening into a rosette. Place a dollop of hot glue in the center of the rosette. Use pressure or hair clips (as in the picture) to hold the rosette until it dries. Do this with each strip.
-
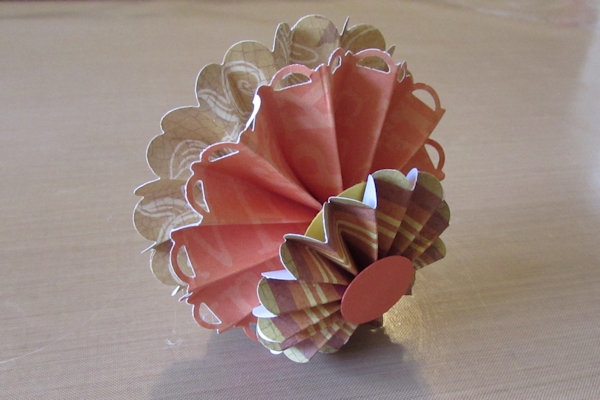
Step 6
Hot glue punched circles onto both the center front and center back of each rosette, with 3/4” circles on the smallest rosette.
-
Step 7
Use a dollop of hot glue in the centers to glue the three rosettes in size order, lining up the bottom edges.
-
Step 8
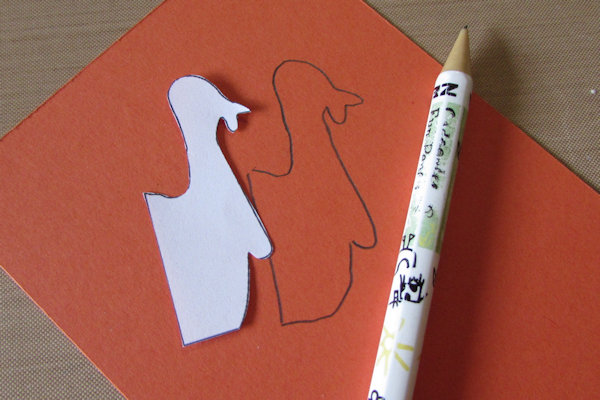
Cut out the Turkey Head Template and use it to trace the head onto cardstock. Cut out the shape. Use a thin line of hot glue on the edge of the back to attach it to the front rosette, being sure the bottom lines up with the bottom of the rosettes.
NOTE:
If using the If using the downloadable svg cut file, two turkey heads will be cut. Fold the half circle tab of each to the outside and glue the heads together. The half circles will be glued to the circle on the small rosette. -
Step 9
Attach the turkey to the 3” scallop or plain circle with dollops of hot glue to complete the project.


Video!
Your Turn
You've seen the tutorial, now you try it! We've got a section of the gallery set aside for Rosette Turkey. Try this technique, then upload your artwork to the gallery. Show us your creations!
***Please note - Internet Explorer/Edge is not a supported browser, and will not allow you to see the videos. Please use Chrome, Firefox or Safari to view our tutorial videos.

Questions and Comments
We'd love to get your feedback or questions. Leave your comment below.
Blessings,
Chrissy
Thank you
Page 1 of 1 pages