Q-tip® Pointillism
by France Martin
Use cotton swabs to apply ink in a new way.

Supplies
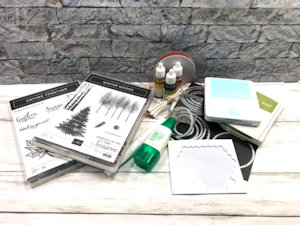
- Cardstock (Stampin’ Up!® Whisper White used here)
- Dye reinkers (SU Crushed Curry, Pumpkin Pie, and Old Olive used here)
- Compatible ink for stamping (Memento Tuxedo Black used here)
- Stamp image (SU Winter Woods used here)
- Cotton swabs
- Rubber band or washi tape
- Clear block or other non-porous surface for a palette
- Other supplies as needed to complete the project (Stampin’Up!® supplies used here: Gather Together stamp set, Crushed Curry and Cajun Craze cardstock, circle dies, Wink of Stella brush pen, Cajun Craze Linen Thread, Old Olive and Balmy Blue ink pads, Dimensionals, adhesive, sponges)
Step-by-Step
-
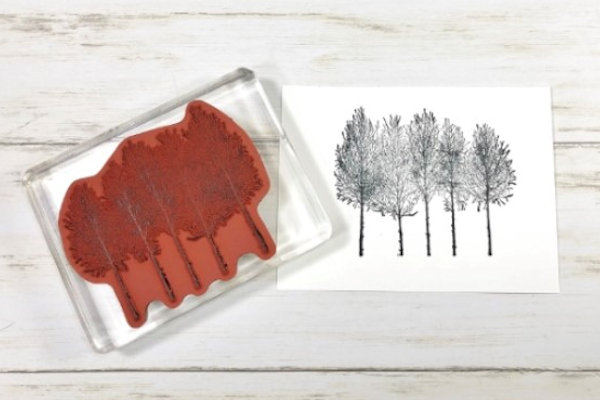
Step 1
Stamp an image using black ink.
-
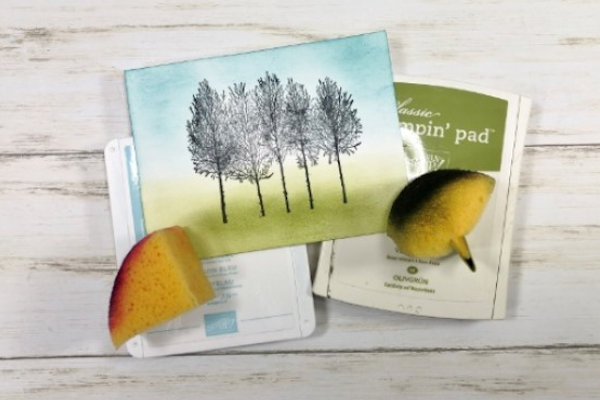
Step 2
Sponge a background onto the panel.
-
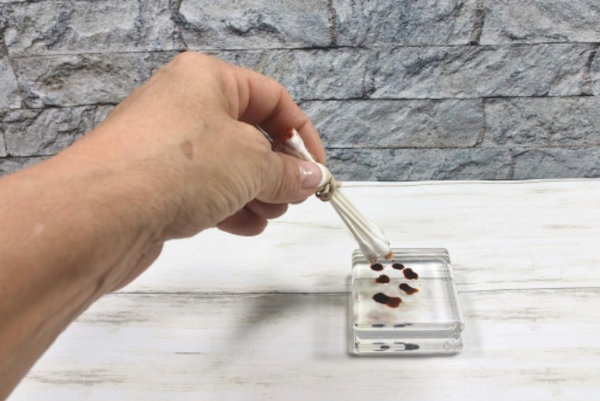
Step 3
Onto an acrylic block add a few dye ink drops.
Used for the sample: 3 to 4 drops of Crushed Curry and Pumpkin Pie and one drop of Old Olive -
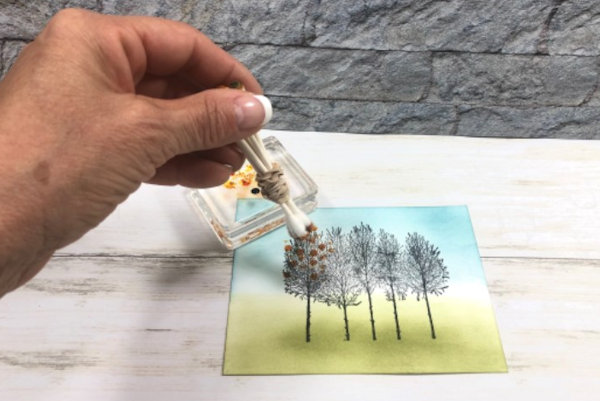
Step 4
Tie or tape five cotton swabs together. (A rubber band was used here.) Tap the bundle onto the ink drops.
-
Step 5
Using the inked swabs, tap ink lightly onto the image. Keep repeating until you have the coverage you want.
Optional: add Wink of Stella onto the colors dots. -
Step 6
Assemble and complete the card.

Video!
Your Turn
You've seen the tutorial, now you try it! We've got a section of the gallery set aside for Q-tip® Pointillism. Try this technique, then upload your artwork to the gallery. Show us your creations!
***Please note - Internet Explorer/Edge is not a supported browser, and will not allow you to see the videos. Please use Chrome, Firefox or Safari to view our tutorial videos.

Questions and Comments
We'd love to get your feedback or questions. Leave your comment below.
Shirl
Page 1 of 1 pages