Pyramid Box
by Susan Campfield
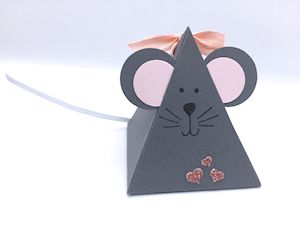
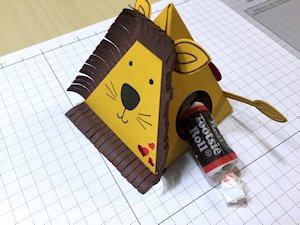
Decorate a pyramid shaped box to fill with sweet treats.
Supplies
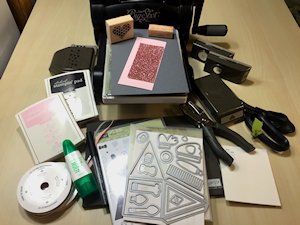
- Cardstock for box base
- Cardstock scraps to decorate the box (Stampin’ Up!® Basic Grey, Pink Pirouette, and Blushing Bride Glimmer Paper used here)
- Pyramid Box Die or downloadable Pyramid Box template or cut file (Stampin’ Up! Pyramid Pals Thinlits dies used here)
- Die cutting machine
- Various punches for decorations (Stampin’ Up! punches used here: 3/4" and 1" circle punch, Sweetheart Punch, Confetti Heart)
- Handheld 1/8" punch
- Ribbon, 1/4" wide, 10 (Stampin’ Up! Blushing Bride Cotton Ribbon used here)
- Fine point black marker (Project Life Journaling Pen #O1 used here)
- Various adhesives of choice (liquid glue, 2-way glue pen and Dimensionals used here)
- Treats to tuck inside
- Other supplies as needed to complete the project (Stampin’ Up! products used here: Playful Pals, Groovy Love, and Teeny Tiny Wishes stamp sets; Archival Black and Blushing Bride inks; 1/8" Silver Ribbon)
Step-by-Step
-
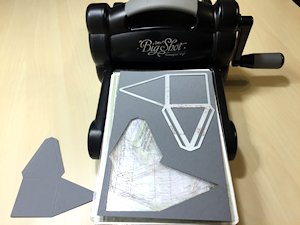
Step 1
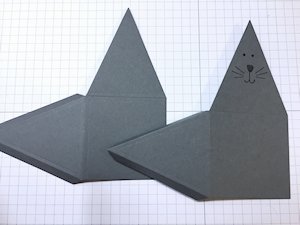
Die cut two pyramid box shapes with a die cutting machine –OR-- download and print a Pyramid Box template, trace it onto cardstock then cut it out.
-
Step 2
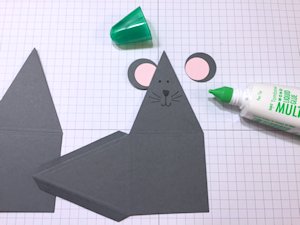
For the mouse box, punch the mouse inner ear out of pink cardstock with a 3/4" circle punch. Punch the outer ear out of gray cardstock with a 1" circle punch.
Glue the inner ear to the outer ear.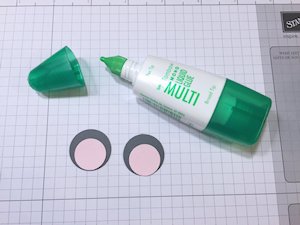
-
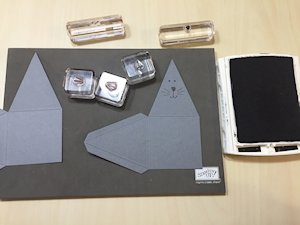
Step 3
Stamp or draw a face on the box, on a panel with no side tabs.
-
Step 4
If using printable template, score around the base and tabs. Fold on the score lines in preparation for assembly.
-
Step 5
Glue the ears on to the inside of the triangle that forms the face.
-
Step 6
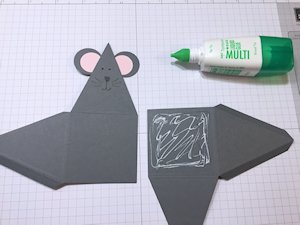
If using die cuts, adhere the two square bottoms of the box together – make sure that the two triangles with no tabs are opposite one another and the two triangles with tabs are opposite one another.
-
Step 7
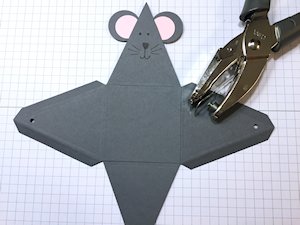
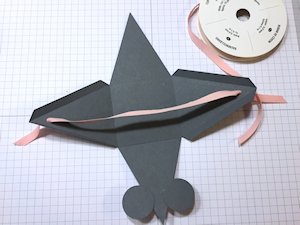
Use a handheld 1/8" punch to punch a hole on each side with tabs, about 1/2" or more down from the top point.
-
Thread ribbon through the 2 holes.
-
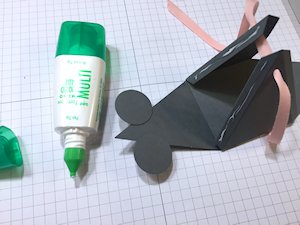
Step 8
Use adhesive to assemble just the front of the box. Adhere the front two tabs to the front (face) triangle.
-
Step 9 (Optional)
If desired, stamp an inside greeting on the back triangle.
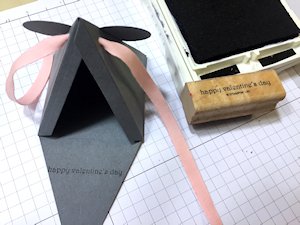
-
Glue a 4" piece of ribbon or twine just inside the box and have the rest of it extend outside the box for the mouse’s tail.
-
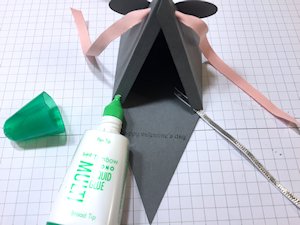
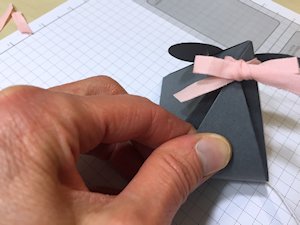
Step 10
Hold up the back panel and tie a bow to hold it in place. The point of the triangle can slip in and out of the bow for easy candy access.
-
Step 11
Stamp and punch a pull tab to attach outside of the box. Write “pull here to open box”.
Adhere the pull to the back of the box.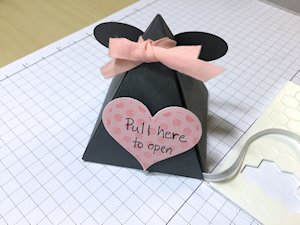
-
Step 12
Embellish and fill with candy to complete the project.
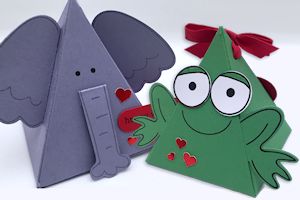
-
Experiment with different shapes and embellishments to create other animals as well.
Video!
Variations
-
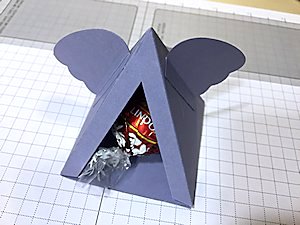
Prior to assembly, punch a 1" circle punch in a side or back triangle close to the bottom of the box for an alternate opening. Omit the bow, and glue the back in place. Place a treat inside that is large enough to not fall out but small enough to be able to get it out. Tootsie Rolls and Jolly Ranchers used here.
-
Another option is to cut off the back triangle completely and leave it open so the treat is visible.
Your Turn
You've seen the tutorial, now you try it! We've got a section of the gallery set aside for Pyramid Box. Try this technique, then upload your artwork to the gallery. Show us your creations!
***Please note - Internet Explorer/Edge is not a supported browser, and will not allow you to see the videos. Please use Chrome, Firefox or Safari to view our tutorial videos.

Questions and Comments
We'd love to get your feedback or questions. Leave your comment below.
Page 1 of 1 pages