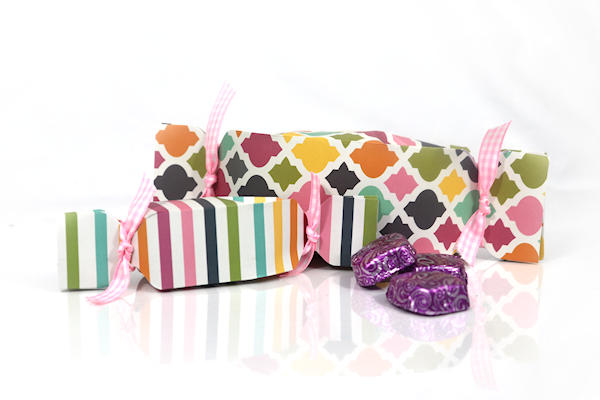
Punch Board Party Favor
by Dina Kowal
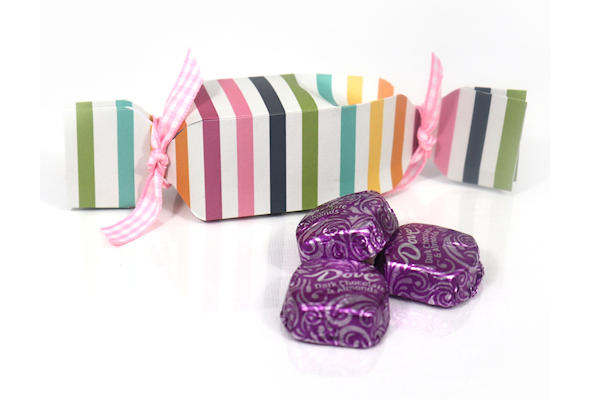
Use an envelope punch board for a quick edition of Andrea Walford's Party Favor.
Supplies

- Scrapbook paper
- Trimmer
- Scoring board and tool
- Envelope Punch Board
- Adhesive
- Ribbon
Step-by-Step
-
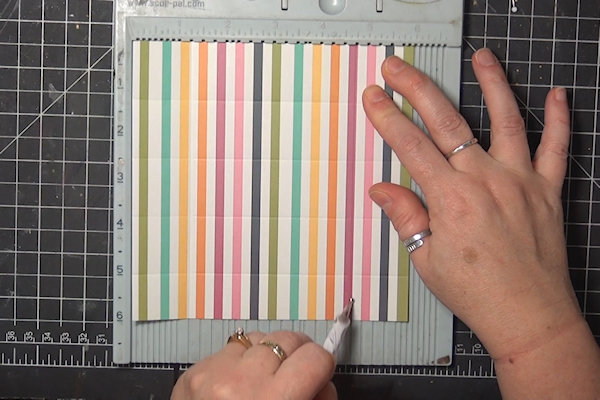
Step 1
Prepare a 6” square piece of scrapbook paper. Score at 1 1/4", 2 1/2”, 3 3/4", and 5”.
-
Rotate and score at 1 1/4" and 4 3/4".
-
Step 2
Burnish all score lines.
-
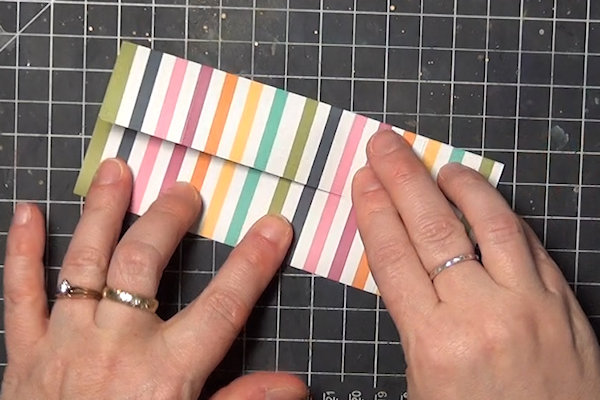
Step 3
To create the box shape, fold in the end of the strip so that the smallest end section is in the middle. Glue this section only.
-
Fold down the other end of the paper to connect the ends.
-
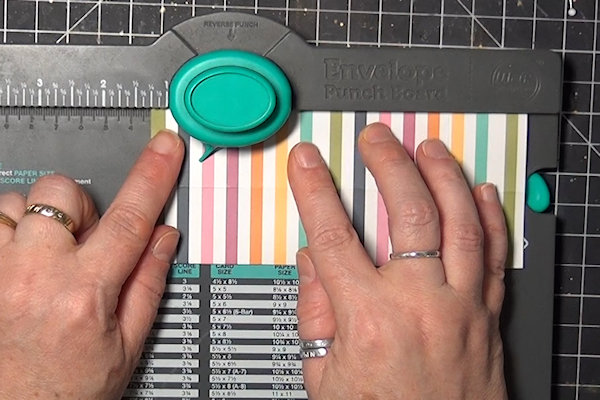
Step 4
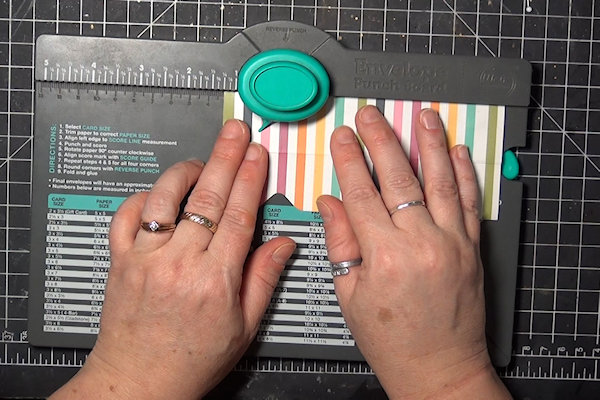
On the envelope punch board, line up the left side of the project with the 1 1/4" mark. This should position the project so that the score line is centered on the punch. Punch on the fold.
-
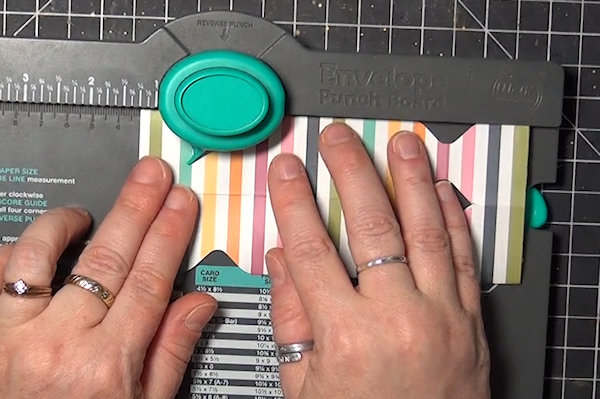
Rotate the box to the next fold and flatten. Repeat as above until all four fold lines have a punch.
-
Step 5
Turn the box around and repeat step 4.
-
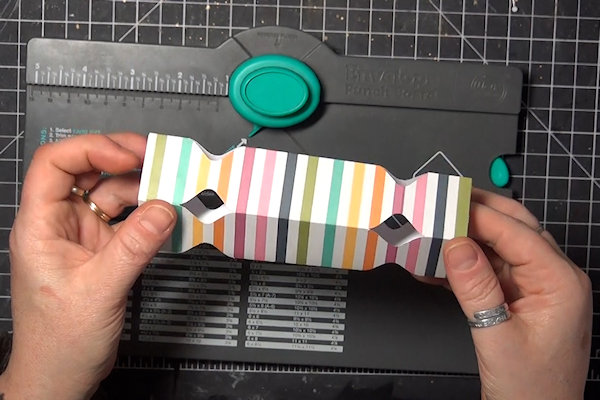
Your project should look like this.
-
Step 6
Pinch the ends to flatten them down (the sides will fold in and front and back remain flat).
-
Step 7
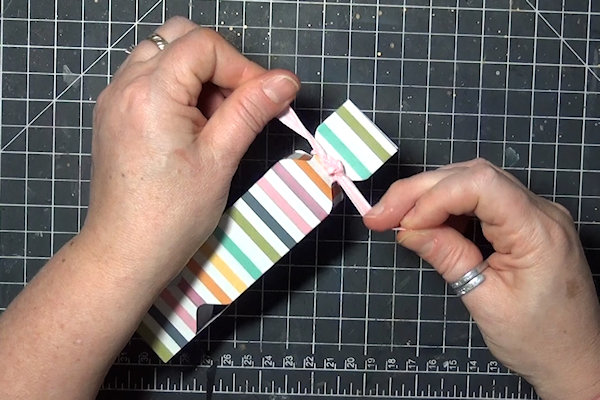
Tie a ribbon or other cording around one end where the punched notches meet.
Fill the favor with candy or other small treats. -
Step 8
Tie off the other end to complete the project.


Video!
Variations
-
To create another size favor, determine the width of your box. Multiply it by 4, and add 1/2" – 1” for a tab. Determine the length you need for the closure, and add the length of the ends. For this sample, the paper measured 8 1/2" wide and 8” long. Scores were made at 2”, 4”, 6”, and 8” along the 8 1/2" side, and at 1 1/4" from the top and bottom.
Your Turn
You've seen the tutorial, now you try it! We've got a section of the gallery set aside for Punch Board Party Favor. Try this technique, then upload your artwork to the gallery. Show us your creations!
***Please note - Internet Explorer/Edge is not a supported browser, and will not allow you to see the videos. Please use Chrome, Firefox or Safari to view our tutorial videos.

Questions and Comments
We'd love to get your feedback or questions. Leave your comment below.
Page 1 of 1 pages