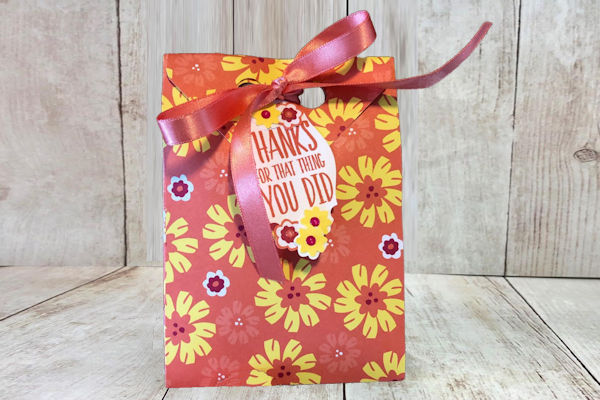
Punch Board Gift Bag
by Mary Deatherage
Use an envelope punch board to create a small gift bag.
Supplies
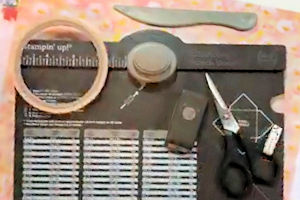
- 12” x 12” patterned paper
- Envelope Punch Board
- Bone folder
- Double sided tape (Tear & Tape used here)
- 1/2” circle punch
- Scissors
- Other supplies as needed to complete the project
Step-by-Step
-
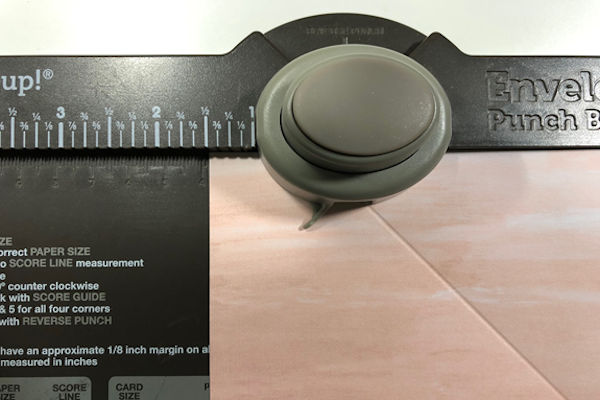
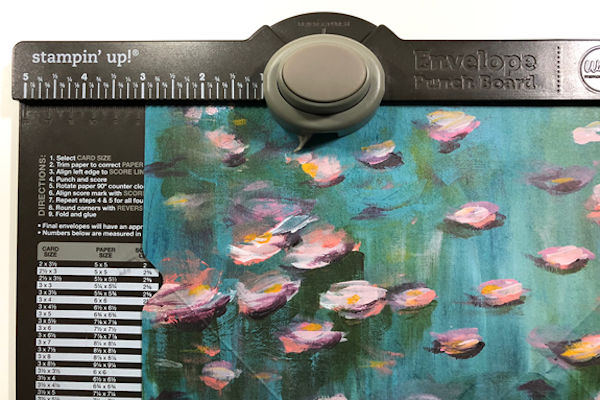
Step 1
Line up one edge of the paper with the 1 1/2” mark on the envelope punchboard. Punch using the punchboard punch.
Score as far as able without breaking thru the paper. -
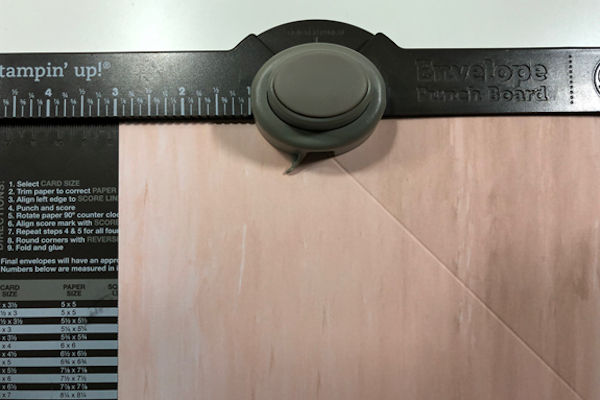
Step 2
Turn the paper a quarter turn to the left (counterclockwise). Align the left edge of the paper with the 3” mark. Punch using the punchboard punch.
Score as far as able without breaking thru the paper. -
Step 3
Turn the paper a quarter turn to the left (counterclockwise). Align the left edge of the paper with the 1 1/2” mark. Punch using the punch board punch.
Score as far as able without breaking thru the paper. -
Step 4
Turn the paper a quarter turn to the left (counterclockwise). Align the left edge of the paper with the 3” mark. Punch using the punchboard punch.
Score as far as able without breaking thru the paper. -
This completes side 1.
-
Step 5
Turn the paper over and start again – aligning the left edge of the paper with the 1 ½” mark. Be sure that the notch you did on the other side is at the 1 1/2” point. Punch using the punchboard punch. Score as far as able without breaking thru the paper.
Turn the paper a quarter turn to the left (counterclockwise). Align the left edge of the paper with the 3” mark. Repeat at 1 1/2” and 3” on the next two sides (turn a quarter turn to the left each time). -
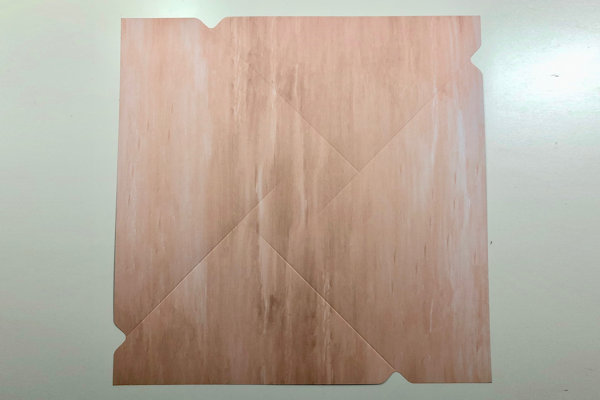
The finished paper will look like this.
-
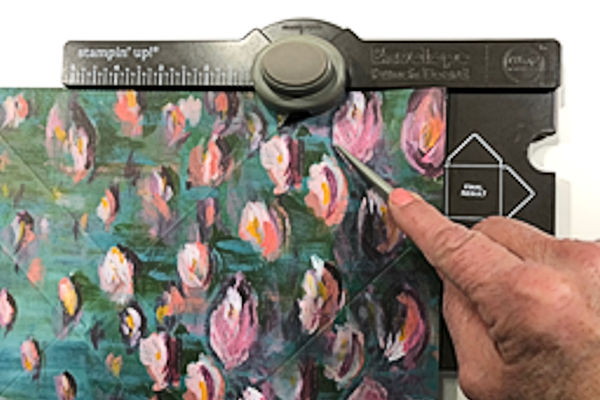
Step 6
Again using the Envelope Punch Board – align the score lines with the score guide on the punch board, and score across the base of each of the four tabs.
Use the outside corner rounder on the board to round the ends of each tab. -
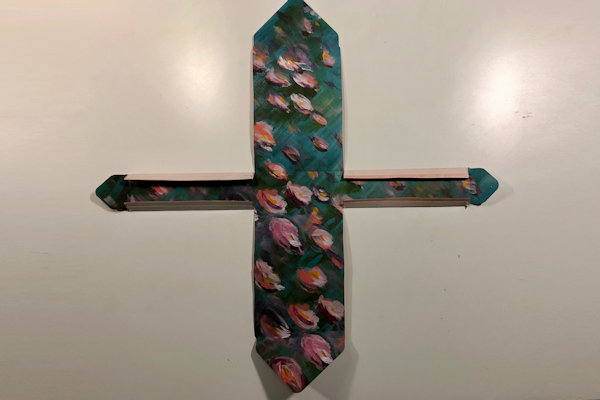
Step 7
The paper will now look like this template.
Use the scissors to cut the score lines next to each of the large rectangles – cutting just until it intersects the crossing score line.
Cut about 1/2” outside the score lines next to the two small rectangles – cutting to the score line (or until the excess paper is released). -
Step 8
Fold all the score lines AWAY from the side of the paper that you want to be the outside of your bag. The exception is the score lines by the small rectangles – you’ll fold those IN to create the tabs for the adhesive.
-
Place your adhesive on the four tabs as shown.
-
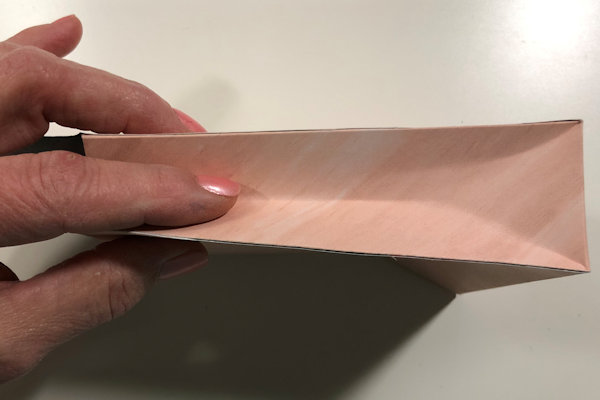
Step 9
One side at a time, remove the cover from the adhesive and adhere the front and back to the tabs, lining up the edges of the bag as you go.
Fold the two small tabs and one of the large tabs to the inside of the bag – use adhesive on the tabs if desired. -
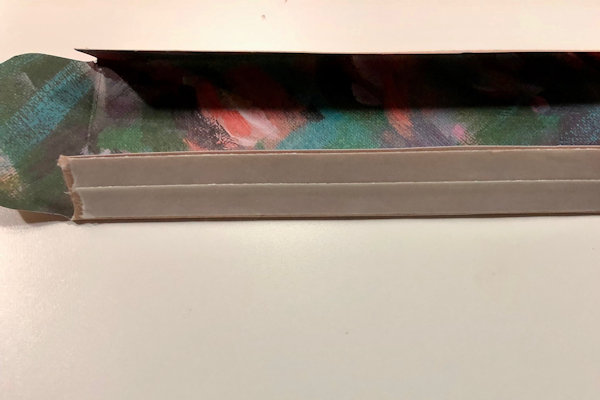
With your fingers, gently push in the centers of the side of the bag to create the fold.
-
Step 10
Fold the final tab down over the front of the bag.
-
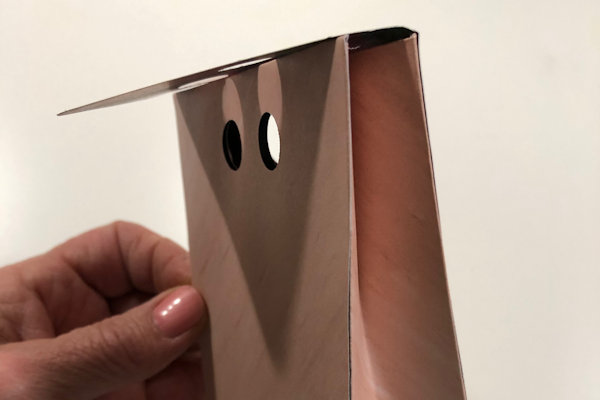
Use the 1/2” Circle Punch to punch holes thru the entire bag.
-
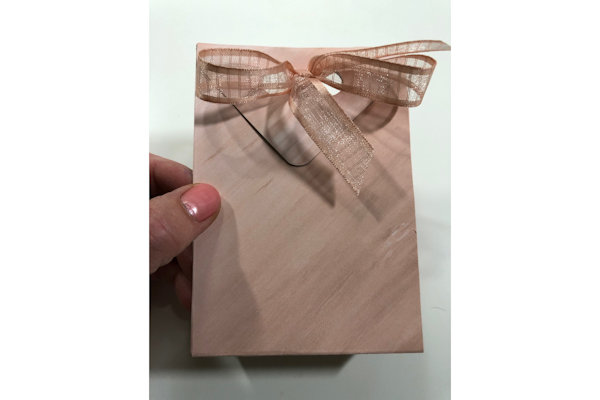
Step 11
Decorate the bag as desired.
Finished size: the base of the bag is about 1 5/8" x 3 3/4", and the front and back are 3 3/4" x 5 1/4".


Video!
Your Turn
You've seen the tutorial, now you try it! We've got a section of the gallery set aside for Punch Board Gift Bag. Try this technique, then upload your artwork to the gallery. Show us your creations!
***Please note - Internet Explorer/Edge is not a supported browser, and will not allow you to see the videos. Please use Chrome, Firefox or Safari to view our tutorial videos.

Questions and Comments
We'd love to get your feedback or questions. Leave your comment below.
Page 1 of 1 pages