Pressed Clay Pendant
by Dina Kowal
Make an impressed ornament out of clay, using your die cutting machine as a roller.

Supplies
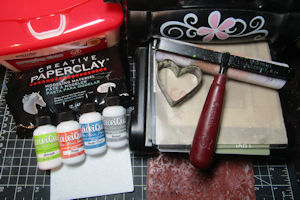
- Air-drying clay (Creative Paper Clay used here)
- Die cutting machine (Big Shot used here)
- Teflon sheet or wax paper, 1-2 pieces cut to 6"x9"
- Embossing folder (Spellbinders Cabbage Roses embossing folder used here)
- Background stamp (Impression Obsession CC082 Reverse Damask used here)
- Versamark ink
- Brayer
- Cookie cutters or craft knife
- Coffee straw or clay hole punch
- Acrylic paint or ink (ColorBox Colorique used here)
- Paintbrushes
- Pigment ink (Colorbox Pigment Petal Point inks used here)
- Baby wipes
- Fingers
- Clear varnish or sealant (Colorbox Colorique Sealant used here)
- Other supplies as needed to complete the project (Claritystamps stencil brush, twine, gingham ribbon)
Step-by-Step
-
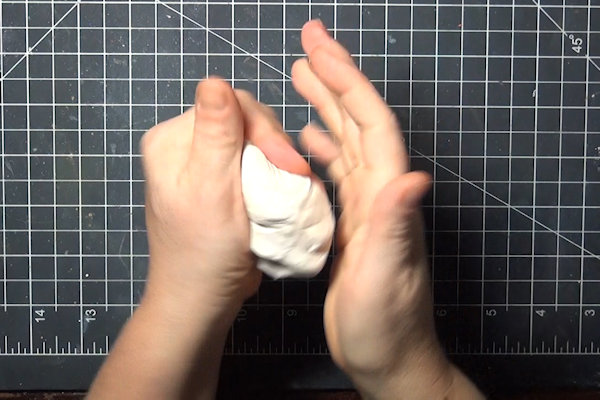
Step 1
Soften about 3 oz. of air-dry clay by squeezing it back and forth in your hands for several minutes.
-
Flatten and shape the piece into a rounded disc.
-
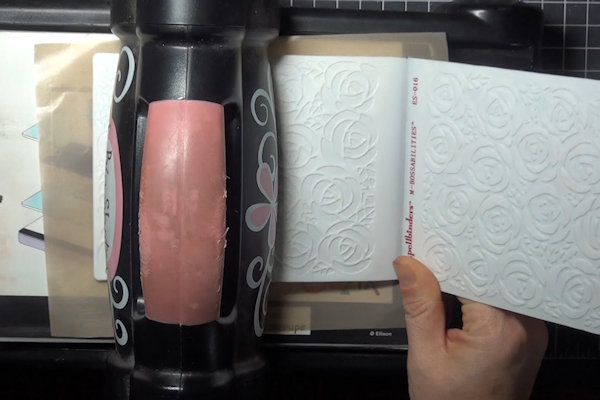
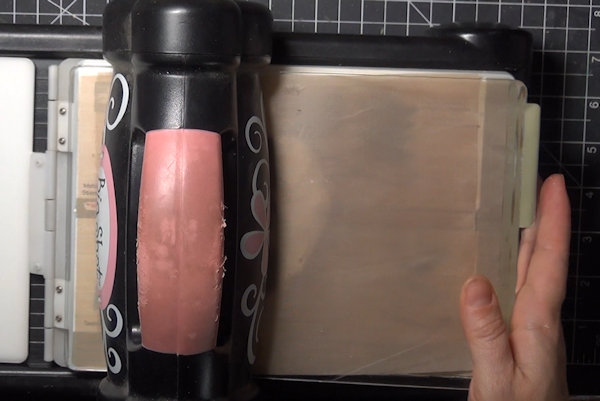
Step 2
Embossing folder method:
Line the platform of your die cutting machine with a nonstick Teflon sheet, cut to size. Lay down the clay. Lay an embossing folder over the clay, using the side of the folder that will press the design into the clay. -
Gently roll the sandwich through the machine, pressing the design into the clay, and pressing the clay into an even layer.
-
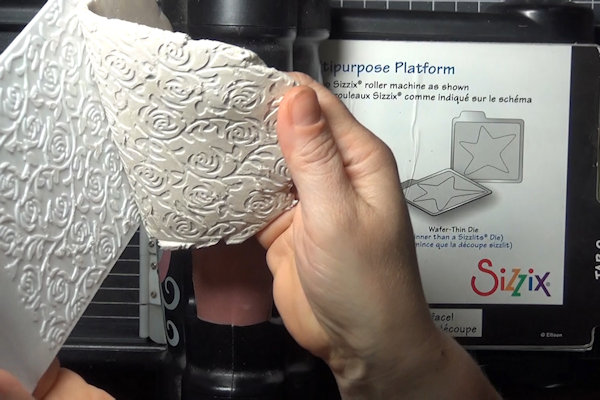
Step 3
Carefully remove the clay from the embossing folder and rinse off any residue with water.
-
Step 4
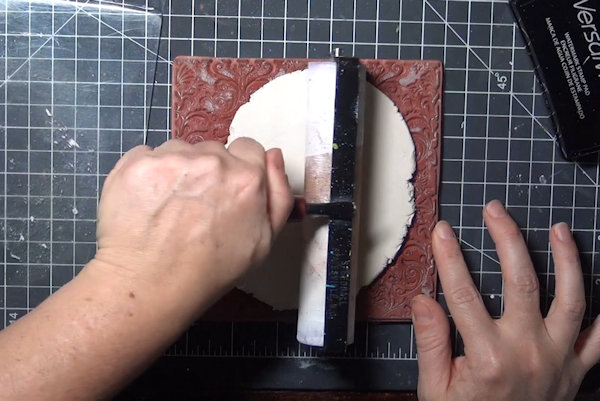
Rubber stamp method:
For an alternate method, turn the Big Shot Multipurpose Platform to Tab 1. Line the platform of your die cutting machine with a nonstick Teflon sheet, cut to size. Lay down the clay. -
Lay another Teflon sheet and a cutting pad over the clay. Gently roll the sandwich through the machine, pressing the clay into an even layer.
-
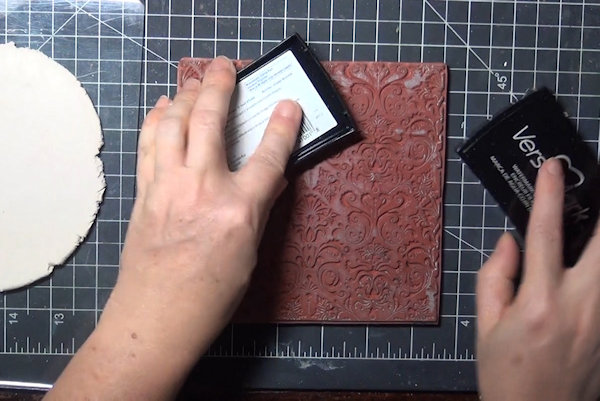
Step 5
Prepare a background stamp with Versamark ink for an easier release.
-
Lay the flattened clay onto the stamp and use a brayer to press the clay gently and evenly into the depressions of the stamp design.
-
Step 6
Remove the clay from the stamp and rinse off any residue with water.
-
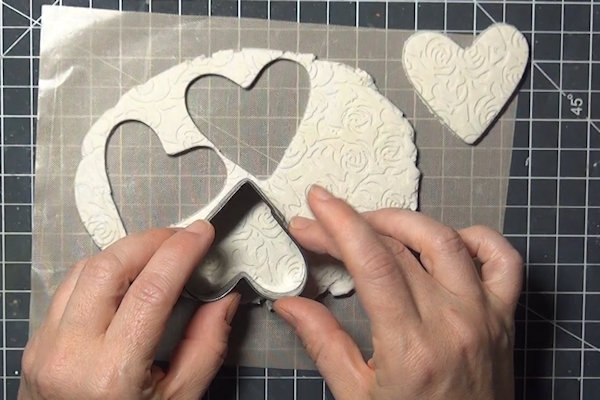
Step 7
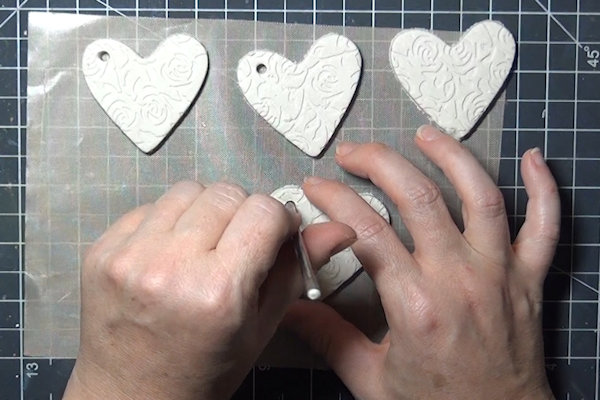
Use cookie cutters to cut shapes from the clay, or use a craft knife to cut a shape of your choice.
-
Step 8
Use a coffee straw to cut a hole in each shape.
-
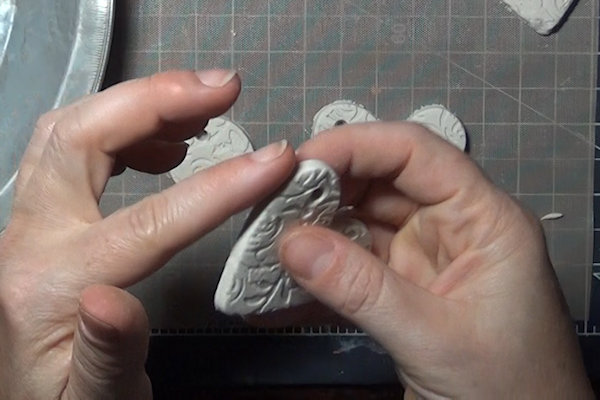
Step 9
Use your finger to smooth any rough edges before drying the pieces.
TIP:
If you miss this step, you can use sandpaper to smooth the edges when the pieces are dry. -
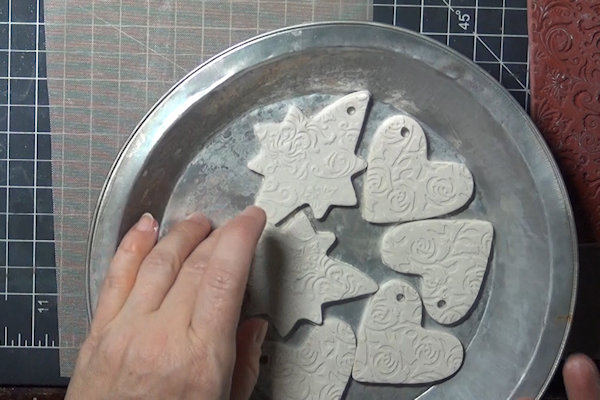
Step 10
Allow the cut pieces to air dry completely on a flat surface, turning occasionally to prevent warping and enable even drying. Refer to package for estimated drying time.
-
Step 11
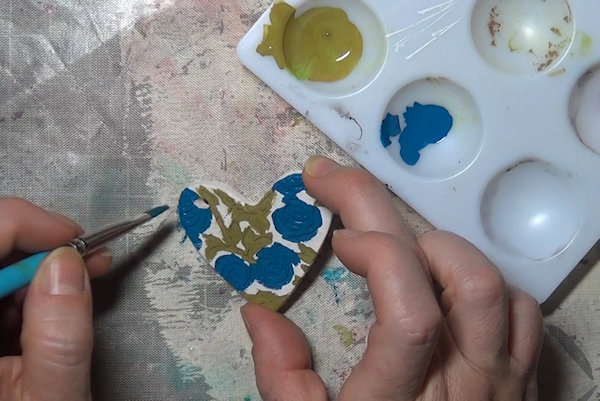
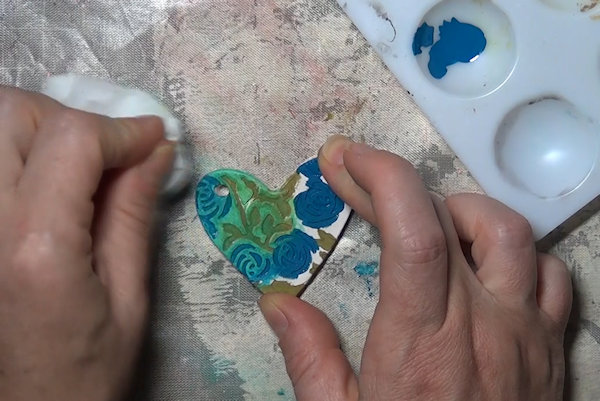
Use acrylic paint or ink to paint all the impressed areas of the design completely (Colorbox ColoriQue used here).
-
Step 12
Wipe over the surface of the clay piece with a baby wipe. This will move some of the paint to the raised surfaces of the piece, and create a more clear design in the impressions.
-
TIPS:
For a lighter color, apply more pressure when wiping. -
Step 13
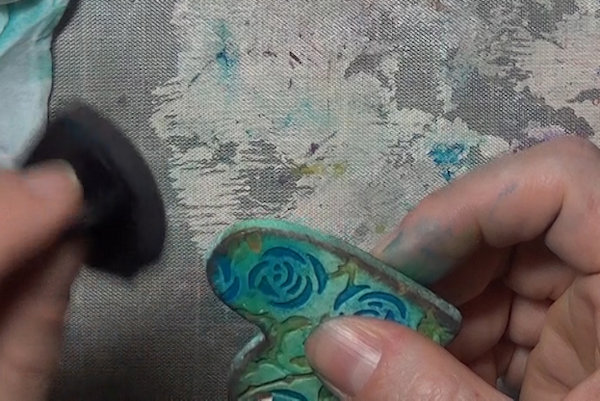
Wipe some of the paint color onto the edges of the piece as well, and/or add a little sponged ink for a vintage effect.
-
Step 14
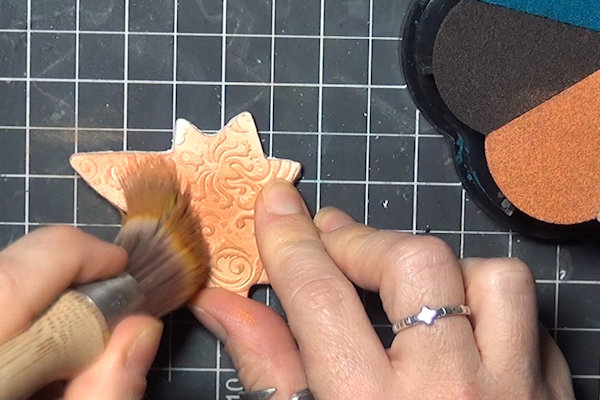
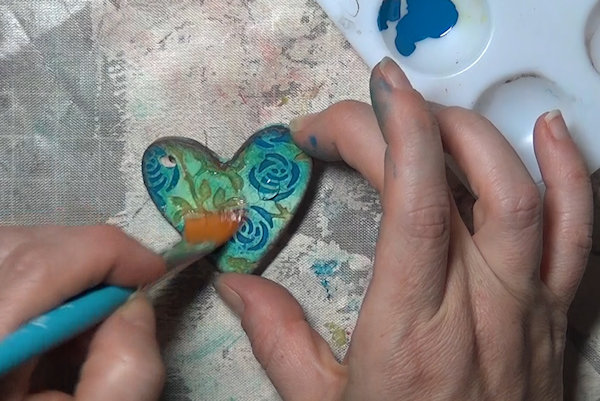
For an alternate coloring method, use pigment inks to brush onto the entire surface of the piece. (This worked well for this sample because the negative design of the stamp created lots of raised areas.)
-
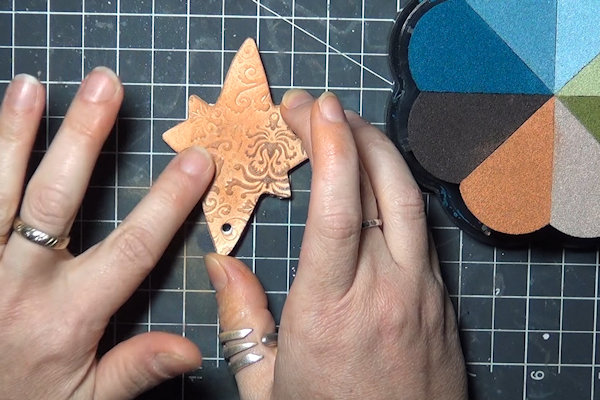
Use your finger to very gently add a darker ink color to the raised areas.
-
Step 15
Brush on a clear coat of varnish or sealant to protect the piece.
-
Step 16
Embellish as desired, and add a string through the hole for hanging.
-
Complete the project.


Video!
Your Turn
You've seen the tutorial, now you try it! We've got a section of the gallery set aside for Pressed Clay Pendant. Try this technique, then upload your artwork to the gallery. Show us your creations!
***Please note - Internet Explorer/Edge is not a supported browser, and will not allow you to see the videos. Please use Chrome, Firefox or Safari to view our tutorial videos.

 *
*
Questions and Comments
We'd love to get your feedback or questions. Leave your comment below.
These would be so fun to do with my nieces and nephews for the Christmas tree or for a surprise gift for their parents from them.
Page 1 of 1 pages