Paper Post-It™ Note Holder
by Makeesha Byl
Create an adorable little cover for your Post-It™ Note holders in no time at all.
Supplies
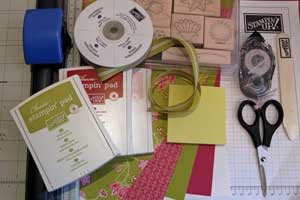
- Paper trimmer
- One 4" x 7" piece of cardstock
- Three 3 ¾" x 3" pieces of cardstock
- Three 2 ¾ " x 3 ½" pieces of patterned paper
- One ¼" x 1" piece of cardstock
- Two 5" lengths of ribbon
- One small pencil
- Post-It™ notes
- Sticky Strip™ or other strong adhesive
- Bone folder
- Scissors
- Stamps, ink, embellishment for decorating
Step-by-Step
-
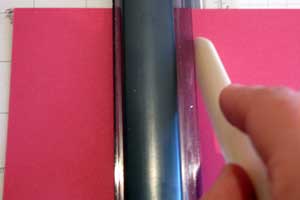
Step 1
Score the 4" x 7" cardstock across the wide side, 3 ¼" from either end.
-
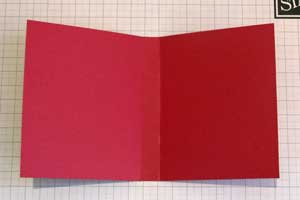
Step 2
Fold cardstock along the score lines to create a ½" spine in the center.
-
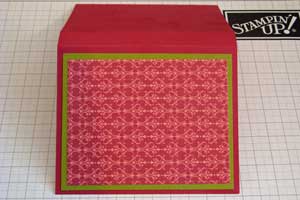
Step 3
Mat all 2 ¾" x 3 ½" pieces of patterned paper by adhering to the 3" x 3 3/4" cardstock pieces.

-
Step 4
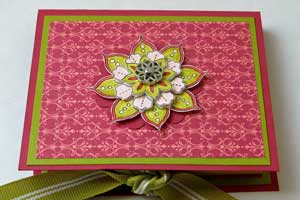
Adhere one of the matted pieces onto the outside front of the holder.
-
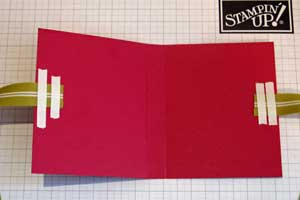
Step 5
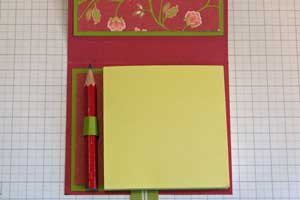
Center two pieces of ribbon inside the holder as shown and adhere with Sticky Strip™.
-
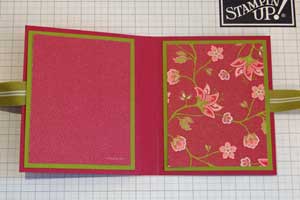
Step 6
Adhere the other two pieces of layered cardstock over the center panels to cover ribbon ends.
-
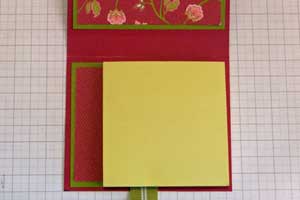
Step 7
Remove backing from Post-It™ note stack and adhere to the bottom right side of the holder.
-
Step 8
Take the ¼" x 1" piece of cardstock and wrap it around your small pencil to create a loop.
Adhere ends together.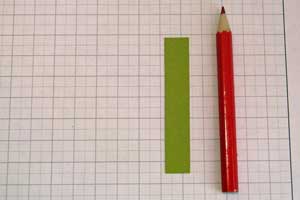
-
Adhere the cardstock loop at the base of your holder as shown.
-
Step 9
Close the top, and tie off with the ribbon

-
Step 10
Decorate the top.
Your Turn
You've seen the tutorial, now you try it! We've got a section of the gallery set aside for Paper Post-It™ Note Holder. Try this technique, then upload your artwork to the gallery. Show us your creations!
***Please note - Internet Explorer/Edge is not a supported browser, and will not allow you to see the videos. Please use Chrome, Firefox or Safari to view our tutorial videos.

Questions and Comments
We'd love to get your feedback or questions. Leave your comment below.
Or you could steal them from the mini-putt place!
Love this post-it note holder! thanks for sharing!
THANK YOU
MARIE
Thanks for sharing!
I love the Post-It holder. Thank you for sharing.
abrazos,
bella
xXx
Page 1 of 3 pages 1 2 3 >