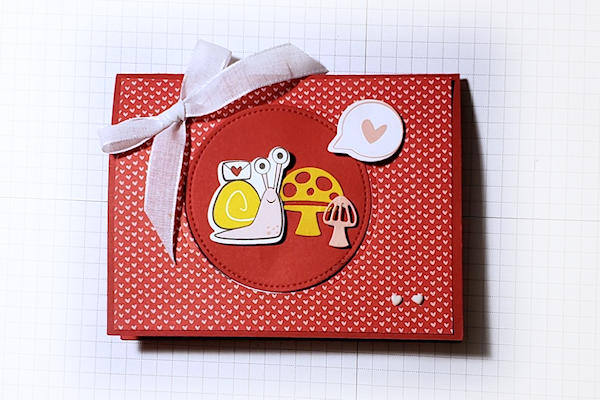
Pop-Up Flip Card
by Kim Peck
This front focal element flips inside when the card is opened.
Supplies
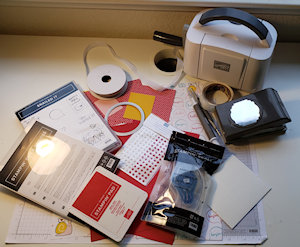
- Stamps (image approximately 2" x 2", Snailed It Stamp Set from Stampin’ Up!® used here)
- Inks (SU Real Red ink pad used here)
- Cardstock
- Scoring tool (SU Simply Scored Tool used here)
- Paper trimmer
- Die for center of card (SU Stitched Shapes Circle Die used here)
- Die cutting machine
- Strong adhesive (SU Stampin’ Seal+ and Dimensionals used here)
- Other supplies as needed to complete the project (SU products used here: Snail Mail DSP with Snail Dies, Resin Hearts, Flowers For Every Season Ribbon Combo Pack, Label me Lovely Punch)
Step-by-Step
-
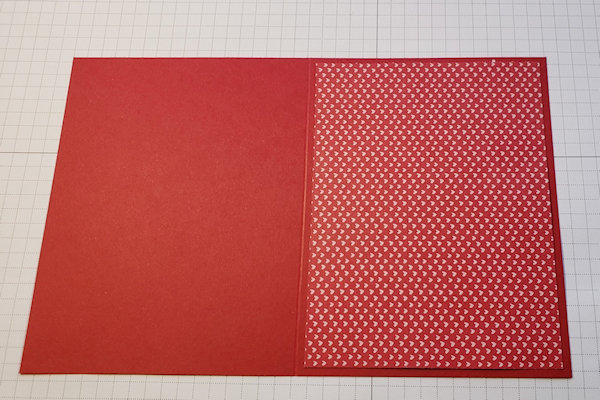
Step 1
Adhere a 4" x 5 1/4" piece of patterned paper onto the front of the card base, placing adhesive only onto the four outer edges of the patterned paper.
-
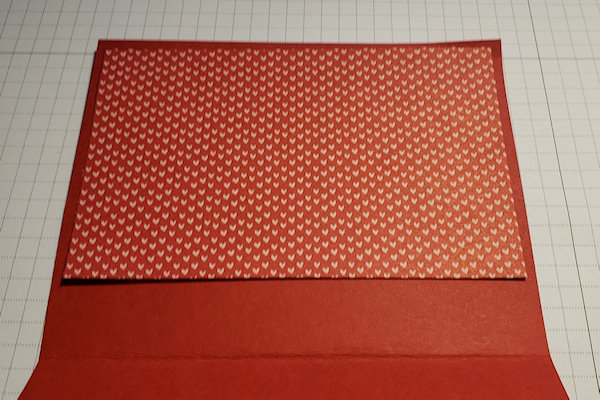
Step 2
Adhere a 3 1/8" x 5 1/4" piece of patterned paper onto the inside top portion of the card base, placing adhesive only on the two upper corners of the patterned paper.
-
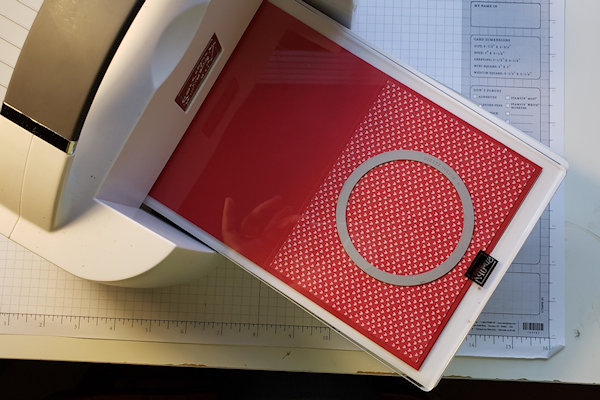
Step 3
Unfold the card base and place a circle die onto the center of the front of the card. Run this piece with the die through a die-cutting machine.
-
Remove the patterned paper from both sides of the circle.
-
Step 4
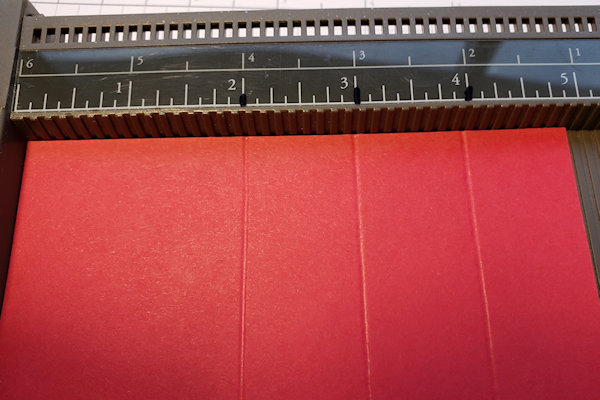
Cut a 4" x 5" piece of cardstock that is the same color as the card base. Score at 2", 3", and 4" along the 5" side.
-
-
Step 5
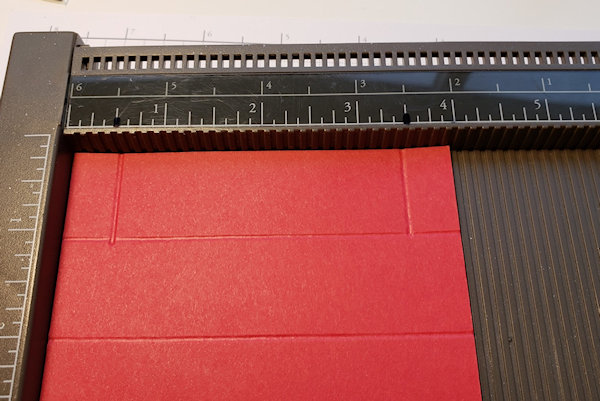
Turn this scored paper to the 4 inch side, and score a one inch long score line at 1/2" and 3 1/2" (down to the first score line).
-
Step 6
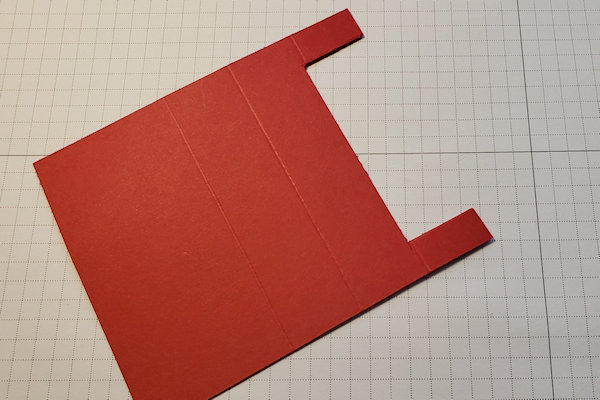
Cut away the piece of cardstock between these score lines.
-
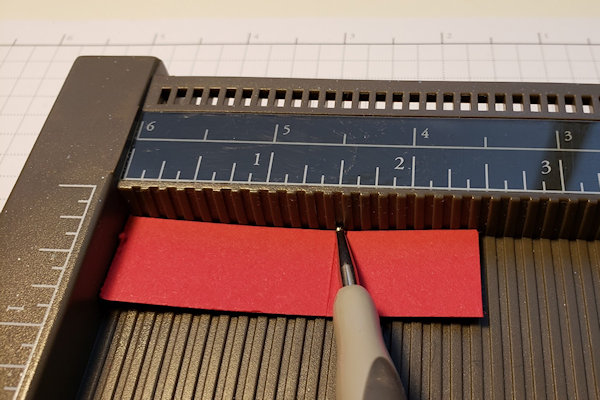
Step 7
Trim this cut away piece of card stock to 3/4" x 2 1/2", and score at 1 1/2" inches.
-
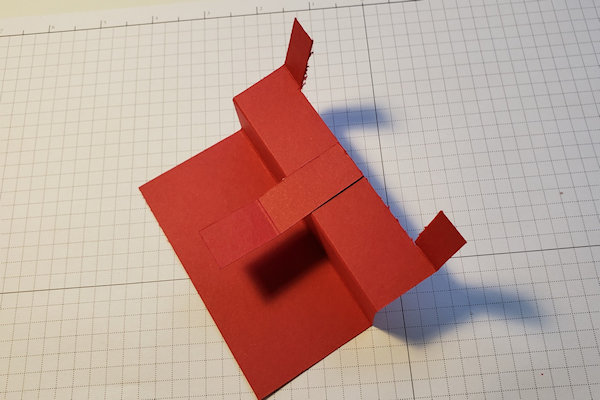
Step 8
Accordion fold the 4" x 5" scored piece along the score lines, and then adhere the 3/4" x 2 1/2" piece to the center of the top one inch fold.
-
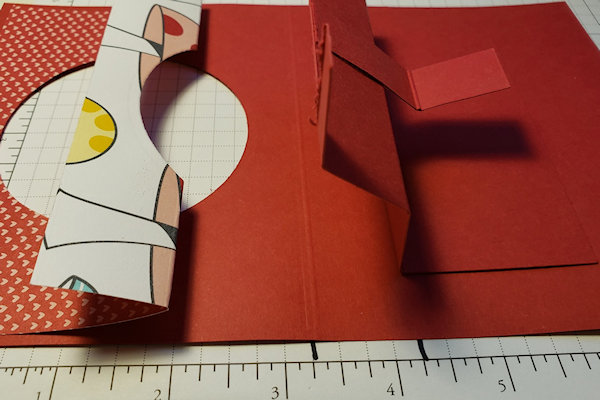
Step 9
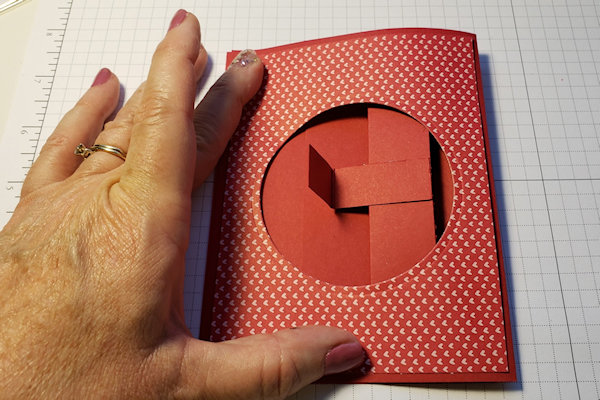
Adhere the 2 inch base of the folded piece of cardstock to the bottom, inside base of the card, placing the first fold line 1 inch from the center fold of the card base.
-
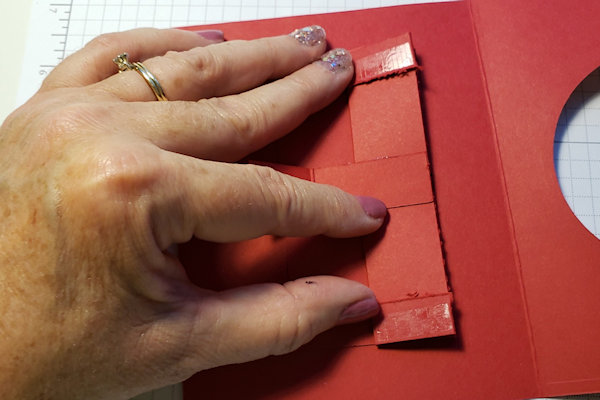
Step 10
Fold the accordion piece of cardstock so that it is flat on the inside base of the card. Place adhesive onto the top of the 1/2" x 1" edge flaps, and close the card on top of these flaps.
-
-
Step 11
With the card still in the closed position, fold the center tab along the score line, and place adhesive onto the tab.
-
Adhere the cut-out circle onto this tab, lining the cut-out circle up with the hole on the front of the card.
-
Step 12
Cut out the pieces that will be used to decorate the outside of the card. Embellish as desired.
-
Step 13
Open the card and finish adhering the patterned paper to the top inside portion of the card over the tabs of the mechanism. Adhere the second piece of 3.25 x 5.25 inch piece of patterned paper to the bottom inside portion of the card base.
-
Step 14
Complete the project. The finished card will fold flat for mailing in a standard A2 envelope.


Video!
Your Turn
You've seen the tutorial, now you try it! We've got a section of the gallery set aside for Pop-Up Flip Card. Try this technique, then upload your artwork to the gallery. Show us your creations!
***Please note - Internet Explorer/Edge is not a supported browser, and will not allow you to see the videos. Please use Chrome, Firefox or Safari to view our tutorial videos.

Questions and Comments
We'd love to get your feedback or questions. Leave your comment below.
Page 1 of 1 pages